@bula
active 4 years, 6 months ago
Astro Pixel Processor review by Sara Wager in
Sky at Night magazine, January 2018
Released today ;-) !
http://www.skyatnightmagazine.com/issue/january-2018 View
- Load More
I now deselect create bad pixel map and I clear the file list by pushing clean in 1)LOAD
I load the 2 bias and 2 flat frames and in 2) calibrate I set the integration at median integration since I only have 2 frames, for both bias and flat calibration.
I click on create calibration masters.
APP wil now automatically
first creat a masterbias,
then the masterbias will be applied to the flats
and the master flat is created out of bias calibrated flats (which is essential, check the B's in the frame column for the flat frames.)MasterBiasFlat
André send me the following files so I could test his calibration workflow:
2 bias frames
2 dark frames
2 flat frames
and 1 light frame.
I will only use the darks for the creation of a Bad Pixel Map. So the light will be calibrated with a masterbias, a masterflat created out of bias calibrated flats and the Bad Pixel Map.
First I'll create the Bad Pixel Map.
I load the 2 darks and the 2 flat frames, at 2) calibrated I select "create bad pixel map". (I set the hot pixel kappa at 1 since I only have 2 dark frames )BPM
"Interessante is dat het wel werkt als ik geen H-Alpha als algoritme kies (en er dus een flat ontstaat met goede B en G signaal, rood is overbelicht), echter zie ik nu ook zwarte pixels doorkomen, dat zal hier wel mee te maken hebben. Desondanks, niet eens verkeerd, maar niet ideaal uiteraard."
Als je h-alpha debayer kiest, wordt de h-alpha debayer wel toegepast op je master flat als je deze visueel bekijkt. Bekijk je hem met AAD debayer, dan zie je de RGB kleuren inderdaad. Het is echter precies dezelfde masterflat. Het is opgeslagen als CFA data want het dient om CFA data te calibreren.
De zwarte pixels zie je denk ik omdat je geen BPM bij de flat calibratie hebt gebruikt? Je Canon 6D heeft veel niet-lineaire pixels, dus mijn advies zou zijn om altijd je BPM te gebruiken.
Plaatjes uit mijn presentatie van 1 van jouw H-alpha subs van de veil nebula. Heel veel niet-lineaire pixels zoals je ziet en prima te corrigeren met een BPM, eerste plaatje is niet gecalibreerd, 2de gecalibreerd, derde met H-alpha debayer aan, wat dus pas wordt toegepast nadat alles master calibratie frames zijn toegepast op de CFA data.HaVeil-RGBHaVeil-RGBCalibHaVeil-HaCalib
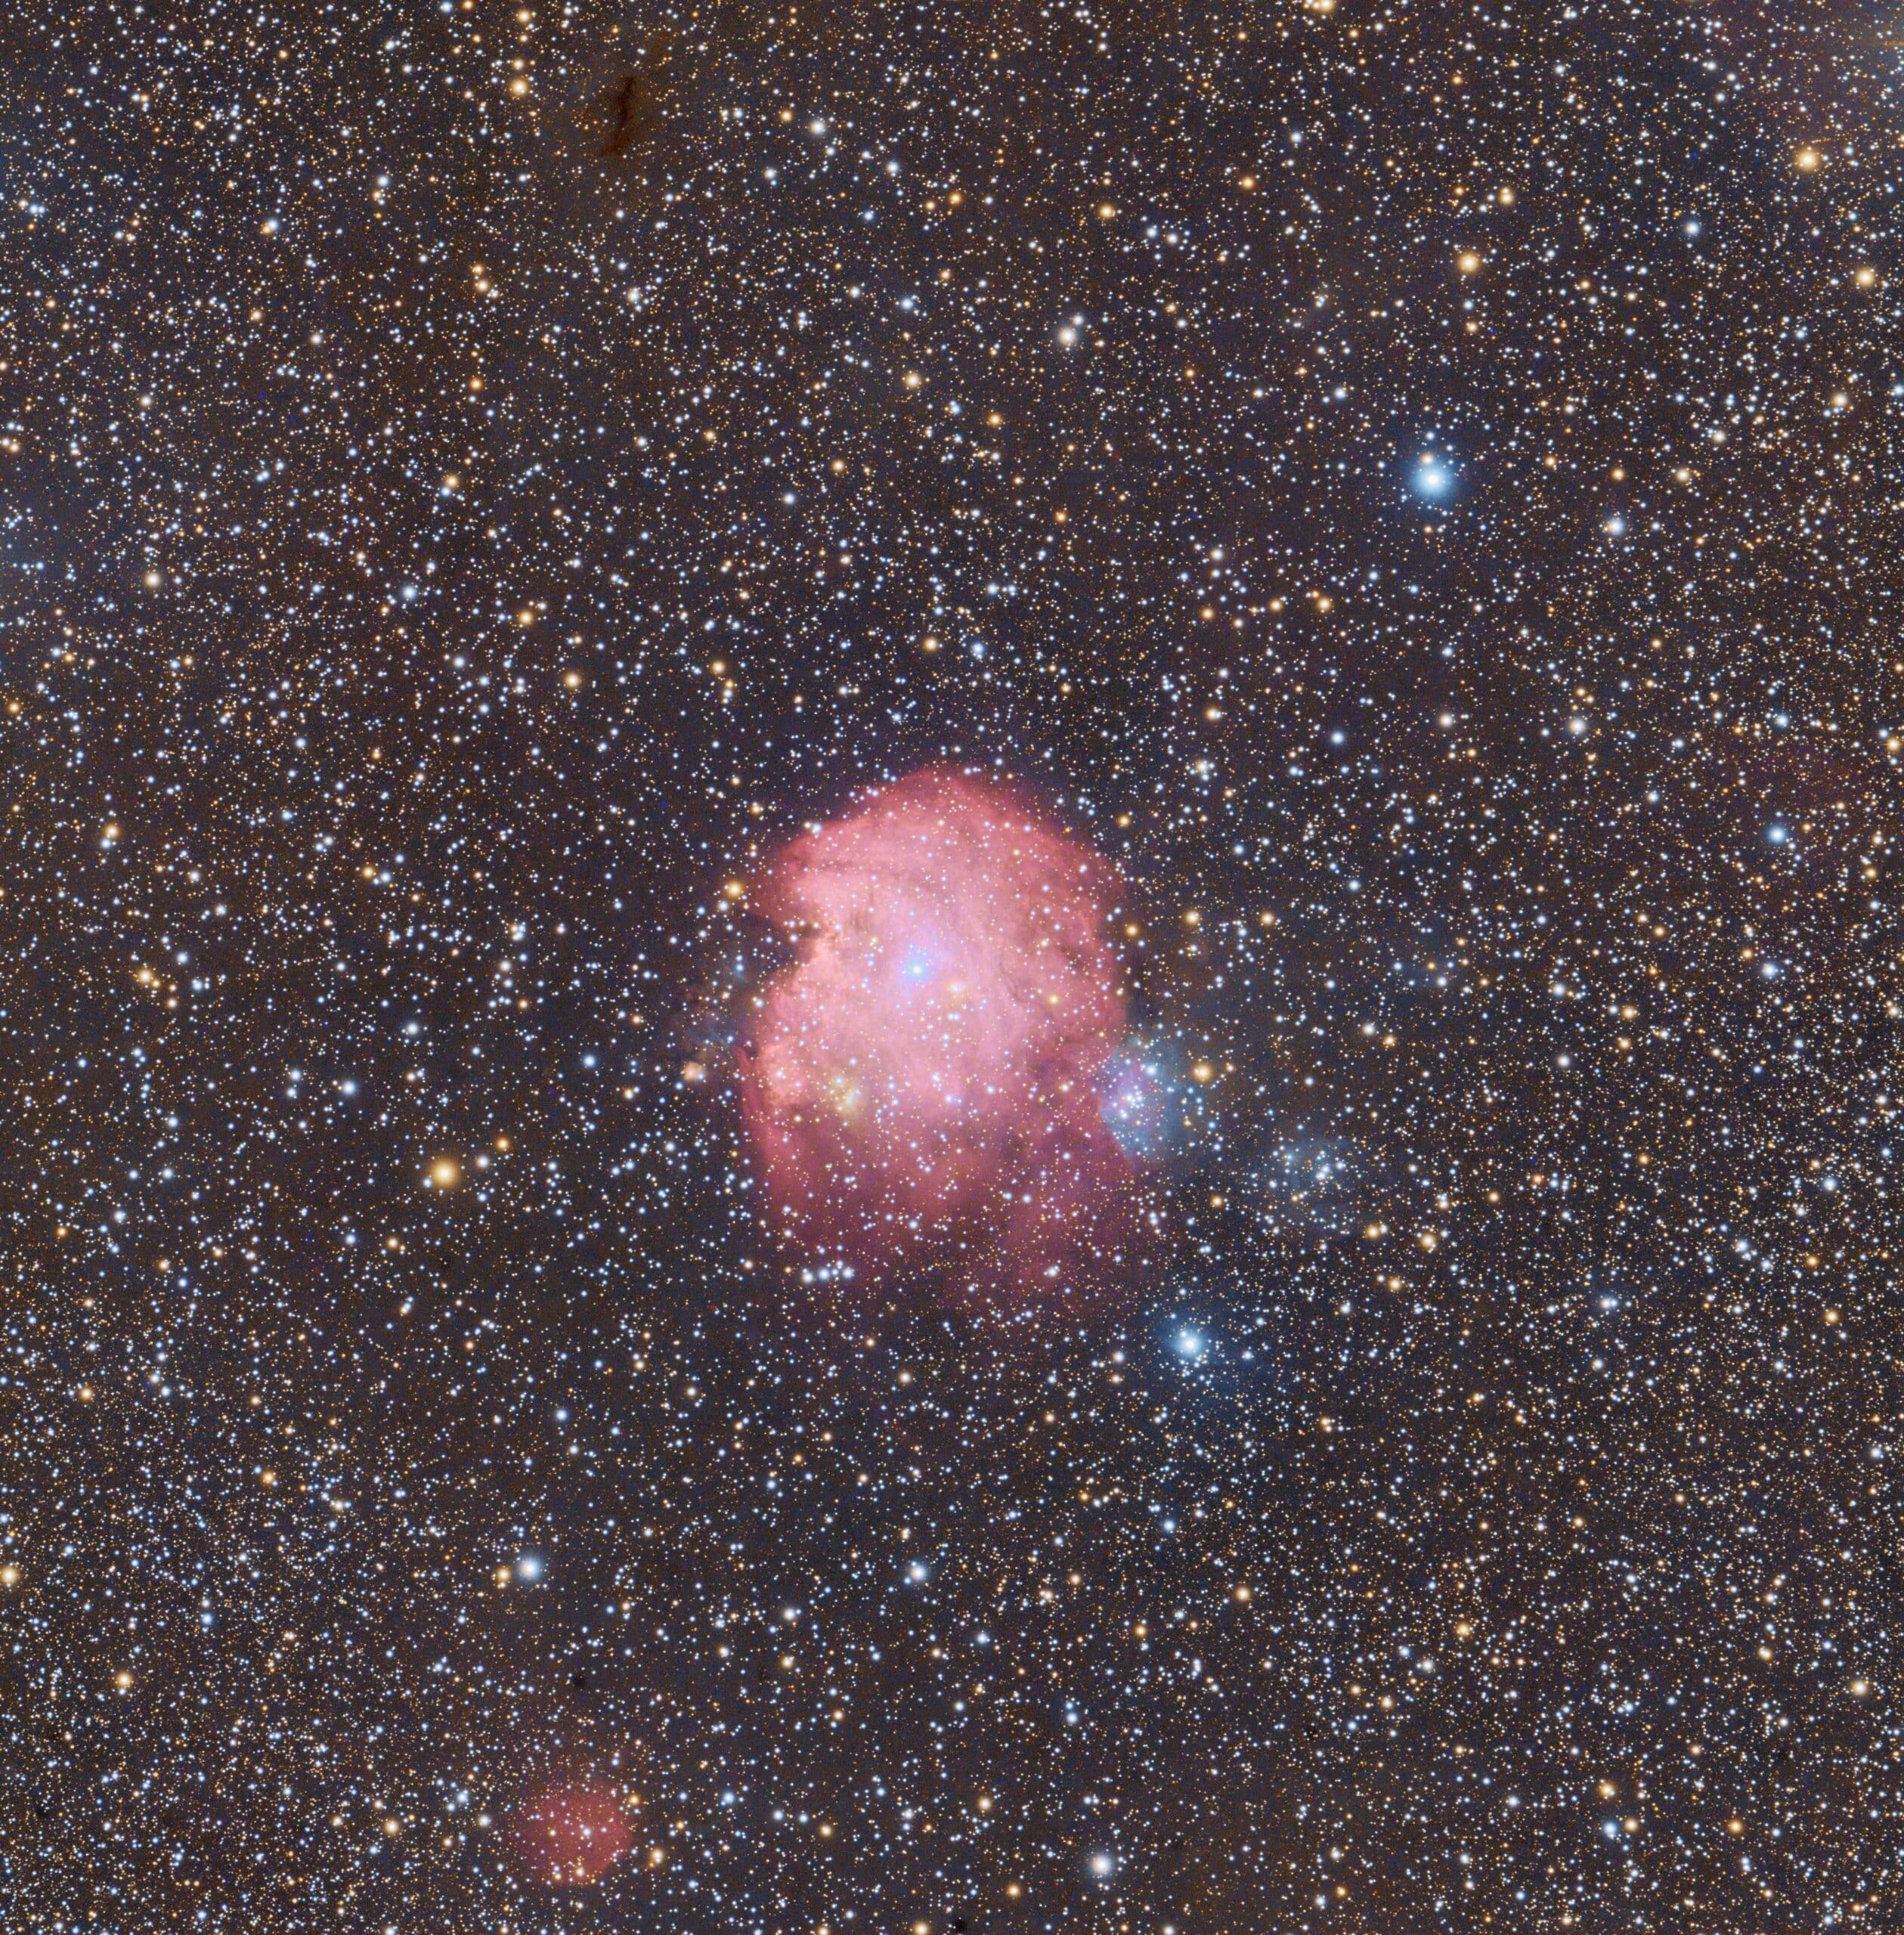
Ik heb de APP stack van @keesscherer zelf gepost-processed met APP
gebruikt tools in volgorde
- remove light pollution, heel eenvoudig met een paar punten
- calibrate background
- HSL selective color om wat beter de kleuren te benadrukken.
- Stretch met preview filter, HighLights protect, saturatie met achtergrond bescherming, sharpen met protect stars en contrast wat verhoogdMonkeyHead-KeesScherer-ver21-Stretch-LQ
Haverkamp replied to the topic APP stacking process slowing down with 157 Lights in the forum Astro Pixel Processor Beta
Even snel de stack verwerkt met APP, niet helemaal tevreden over de kleurbalans, maar is wel heel gaaf deze.MonkeyHead-KeesScherer--90degCCW-1.0x-LZ3-mod-St-LQ
Haverkamp posted an update
Zaterdag 8 april 2017, zal ik, op de bijeenkomst van de vereniging werkgroep astrofotografie, mijn eerste presentatie geven over Astro Pixel Processor. Ik zal praten over waarom ik APP ben gaan maken, hoe het programma werkt en natuurlijk, wat de techniek in APP kan betekenen voor je data.
Dit is voor mij natuurlijk een speciaal moment en ik hoop je dan ook zeker te zien en/of te spreken op deze bijeenkomst ;-) !
Informatie over de bijeenkomst is hier te vinden:
http://www.vereniging-astrofotografie.nl/ TalkAd
Haverkamp replied to the topic Ha, OIII, SII stacking, how to? in the forum Astro Pixel Processor Beta
Hoi Rob, de bug is gevonden, gelukkig een hele kleine, maar wel vervelend om tegen aan te lopen.
Heb even wat met de combinatie gespeeld. Je gaat enorm veel winnen qua resultaat als je voor het doen van de RGB combine tool, eerst alle lagen zo goed mogelijk corrigeerd voor gradienten met de Light Pollution correction tool. En ik zie dat de Blauwe stack mogelijk een sterke flat over correctie heeft gehad? Als je dat kan corrigeren dan zal dat veel helpen.
Hier even een screenshot, ziet er nog niet zo goed uit, maar laat zien dat de tool in de volgende release zal werken. Kijk maar eens naar de waardes die ik nu heb ingevuld voor de composiet.RobComposiet
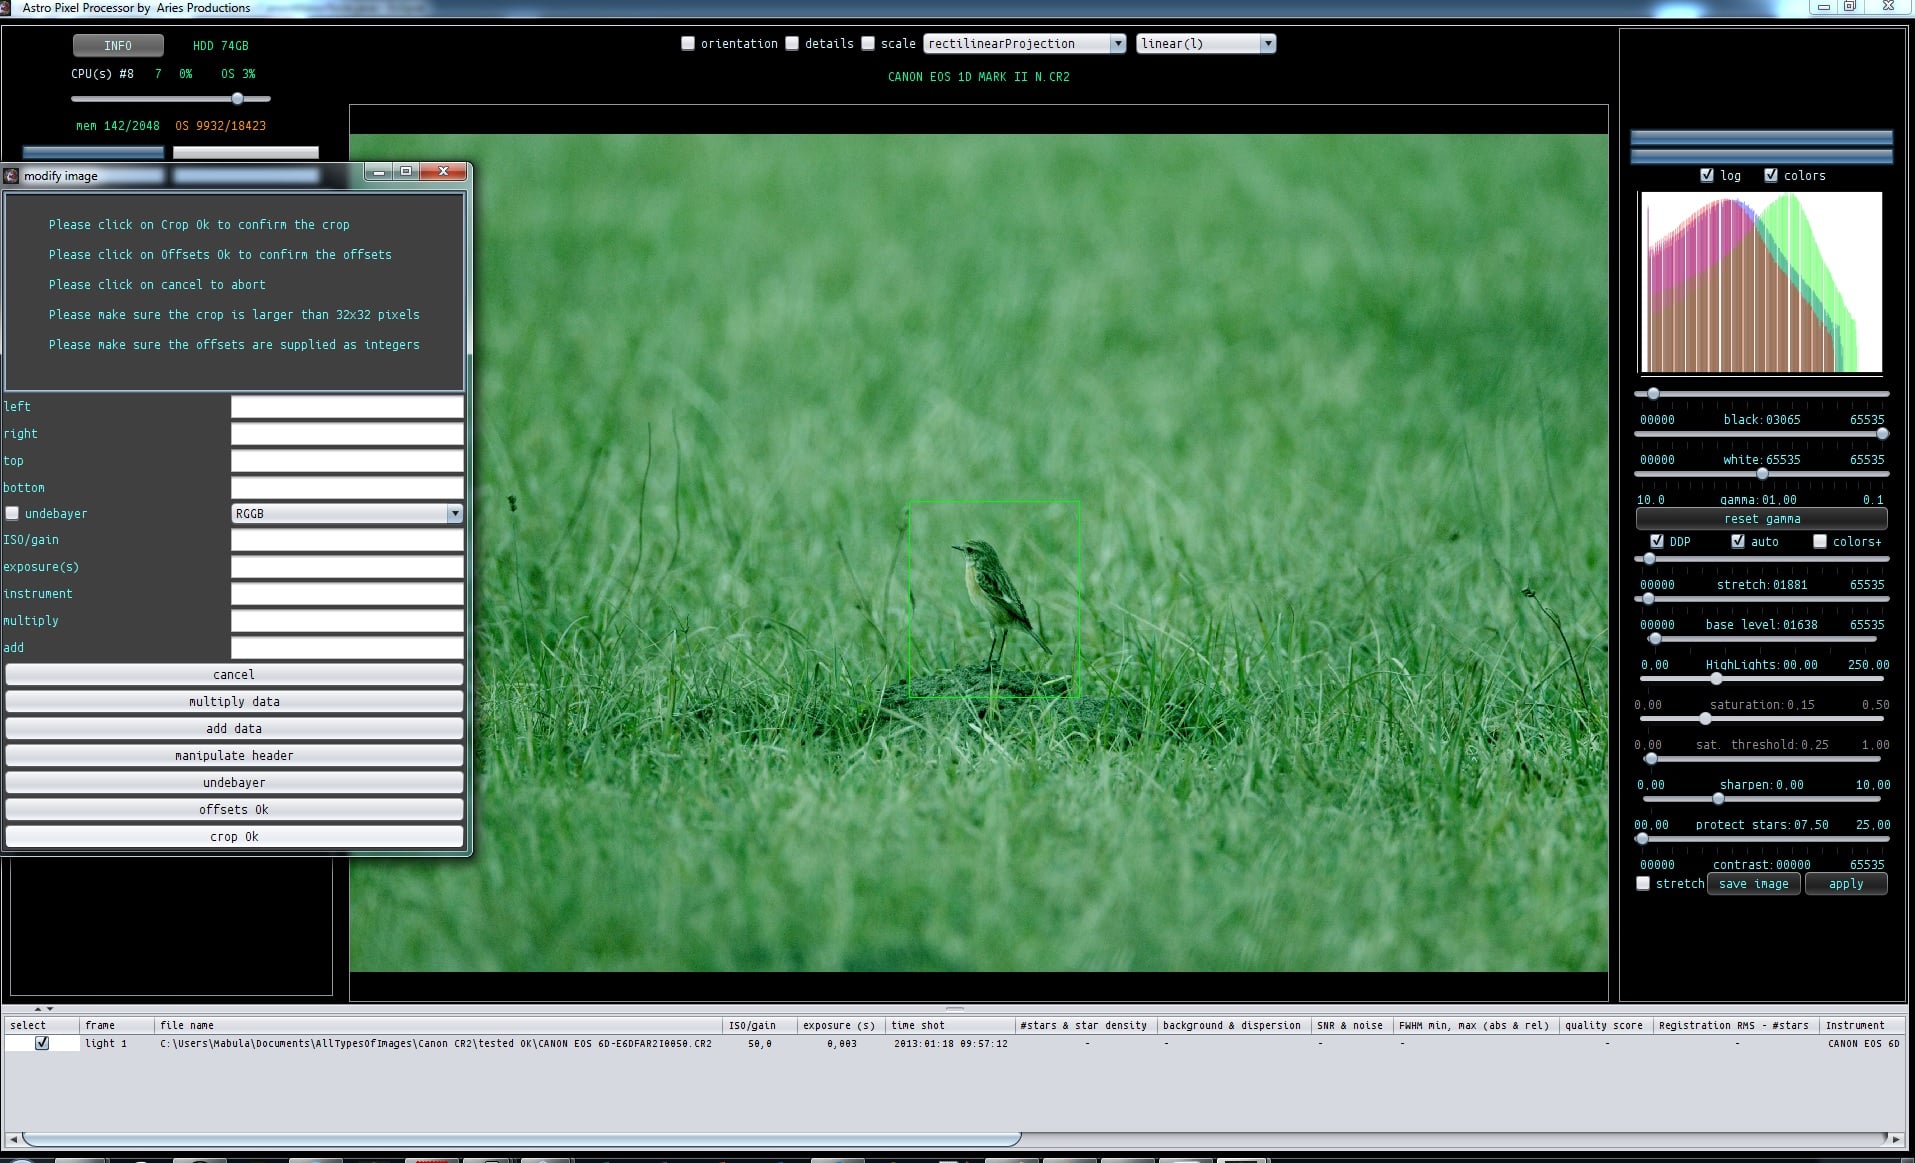
There are actually 2 crop functions,
1) batch modify tool
2) and you can integrate to a crop of the reference in 6) integrate
If you want to crop just 1 frame, use the batch modify tool 😉cropAPP
Haverkamp replied to the topic Ha, OIII, SII stacking, how to? in the forum Astro Pixel Processor Beta
I can integrate these two images fine:
What I did:
Since there aren't too many stars ( 100-200) I lowered kappa in the star analysis to 4
3) analyse stars ,
detect above noise
kappa 4
4) registration
since this is data from Pi and data from APP, clearly different sources, you need to
deselect same camera and optics ( a registration tool from a program is in technically speaking also a camera, it warps your data )
and
enable distortion correction
Then
5) normalize, I set normalization mode to advanced ! This will have the effect that the normalization parameters are only calculated on the area of the stacks that overlap. This will give better data normalization in this case ( this is one of the innovative feautures in APP).
6) Integrate
- composition mode FULL, we wwant to keep all data of both stacks in the final stack
- LNC set to 2nd degree, 3 iterations
- enabled MBB 10%
-Lanczos3 with no under/overshoot
and then stacked
The result is shown in the screenshot, notice that the seams of the stacks are hardly visible now..
So you can also do this with the OIII combine you did 😉
Let me know if you can duplicate this result on the H alpha combination of the 2 stacks.RobHaHorse
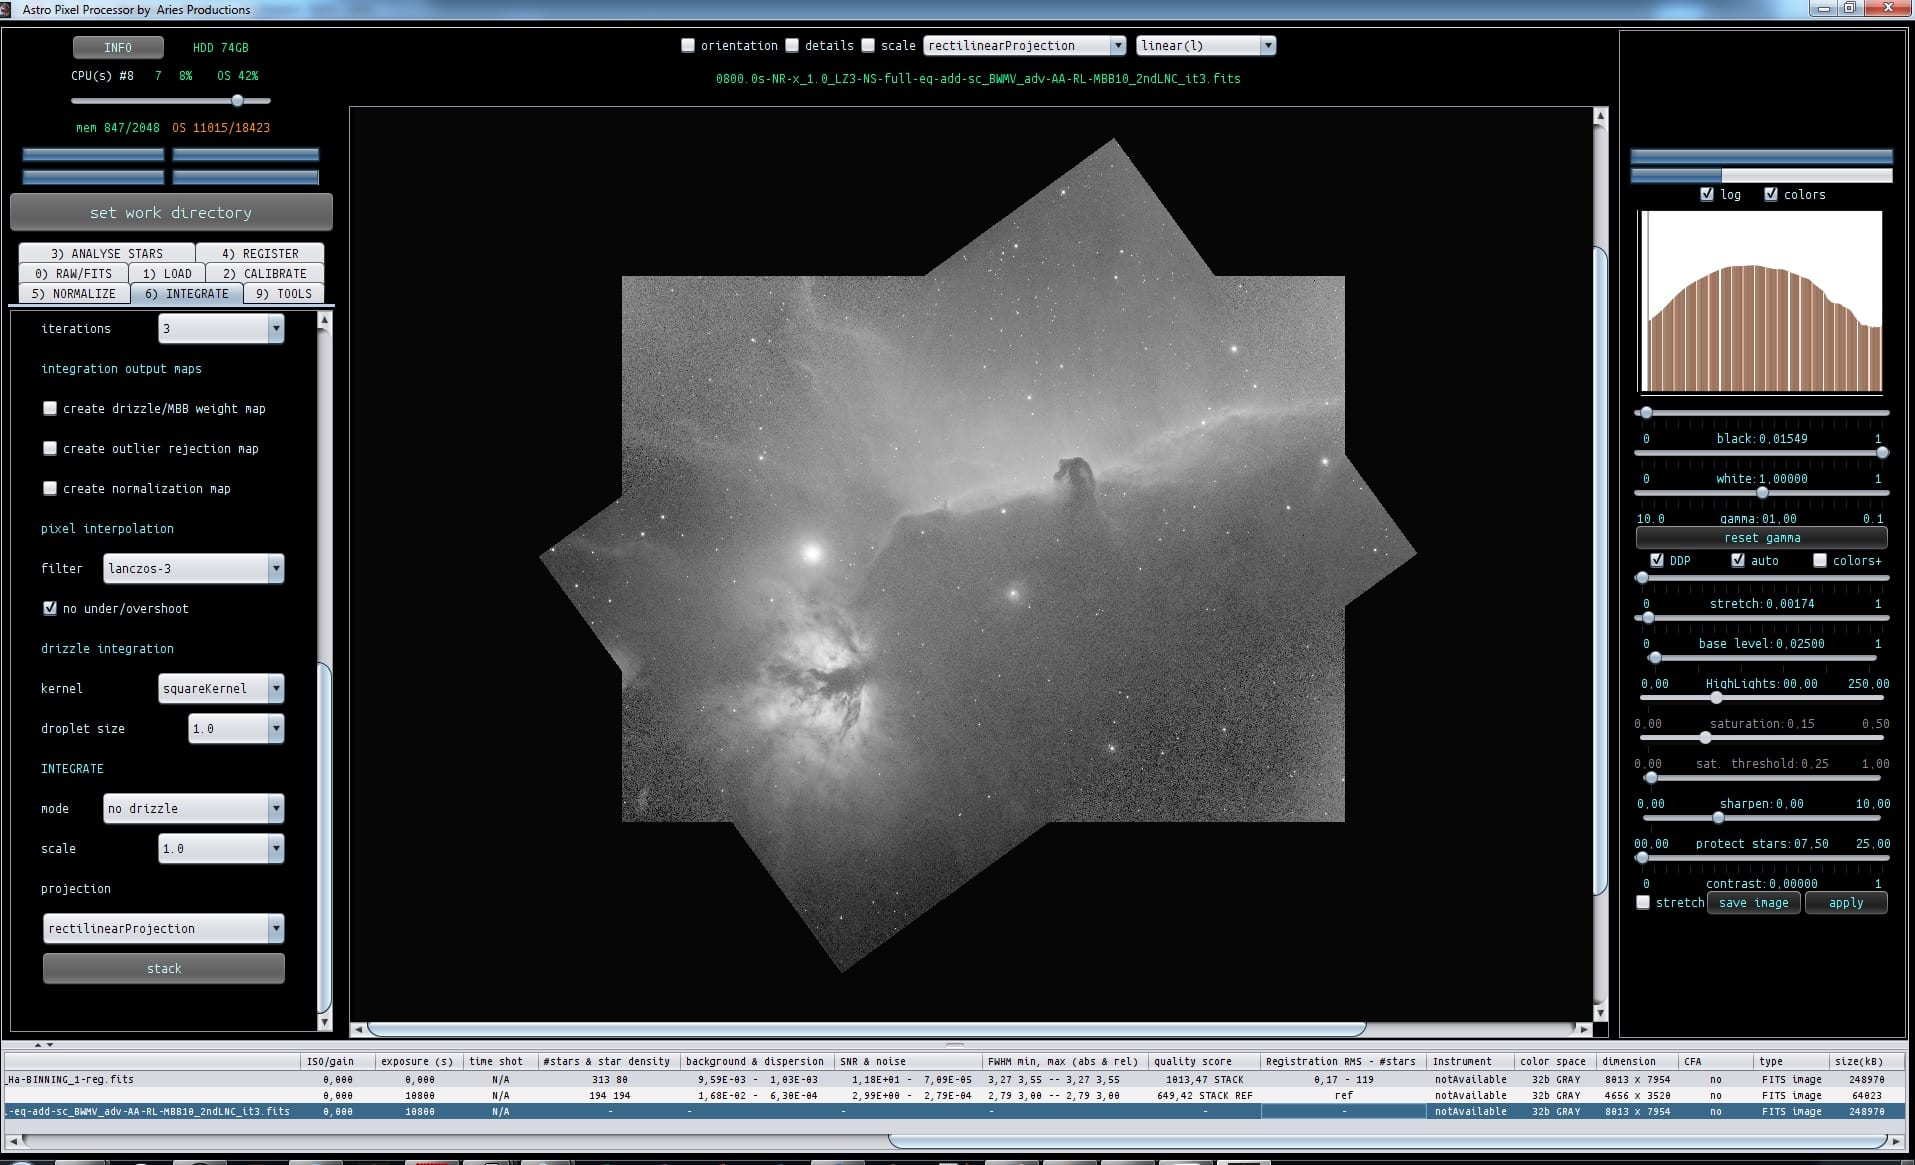
Haverkamp replied to the topic Ha, OIII, SII stacking, how to? in the forum Astro Pixel Processor Beta
Het is denk ik handig om te weten wat je met de OIII en HA stacks hebt gedaan om naar de combined versie te komen?
Het lijkt alsof die ook door een ander programma een bewerking hebben gekregen. Ik zie namelijk ook de de OIII moeilijk te registreren is, wat er op wijst dat een ander programma iets van een registratie heeft gedaan met mogelijk een slecht effect ?RobOIIIREG
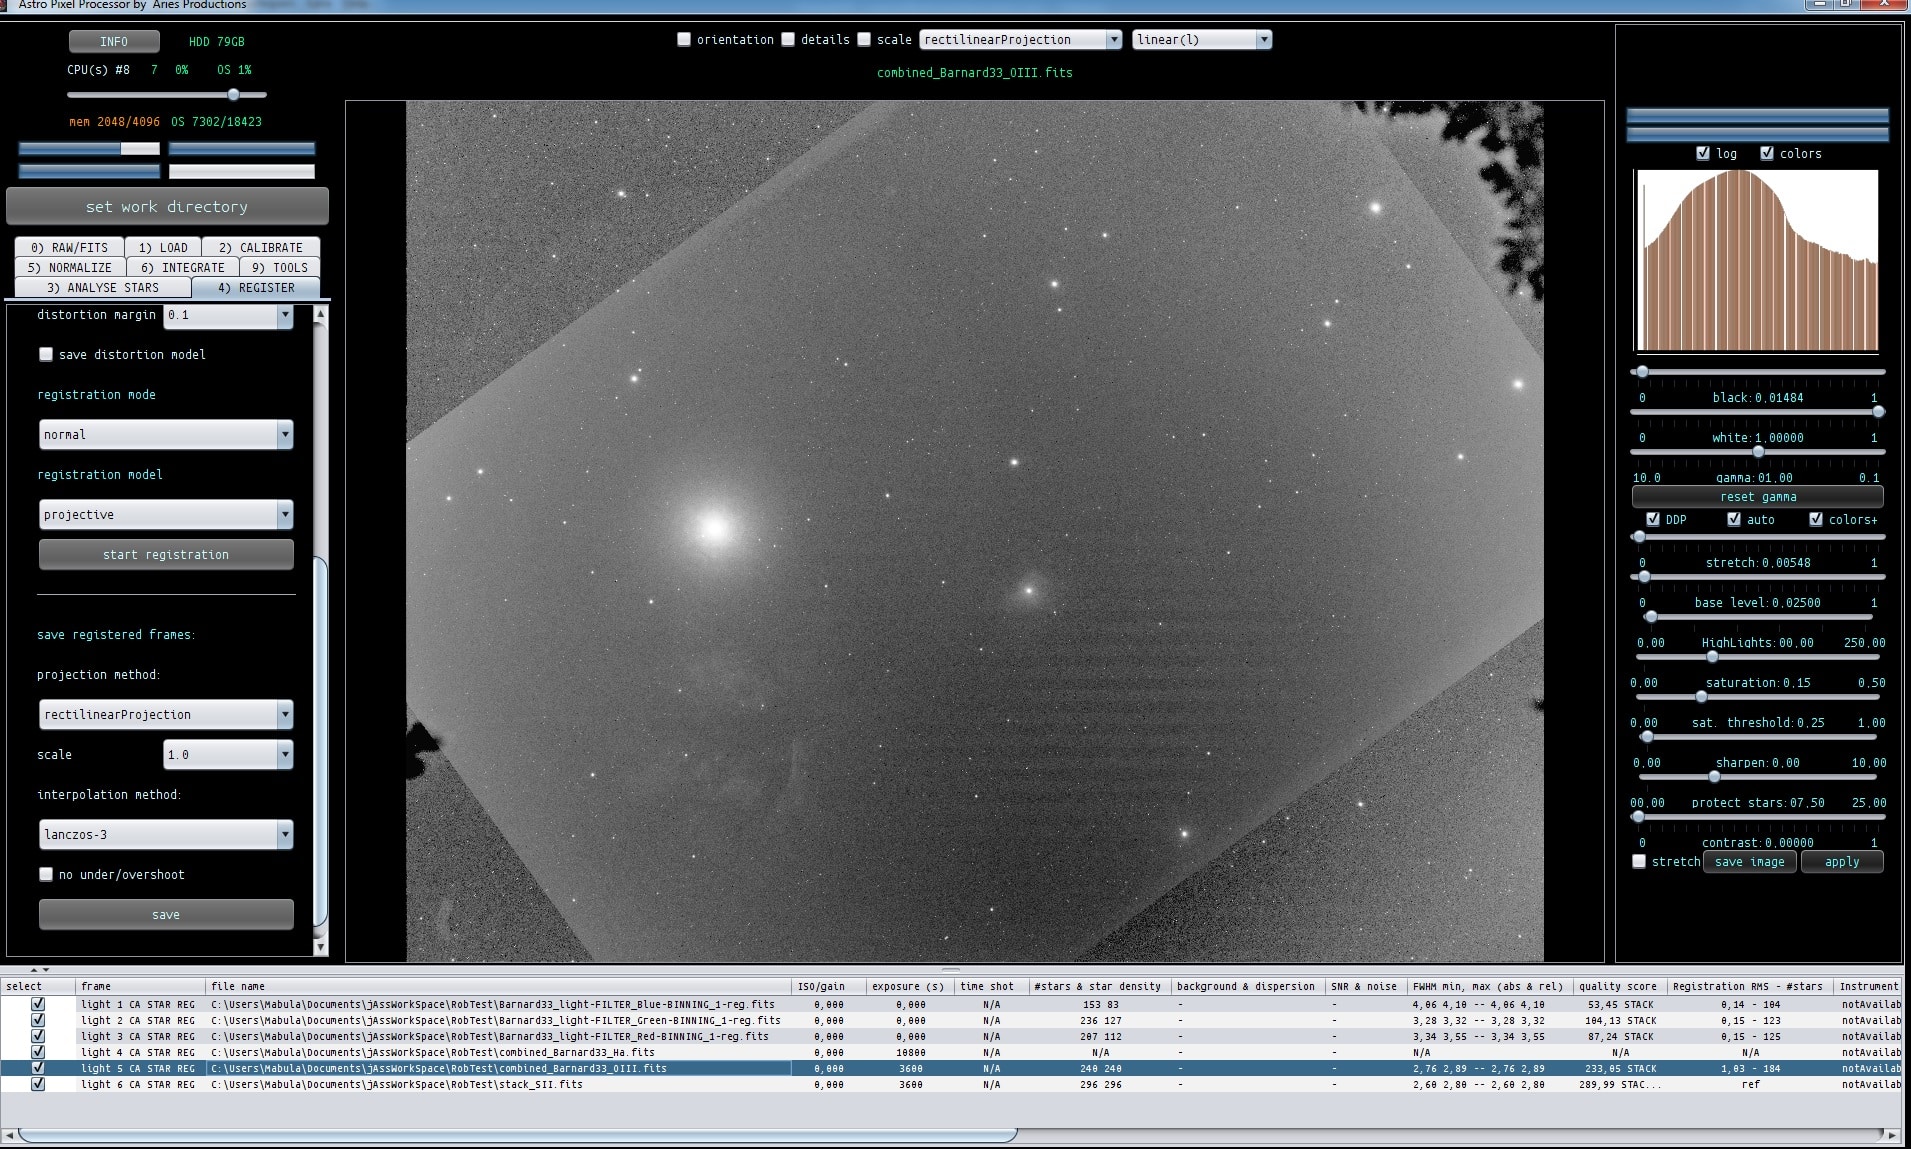
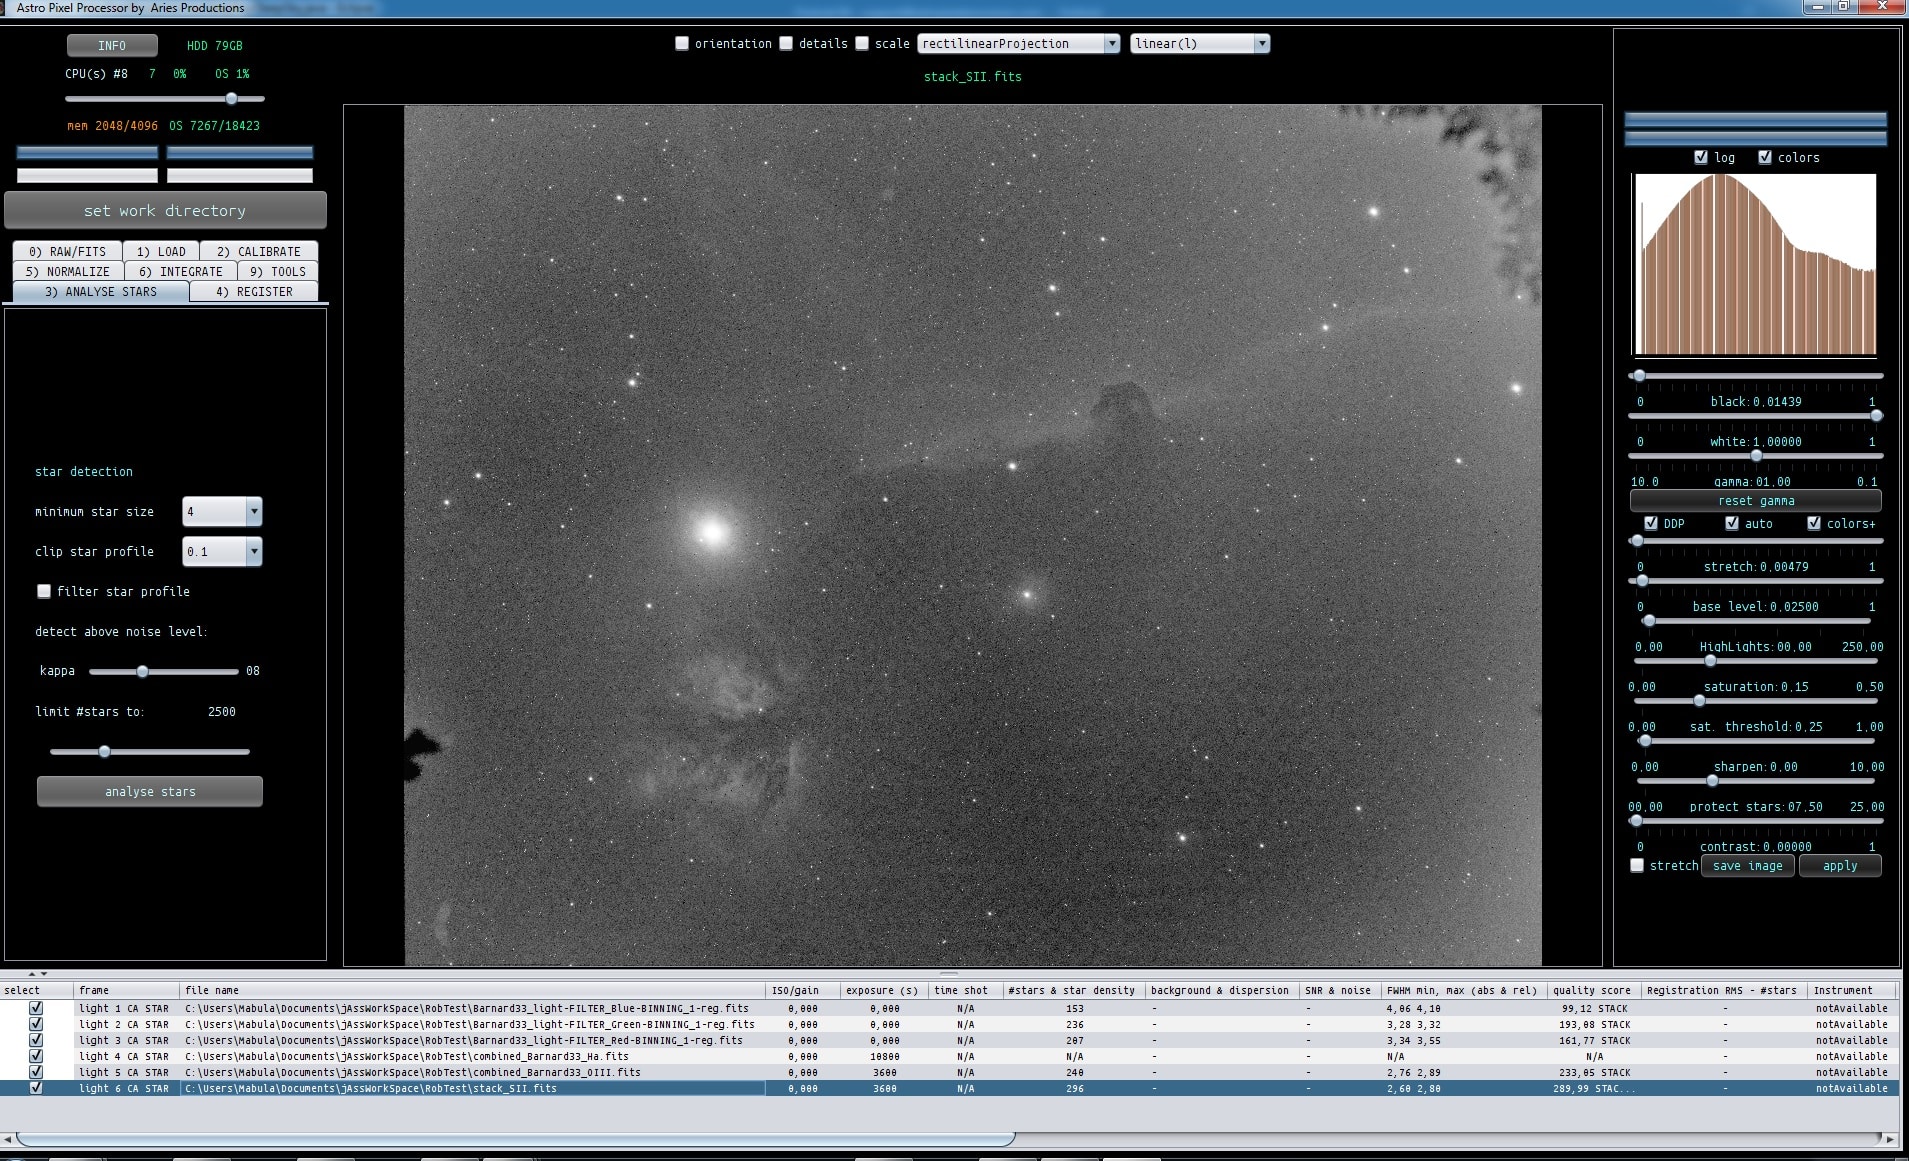
Haverkamp replied to the topic Ha, OIII, SII stacking, how to? in the forum Astro Pixel Processor Beta
Hoi Rob, de Ha data heeft geen data, dat is het probleem. Bekijk hem maar met bijvoorbeeld Fits Liberator of PI. Ik zie dat je combined als prefix ervoor hebt gezet
combined_Barnard33_Ha.fits
Heb je toevallig de stack nog liggen, ik denk dat er na het stacken iets is misgegaan. De andere opnames hebben wel sterren, zie screenshot.RobRegProblem
Haverkamp replied to the topic Data calibration workflow and processing in APP in the forum Methoden en Technieken
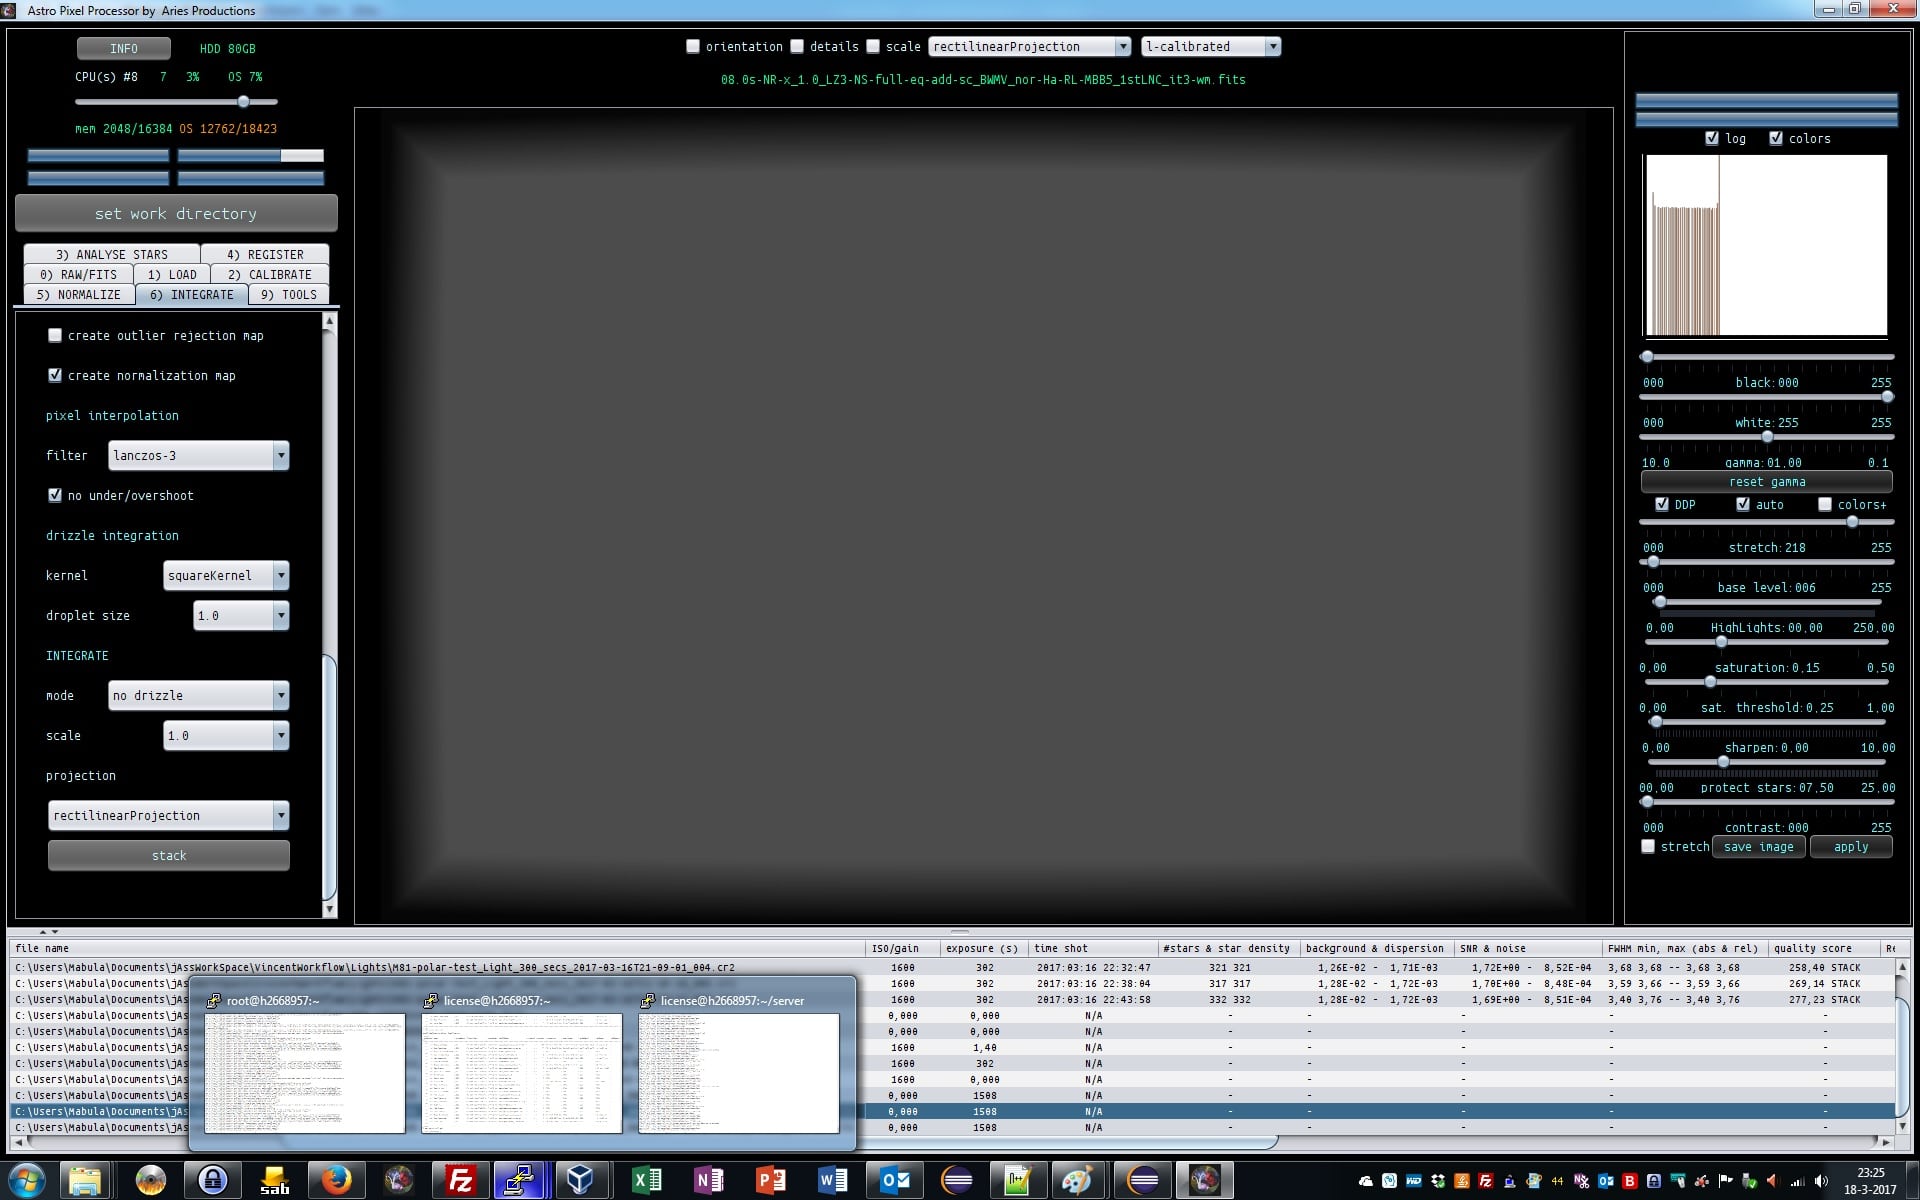
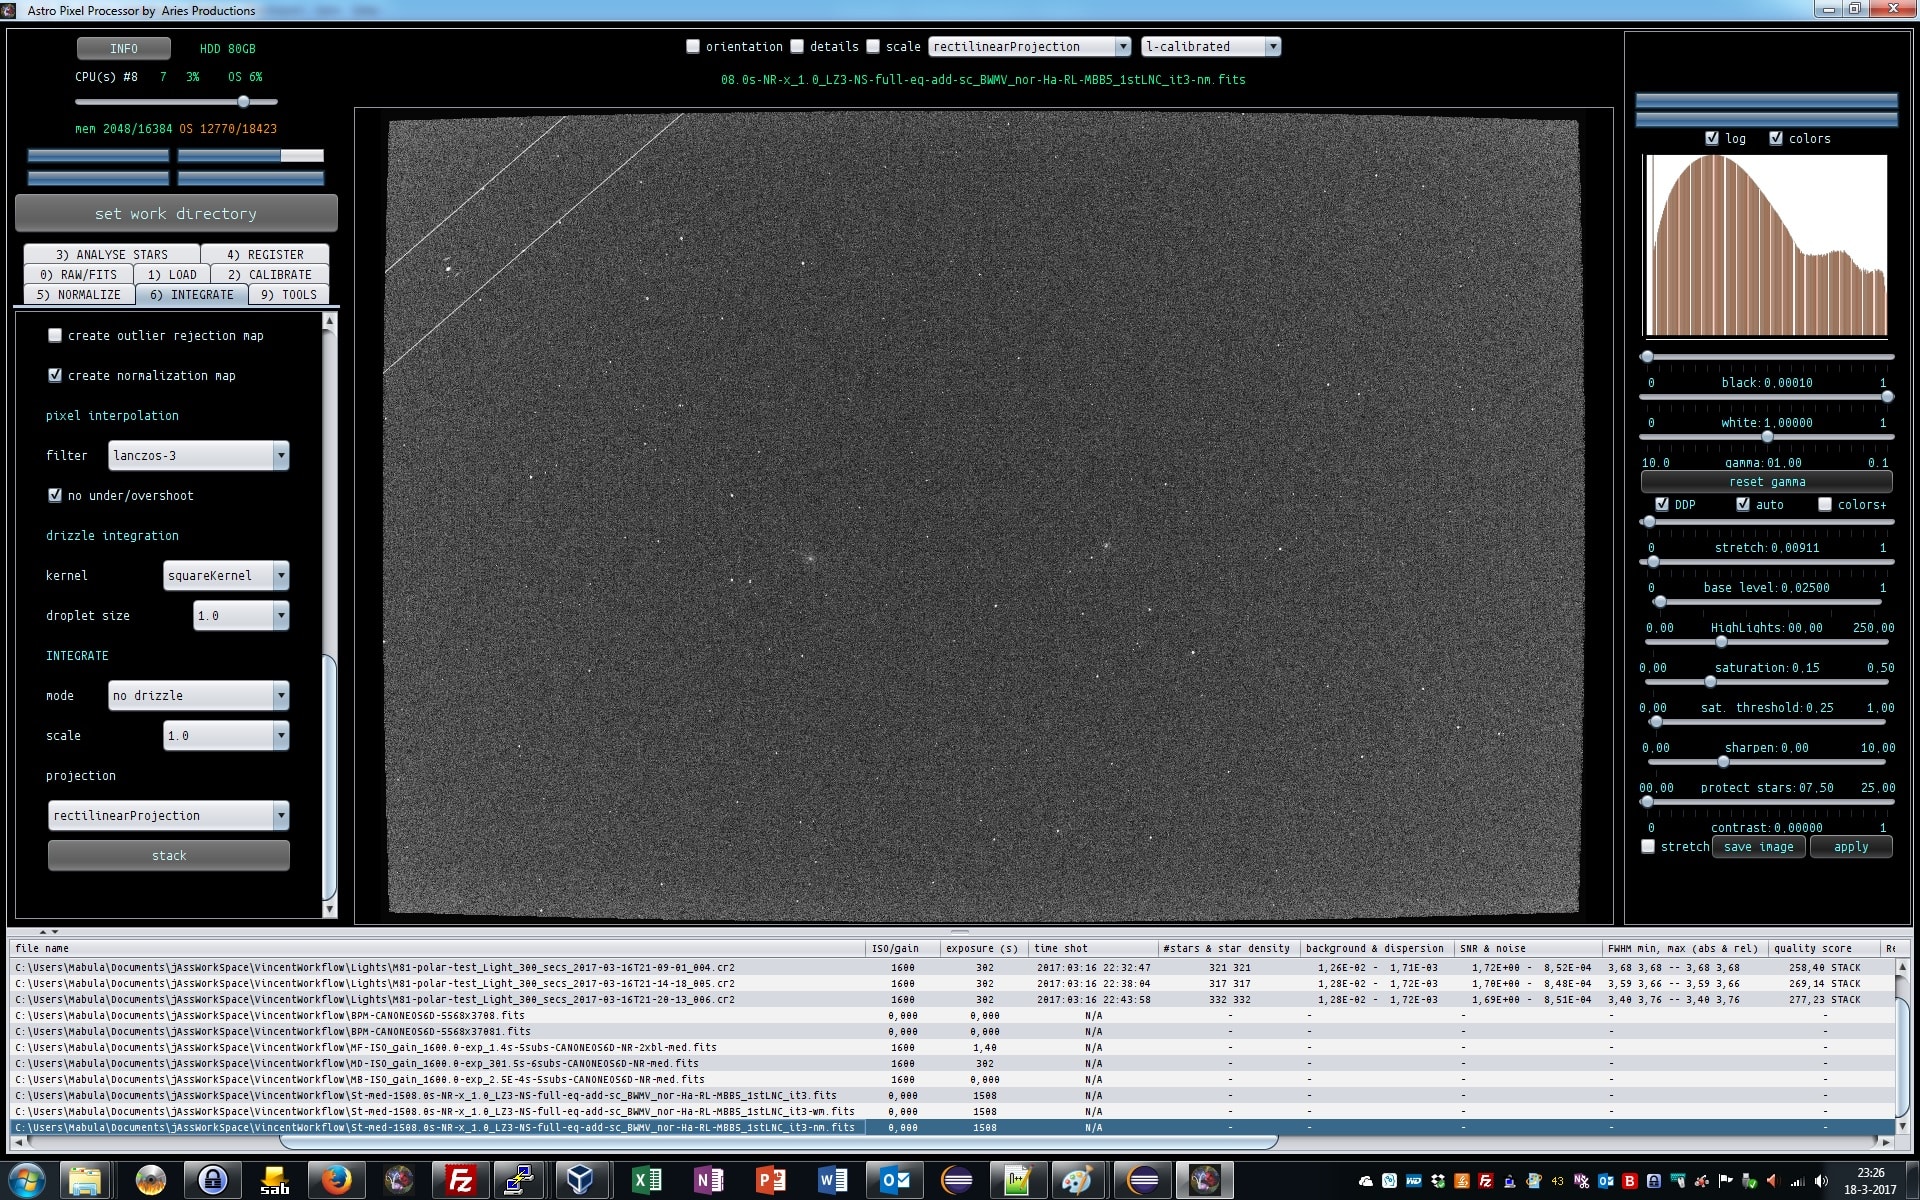
and lastly we make the stack at
6) INTEGRATE
Since I am only working on 5 frames to illustrate a workflow, I now use the following settings
- I stack all 5 out of 5 frames, is you choose less, based on the quality value of each frame, the frame with the least value is rejected from the stack list. In the column of the quality score is indicated which frames will be stacked by the STACK keyword.
- median integration instead of average, with more than 10 frames, you should always use average. It will be superior in almost all cases.
- no outlier rejection, because we only have 5 frames.
- composition mode: full, all pixels of all frames will be in the stack.
A reference composition will be just the Field of VIew of the reference.
You can also crop a part of the reference, and just stack that part.
- we apply first degree LNC with 3 iterations. This will remove linear gradients from your data if there are any, usually there are. And will help in removing stack artefacts ar the borders of your stack.
- enable multi band blending with 5%. to further remove possible stack artefacts at the borders of your stack.
- I use lanczos-3 interpolation with No under/over shoot to prevent ringing of stars due to the lanczos algorithm.
- And chose to output weight and normalization maps, to check multiband blending, and the effect of LNC.
- Finally I choose equal weights in the stack for all frames. You have several options to chose for weights, like noise, star density, star shape, SNR.
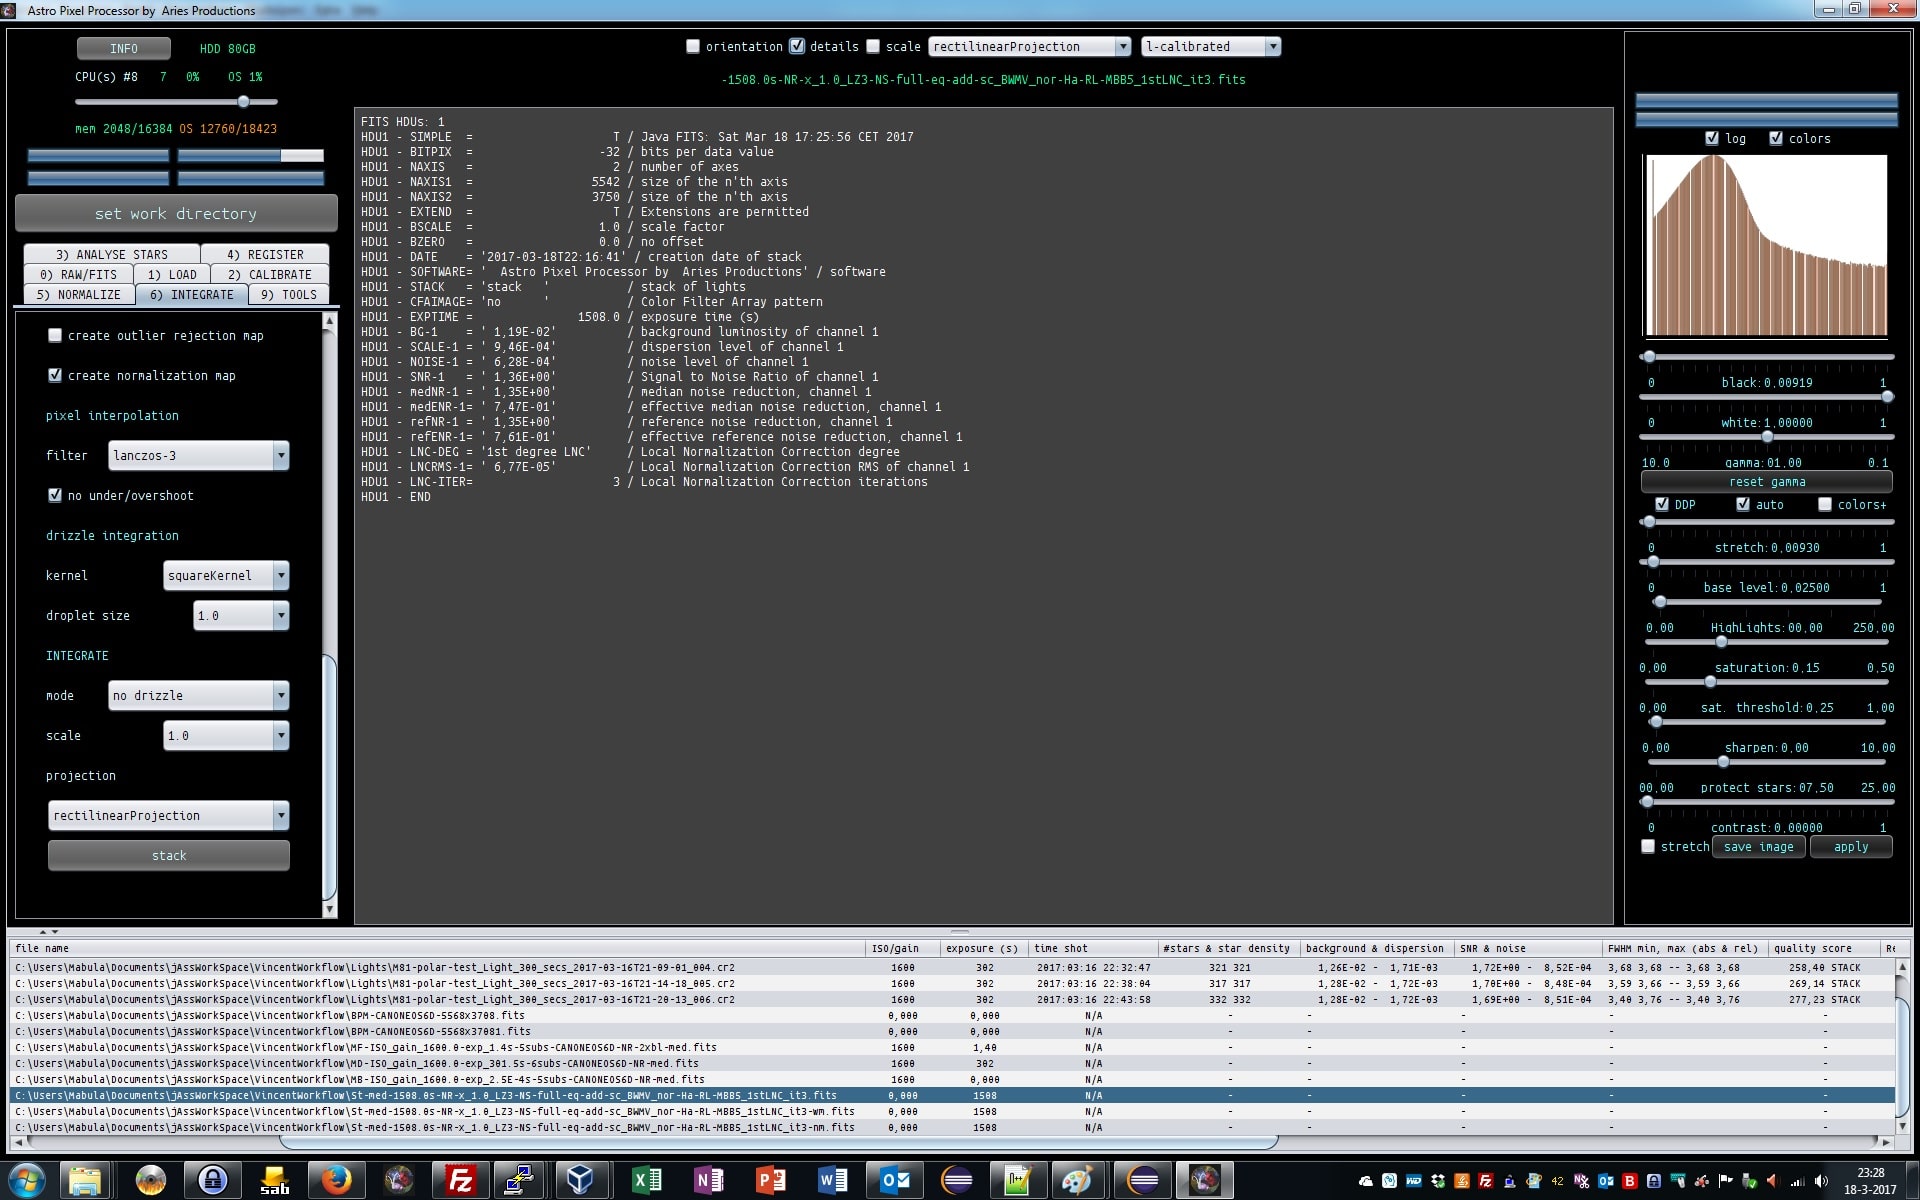
APP will output the stack, the weight map, showing MBB working at 5%, and the normalization map which shows the quality of normalization. The FITS headers have statistics from the results which you can check.
Please notice the shape of you stack, it's not square anymore, this is real dynamic distortion correction unlike any other program out there ;-)
Finally I show the stack, weight (MBB) map and normalization map.
The concept of a normalization map is new for most astrophotographers I think. That will be for another day ;-)StackweightnromalizationMap
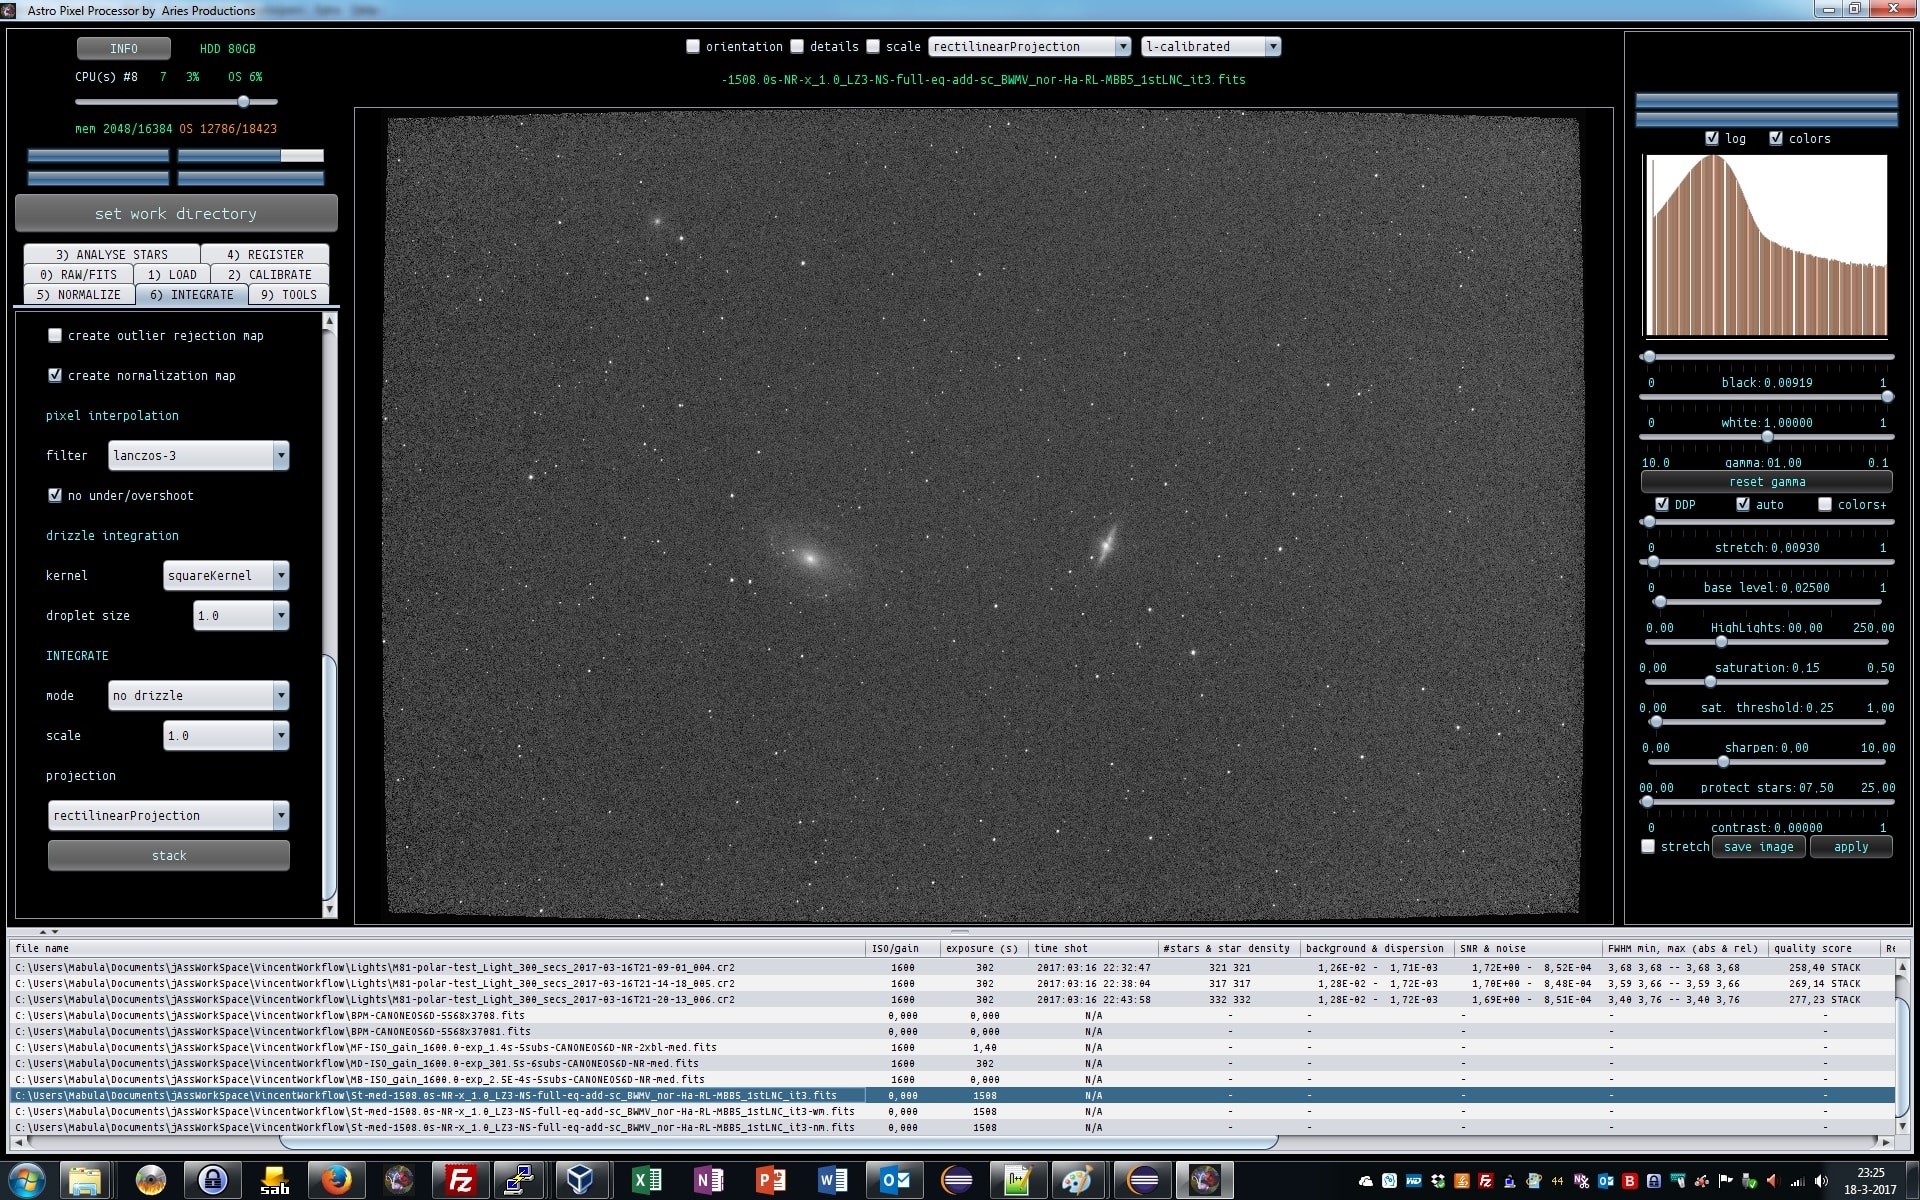
Haverkamp replied to the topic Data calibration workflow and processing in APP in the forum Methoden en Technieken
and lastly we make the stack at
6) INTEGRATE
Since I am only working on 5 frames to illustrate a workflow, I now use the following settings
- I stack all 5 out of 5 frames, is you choose less, based on the quality value of each frame, the frame with the least value is rejected from the stack list. In the column of the quality score is indicated which frames will be stacked by the STACK keyword.
- median integration instead of average, with more than 10 frames, you should always use average. It will be superior in almost all cases.
- no outlier rejection, because we only have 5 frames.
- composition mode: full, all pixels of all frames will be in the stack.
A reference composition will be just the Field of VIew of the reference.
You can also crop a part of the reference, and just stack that part.
- we apply first degree LNC with 3 iterations. This will remove linear gradients from your data if there are any, usually there are. And will help in removing stack artefacts ar the borders of your stack.
- enable multi band blending with 5%. to further remove possible stack artefacts at the borders of your stack.
- I use lanczos-3 interpolation with No under/over shoot to prevent ringing of stars due to the lanczos algorithm.
- And chose to output weight and normalization maps, to check multiband blending, and the effect of LNC.
- Finally I choose equal weights in the stack for all frames. You have several options to chose for weights, like noise, star density, star shape, SNR.
APP will output the stack, the weight map, showing MBB working at 5%, and the normalization map which shows the quality of normalization. The FITS headers have statistics from the results which you can check.
Please notice the shape of you stack, it's not square anymore, this is real dynamic distortion correction unlike any other program out there ;-)
Finally I show the stack, weight (MBB) map and normalization map.
The concept of a normalization map is new for most astrophotographers I think. That will be for another day ;-)StackweightnromalizationMap
Haverkamp replied to the topic Data calibration workflow and processing in APP in the forum Methoden en Technieken
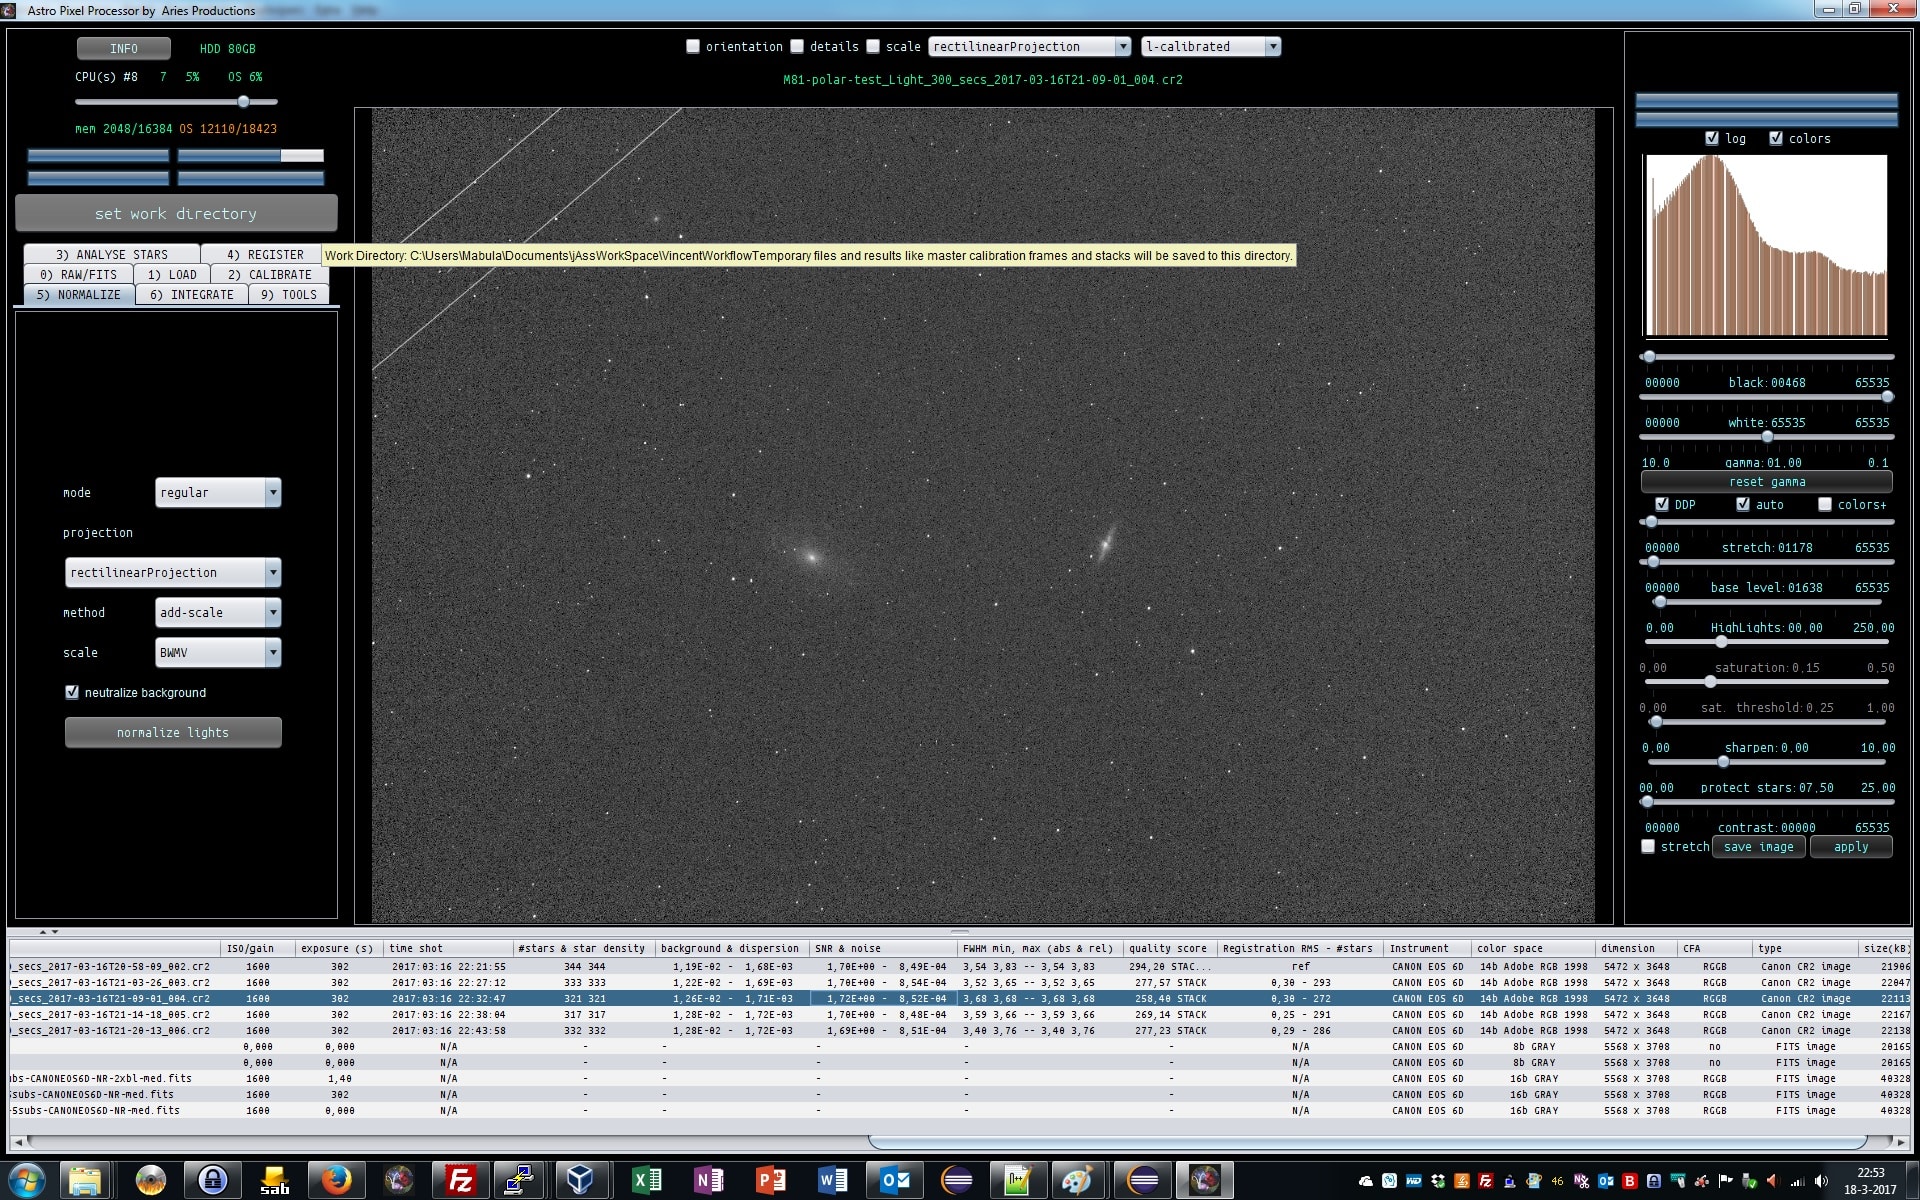
5) Normalize
Data normalization is performed.
We keep everything at default settings.
All your light frames will be normalized for lokation and dispersion relative to your reference frame. Which is the top frame in the file list.
APP wil
1) calculate normalization parameters,
2) then perform normalization and
3) then perform noise and SNR calculation on the normalized data.
Reported back by APP are the lokation (background) and dispersion values of your frames, and noise and SNR. You'll see that your lights are very equal in illumination. If your lights would have somewhat different lokations and possible changing gradients, the reported values would deviate much more.
APP always normalizes the data range of your lights from 0 - 1 in 32bits floats. This enables APP to process, without problems, data of different data types. So 16bit and 32bit light frames, can be stacked without problems. They will all be normalised to the same data range.Normalize
Haverkamp replied to the topic Data calibration workflow and processing in APP in the forum Methoden en Technieken
4) registration,
we turn distortion correction on, the rest stays at default.
APP will report the results again in the file list:
1) the registration error in pixels is shown together with the amount of stars that were used in registering the frames to the chosen reference frame. The reference frame waschosen automatically after star analysis. And it chose the frame with the most stars combined with the star roundness and size as quality parameters. More stars are very important for the registration process, so it has a high weight in the calculation.
You'll notice, that APP also reports star density and a relative FWHM measure of the stars in your frames. In this case they are identical since, your frames have all equal scale and image dimensions. If you were to combine frames of different scale and/or dimensions, the star density and relative FWHM will actually give a fair quality comparison between the frames.
So these quality parameters are reported independently for scale and Field Of View (FOV) between your frames. This enables APP to do a good quality assessment of your frames when you combine frames of different camera's and/or telescopes.Registration
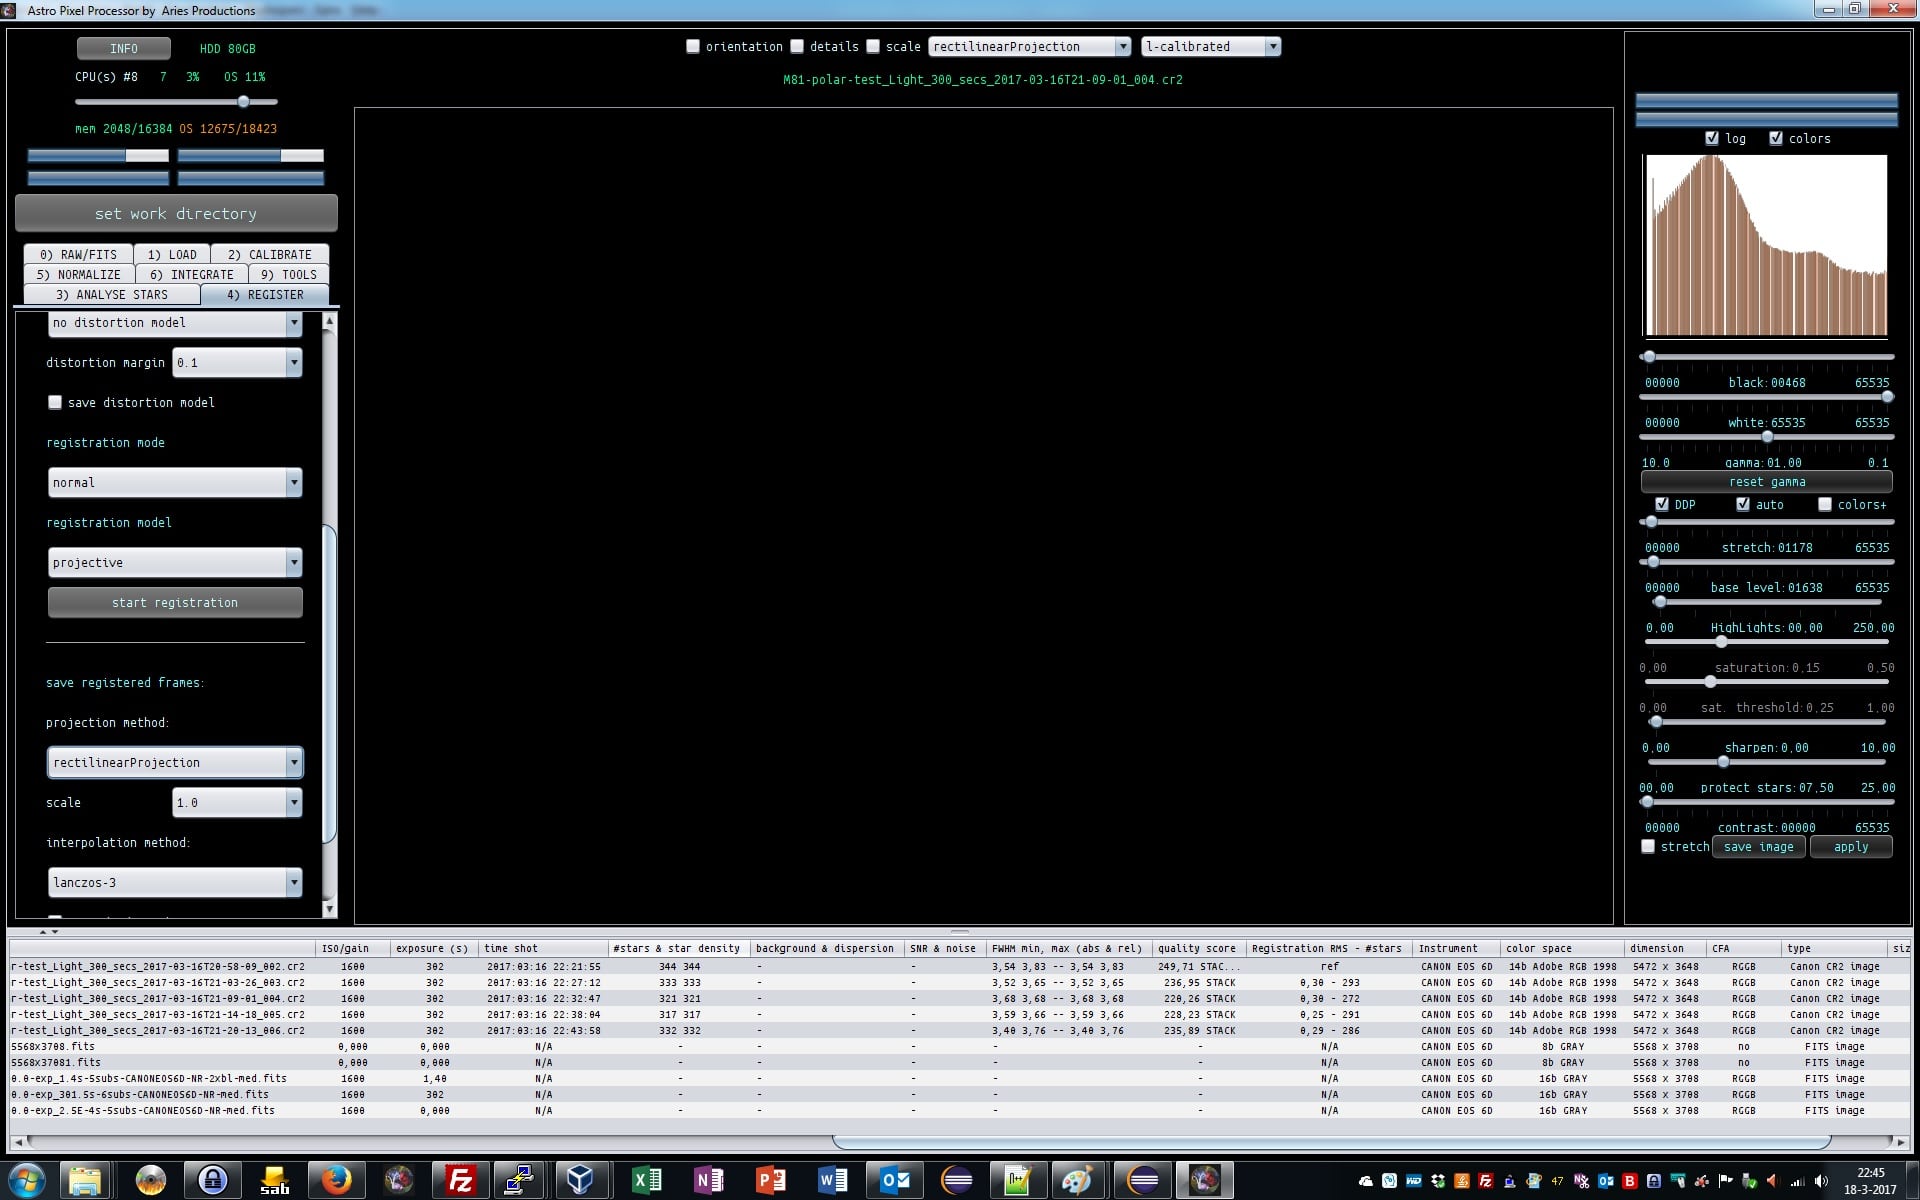
Haverkamp replied to the topic Data calibration workflow and processing in APP in the forum Methoden en Technieken
Thank you Vincent, you're welcome ;-)
Let me proceed with your calirbated frames.
3) ANALYSE STARS, we can keep all settings at default ;-)
After star analysis, APP reports the amount of stars found with the supplied settings and also mininimum and maximum FWHM of your stars in the light frames. The more the minimum and maximum FWHM deviate the less round your stars are. APP will use these values in quality calculation of your frames.STARS
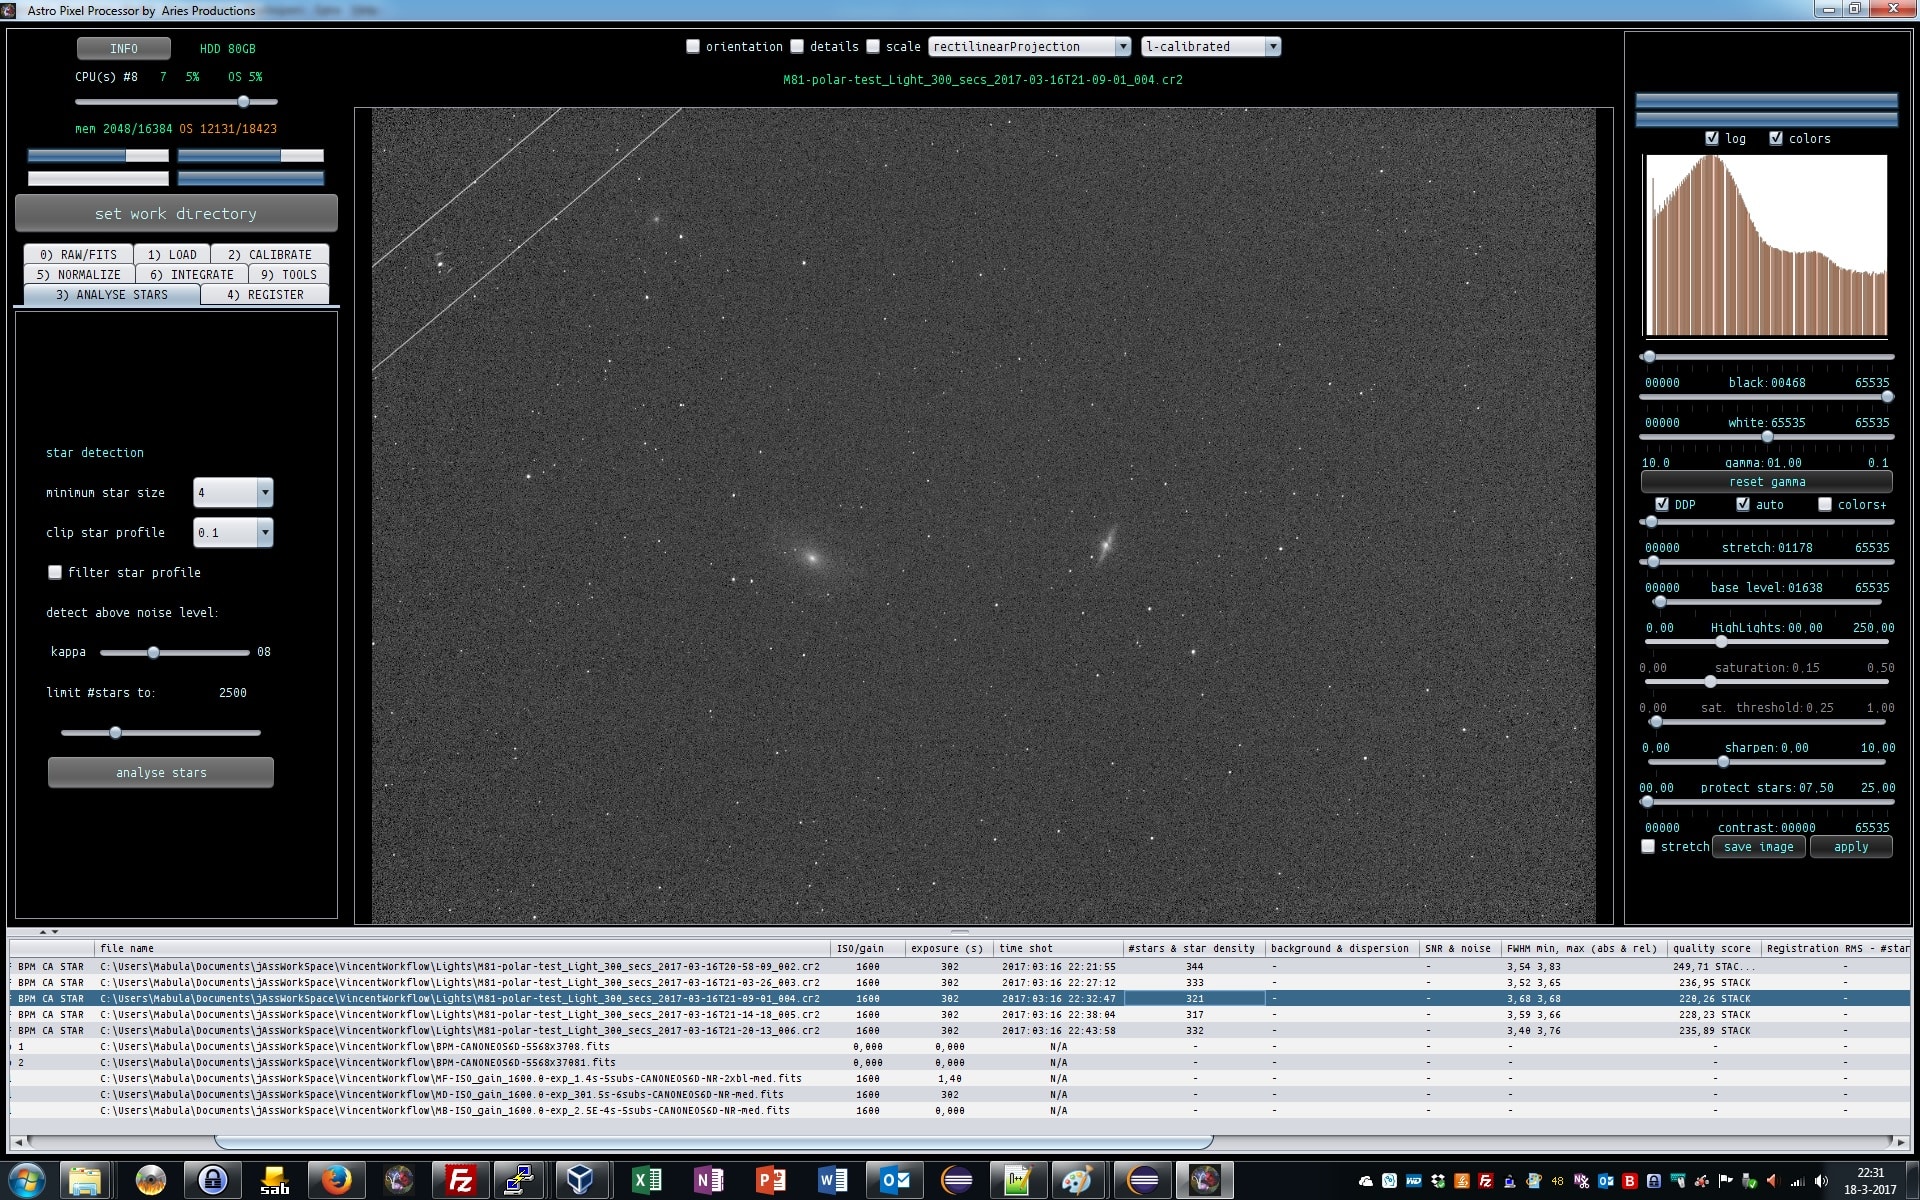
Haverkamp replied to the topic Data calibration workflow and processing in APP in the forum Methoden en Technieken
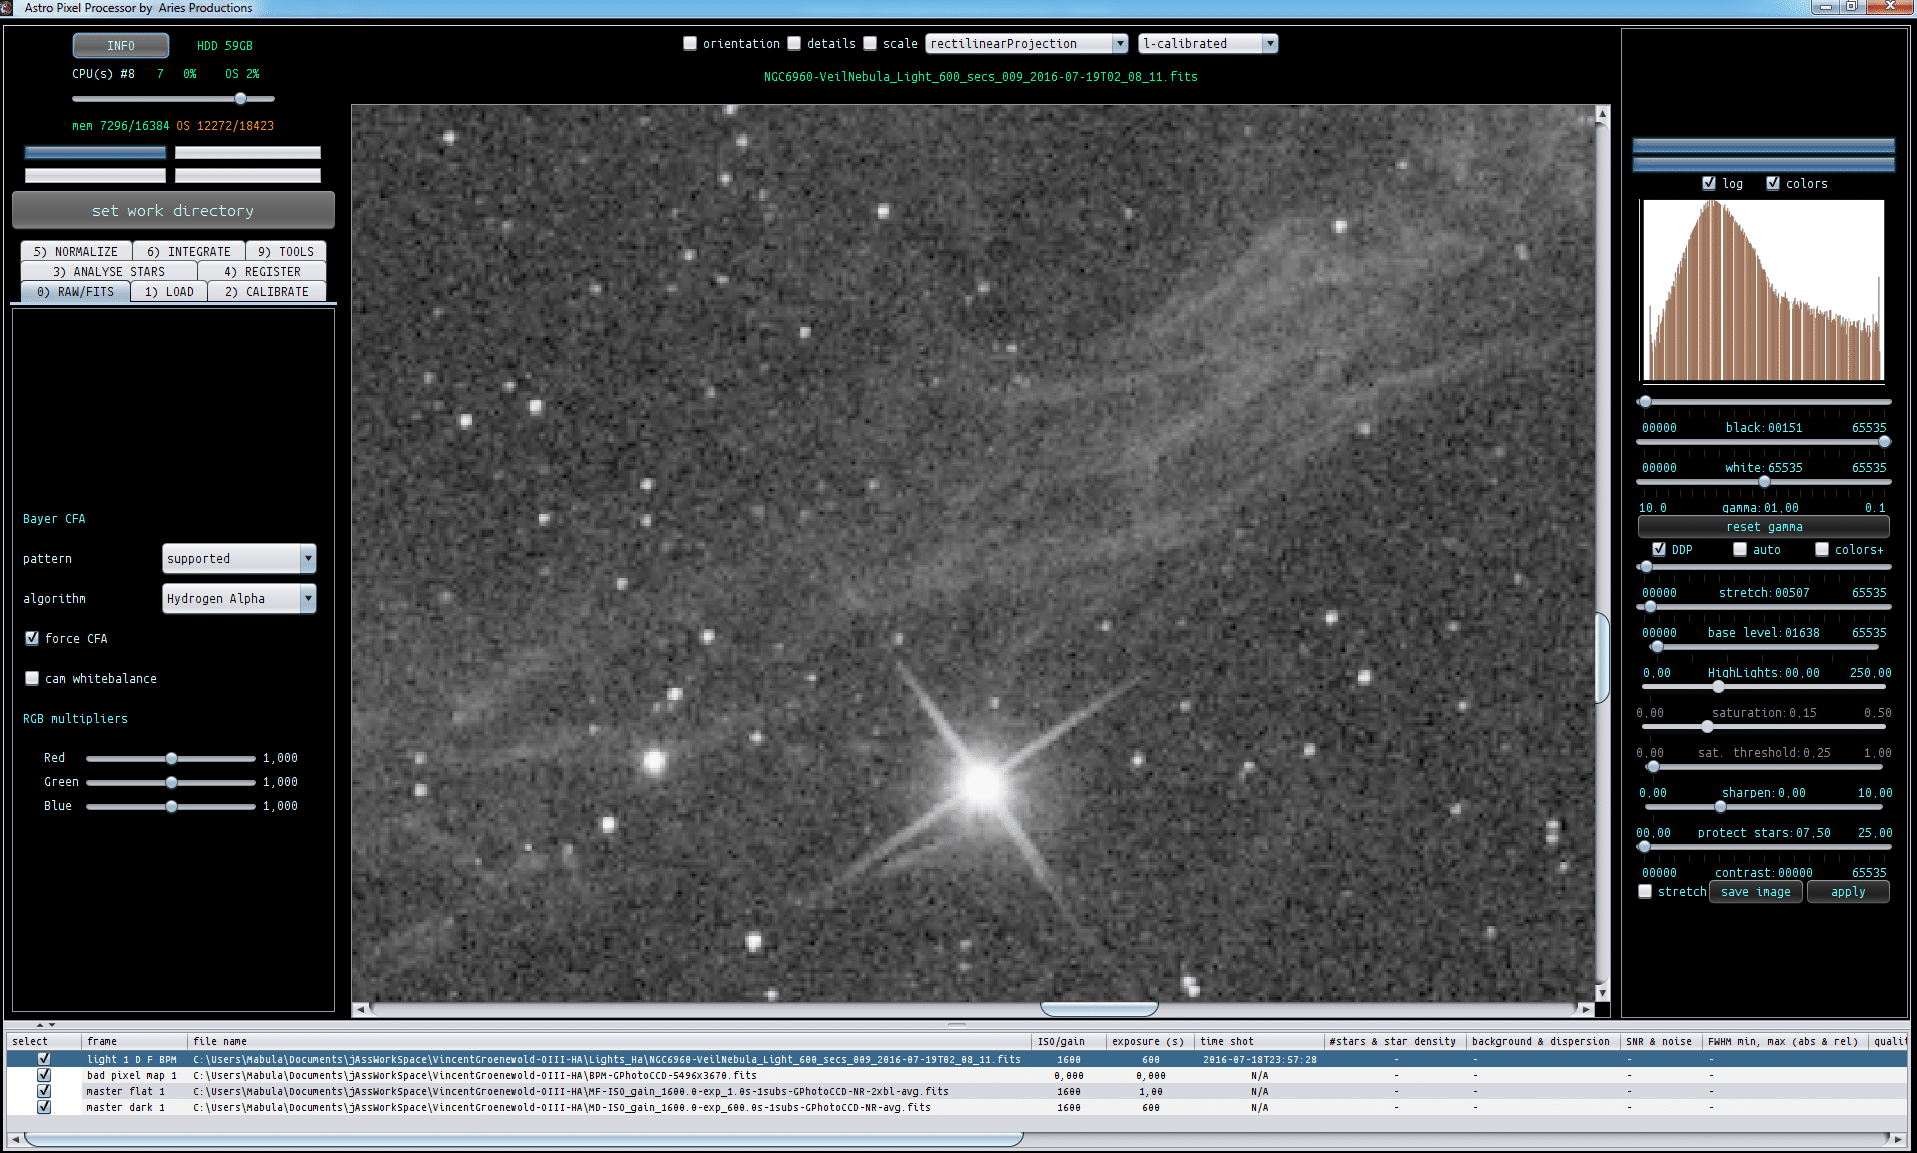
This actually looks pretty bad, only signal in the red channel.
Luckily there is a very good explanation. This is H-alpha data shot with a H-alpha filter.
APP can deal with this immediately and properly. You don't need to split the channels to work only with the red channel. You can just select the H-alpha debayer algorithm to immediately show the H-alpha monochrome data collected with the Canon 6D of Vincent.
I apply the H-alpha debayer algortihm in 0) RAW/FITS menu, by selecting Hydrogen-Alpha in the Bayer CFA algortihm dropdown box.
Again the single light, with H-alpha debayer, and next to it, the calirbated H-alpha data, everything is shown with the auto DDP function of APP, so you get automatically stretched preview data on your screen from your linear data. So all data stays linear.SingleLight-HalphaSingleLight-Halpha-calibrated
Haverkamp replied to the topic Data calibration workflow and processing in APP in the forum Methoden en Technieken
This actually looks pretty bad, only signal in the red channel.
Luckily there is a very good explanation. This is H-alpha data shot with a H-alpha filter.
APP can deal with this immediately and properly. You don't need to split the channels to work only with the red channel. You can just select the H-alpha debayer algorithm to immediately show the H-alpha monochrome data collected with the Canon 6D of Vincent.
I apply the H-alpha debayer algortihm in 0) RAW/FITS menu, by selecting Hydrogen-Alpha in the Bayer CFA algortihm dropdown box.
Again the single light, with H-alpha debayer, and next to it, the calirbated H-alpha data, everything is shown with the auto DDP function of APP, so you get automatically stretched preview data on your screen from your linear data. So all data stays linear.SingleLight-HalphaSingleLight-Halpha-calibrated
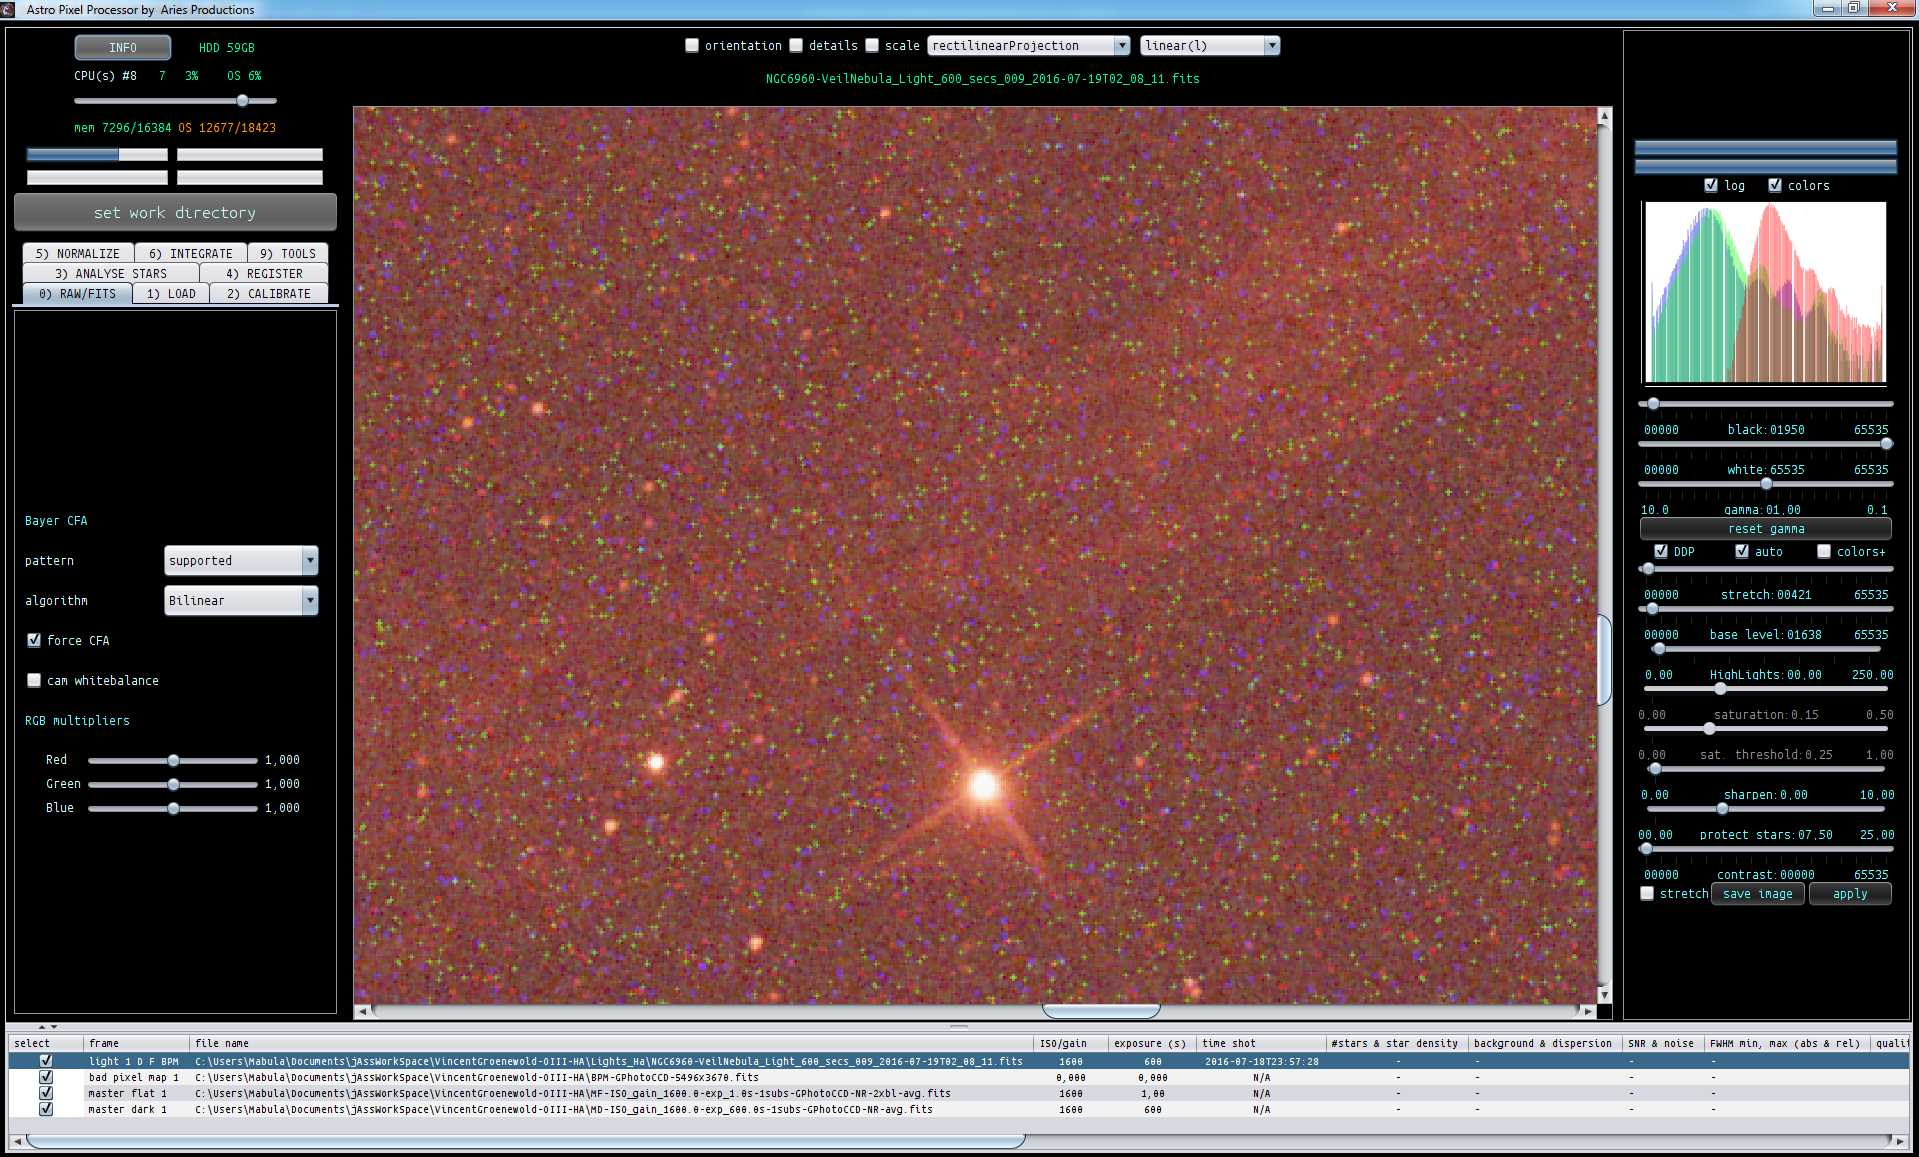
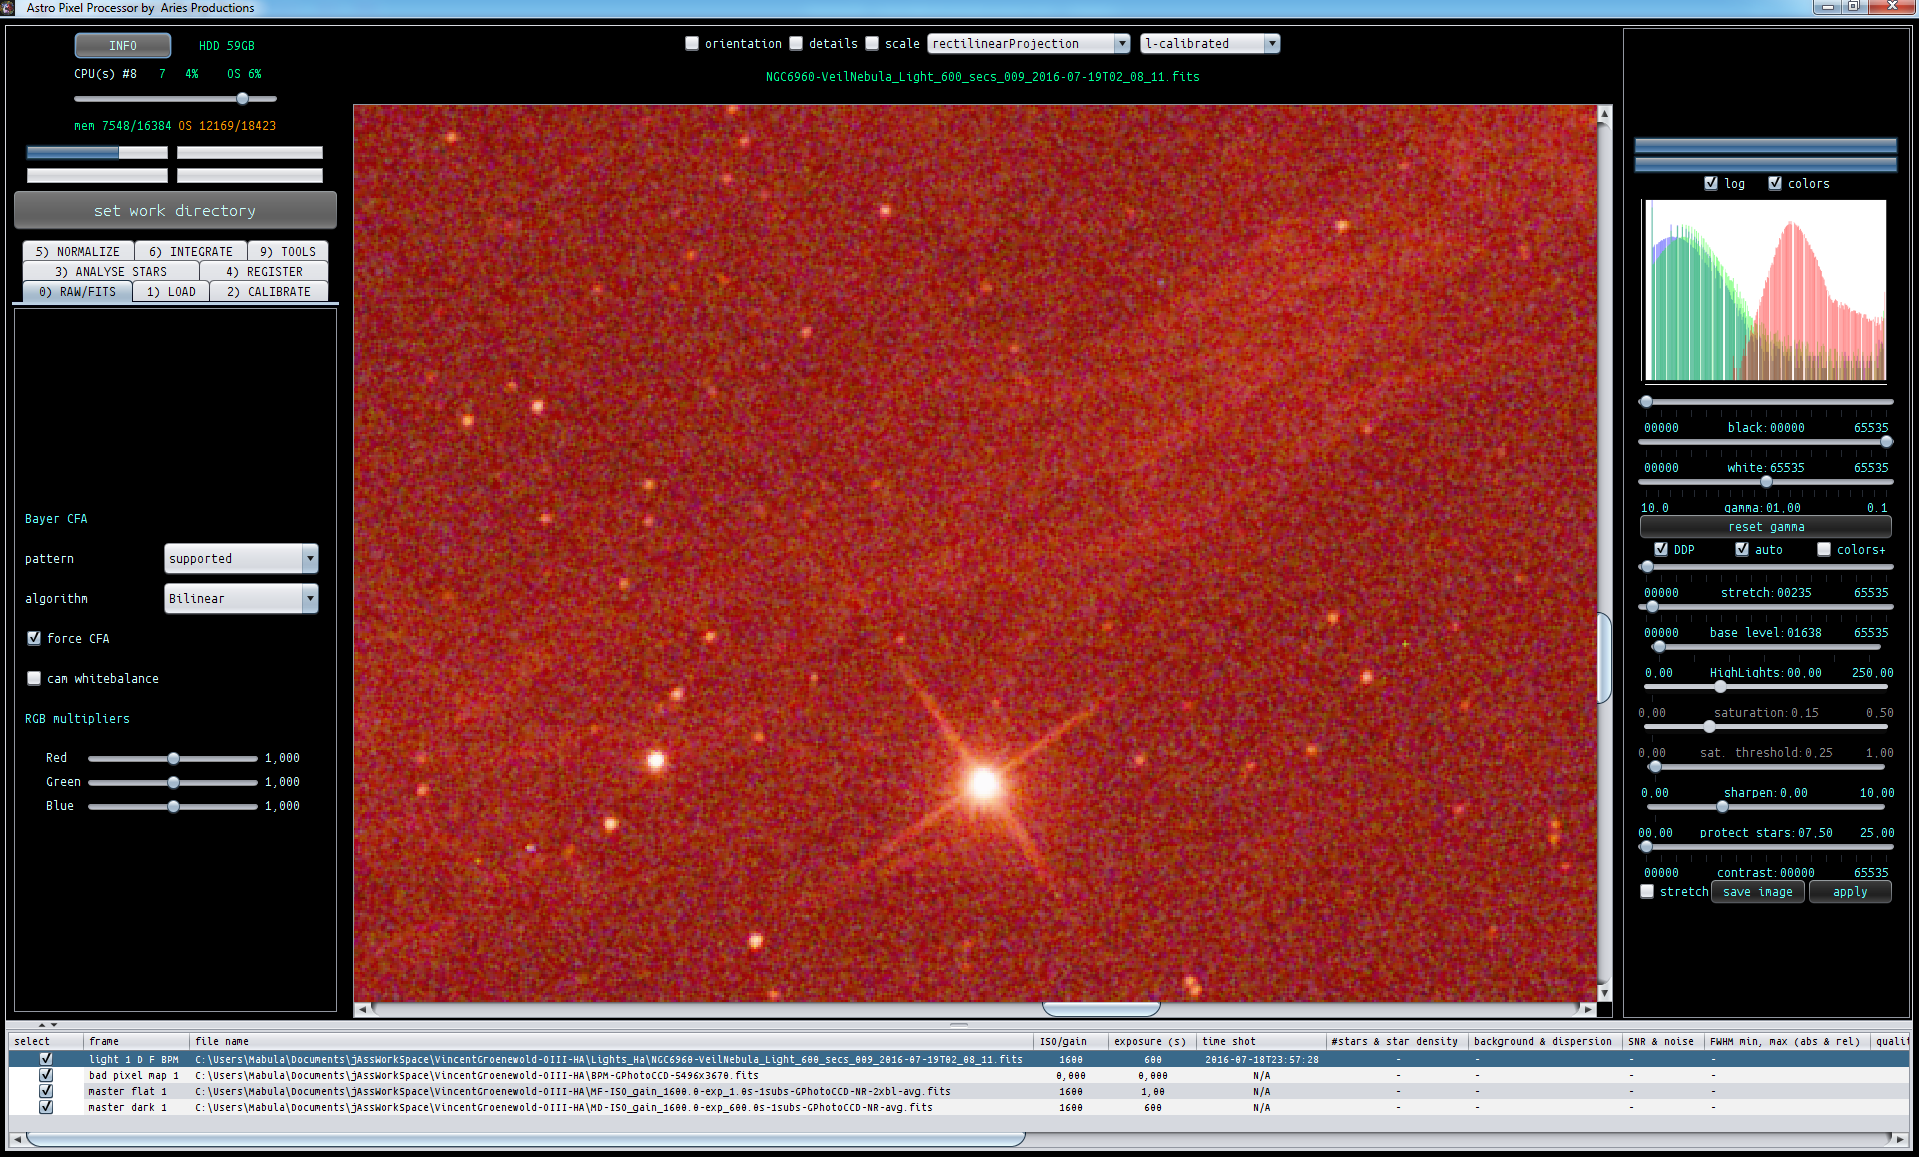
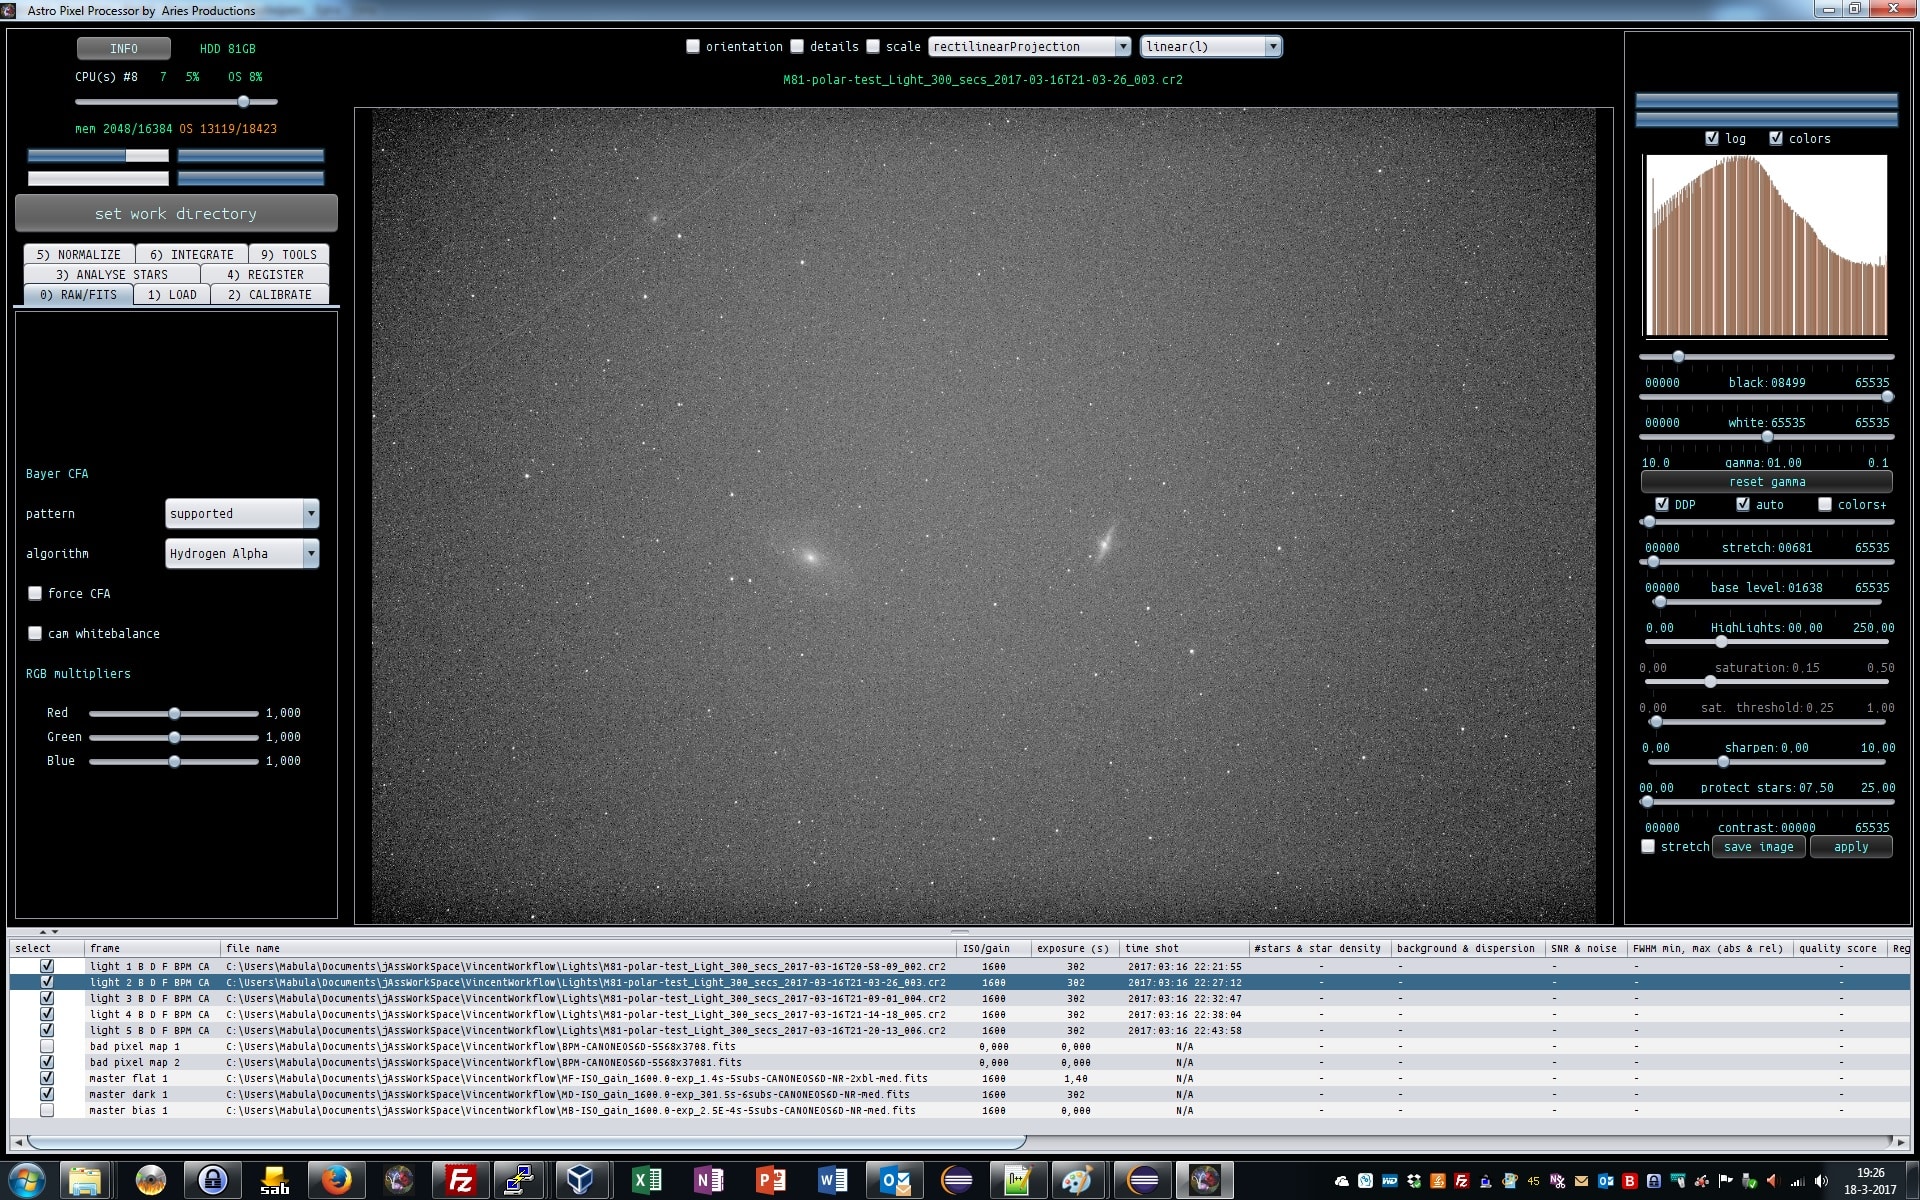
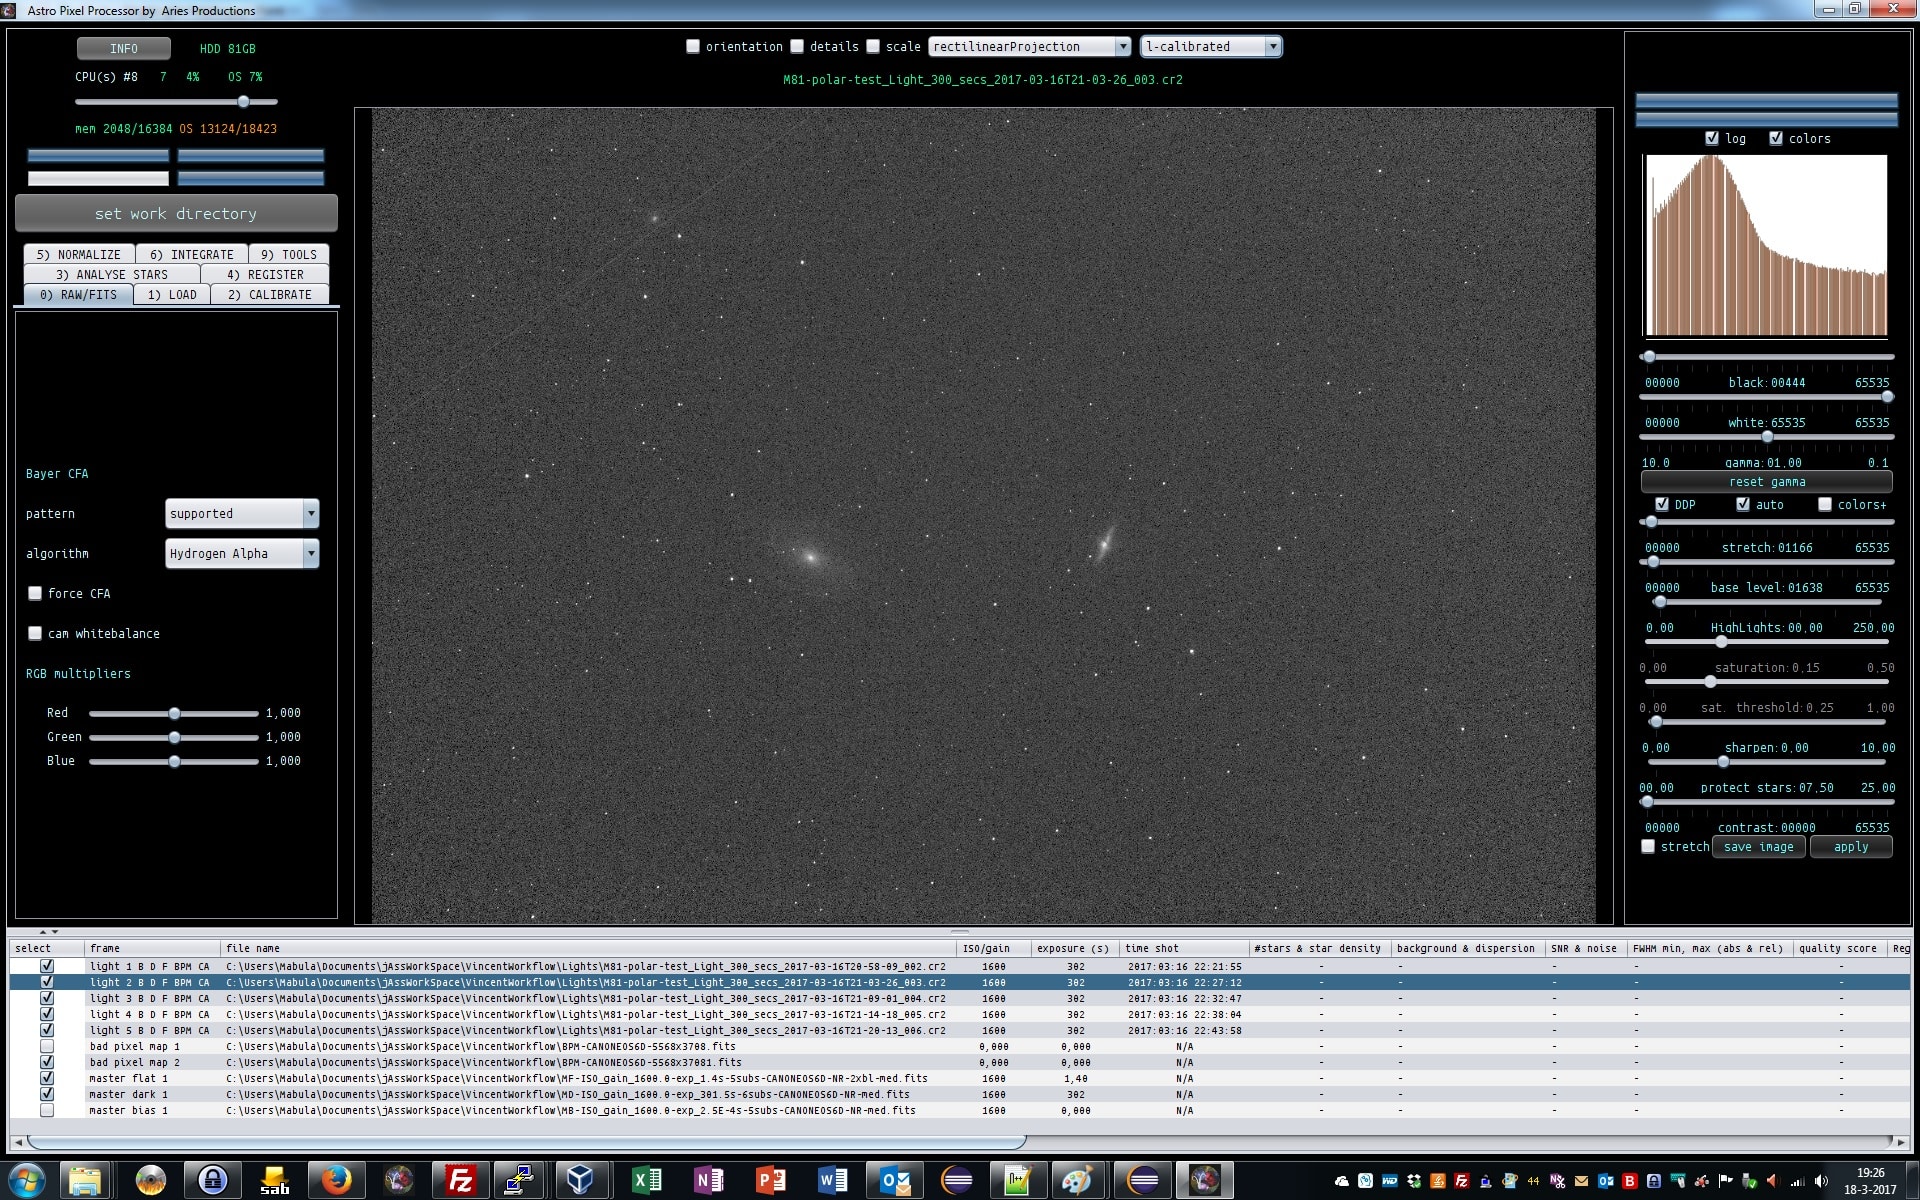
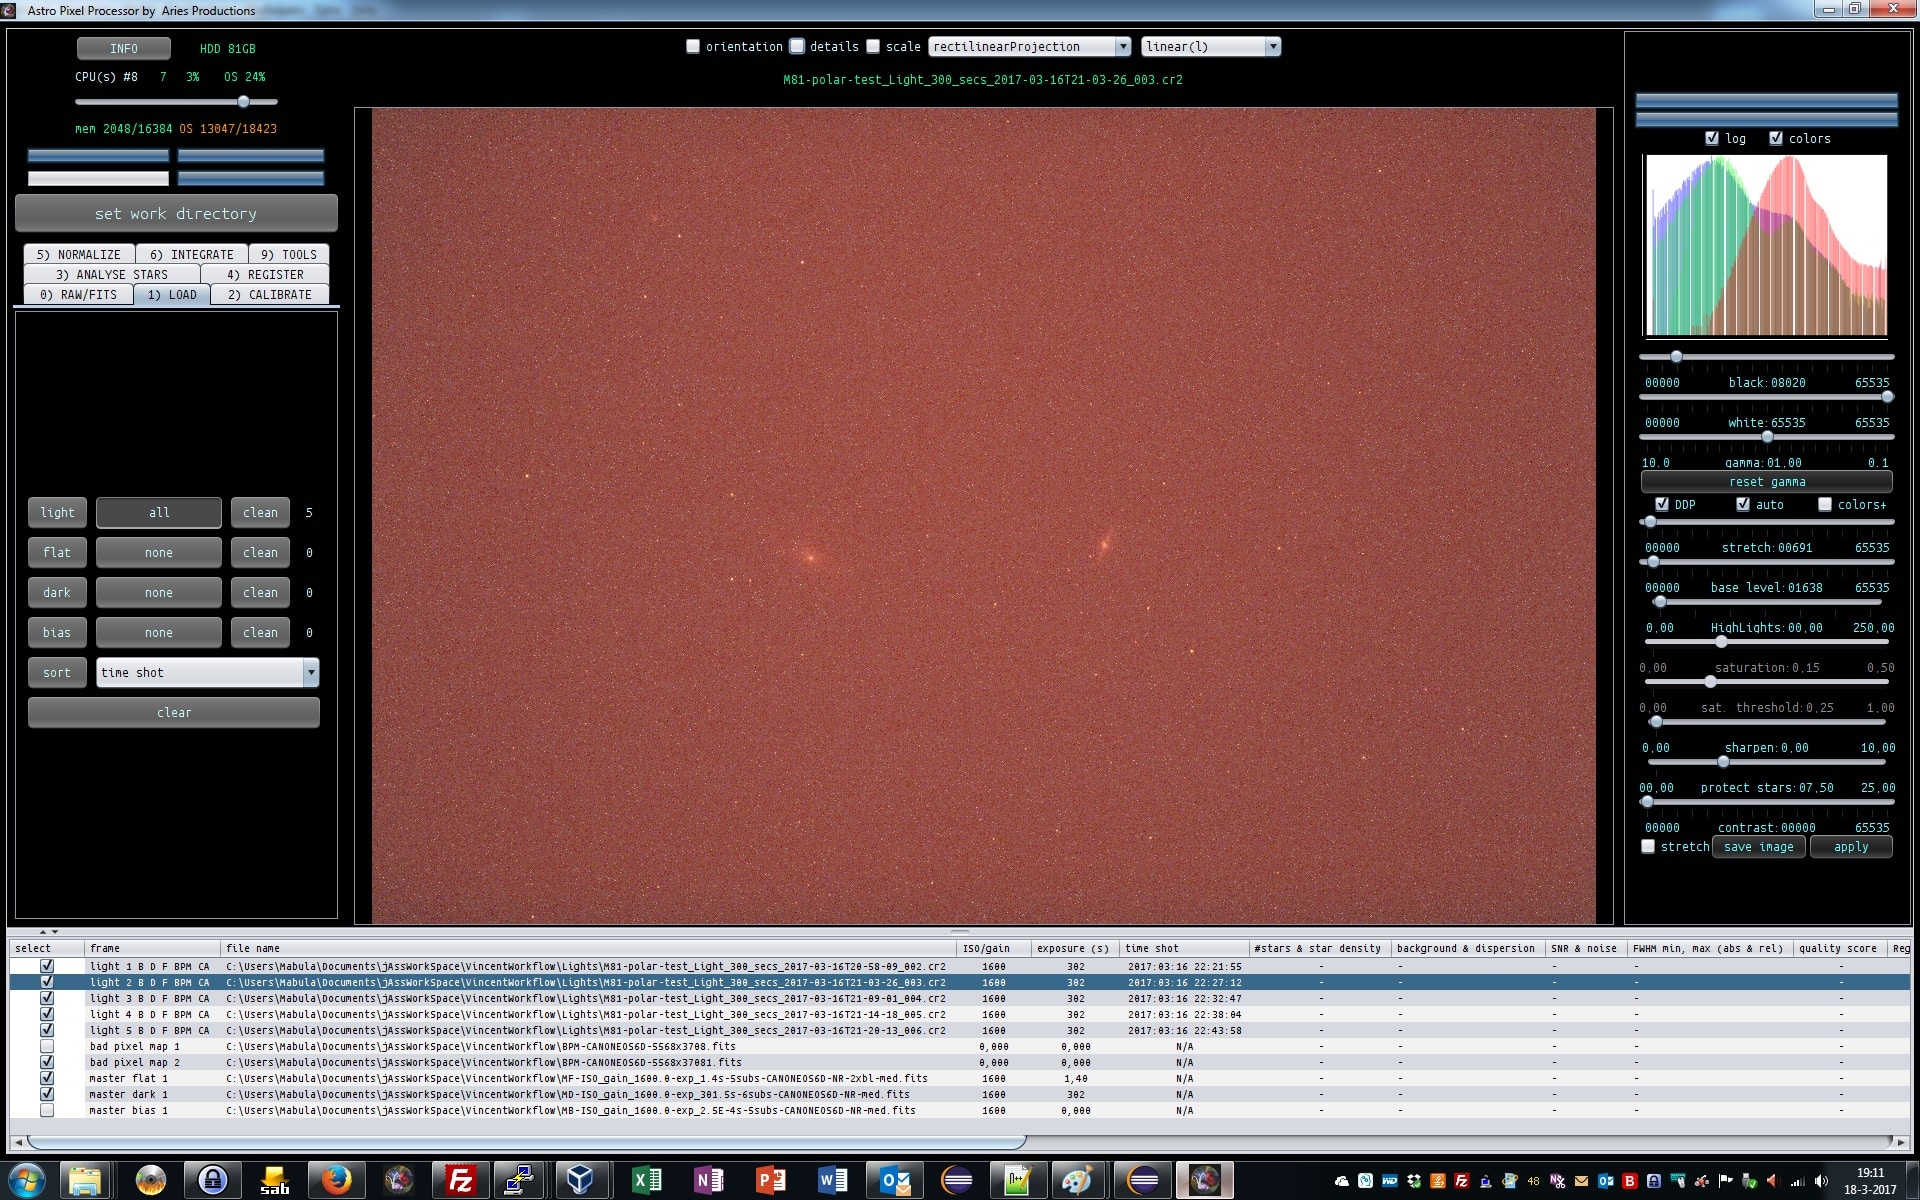
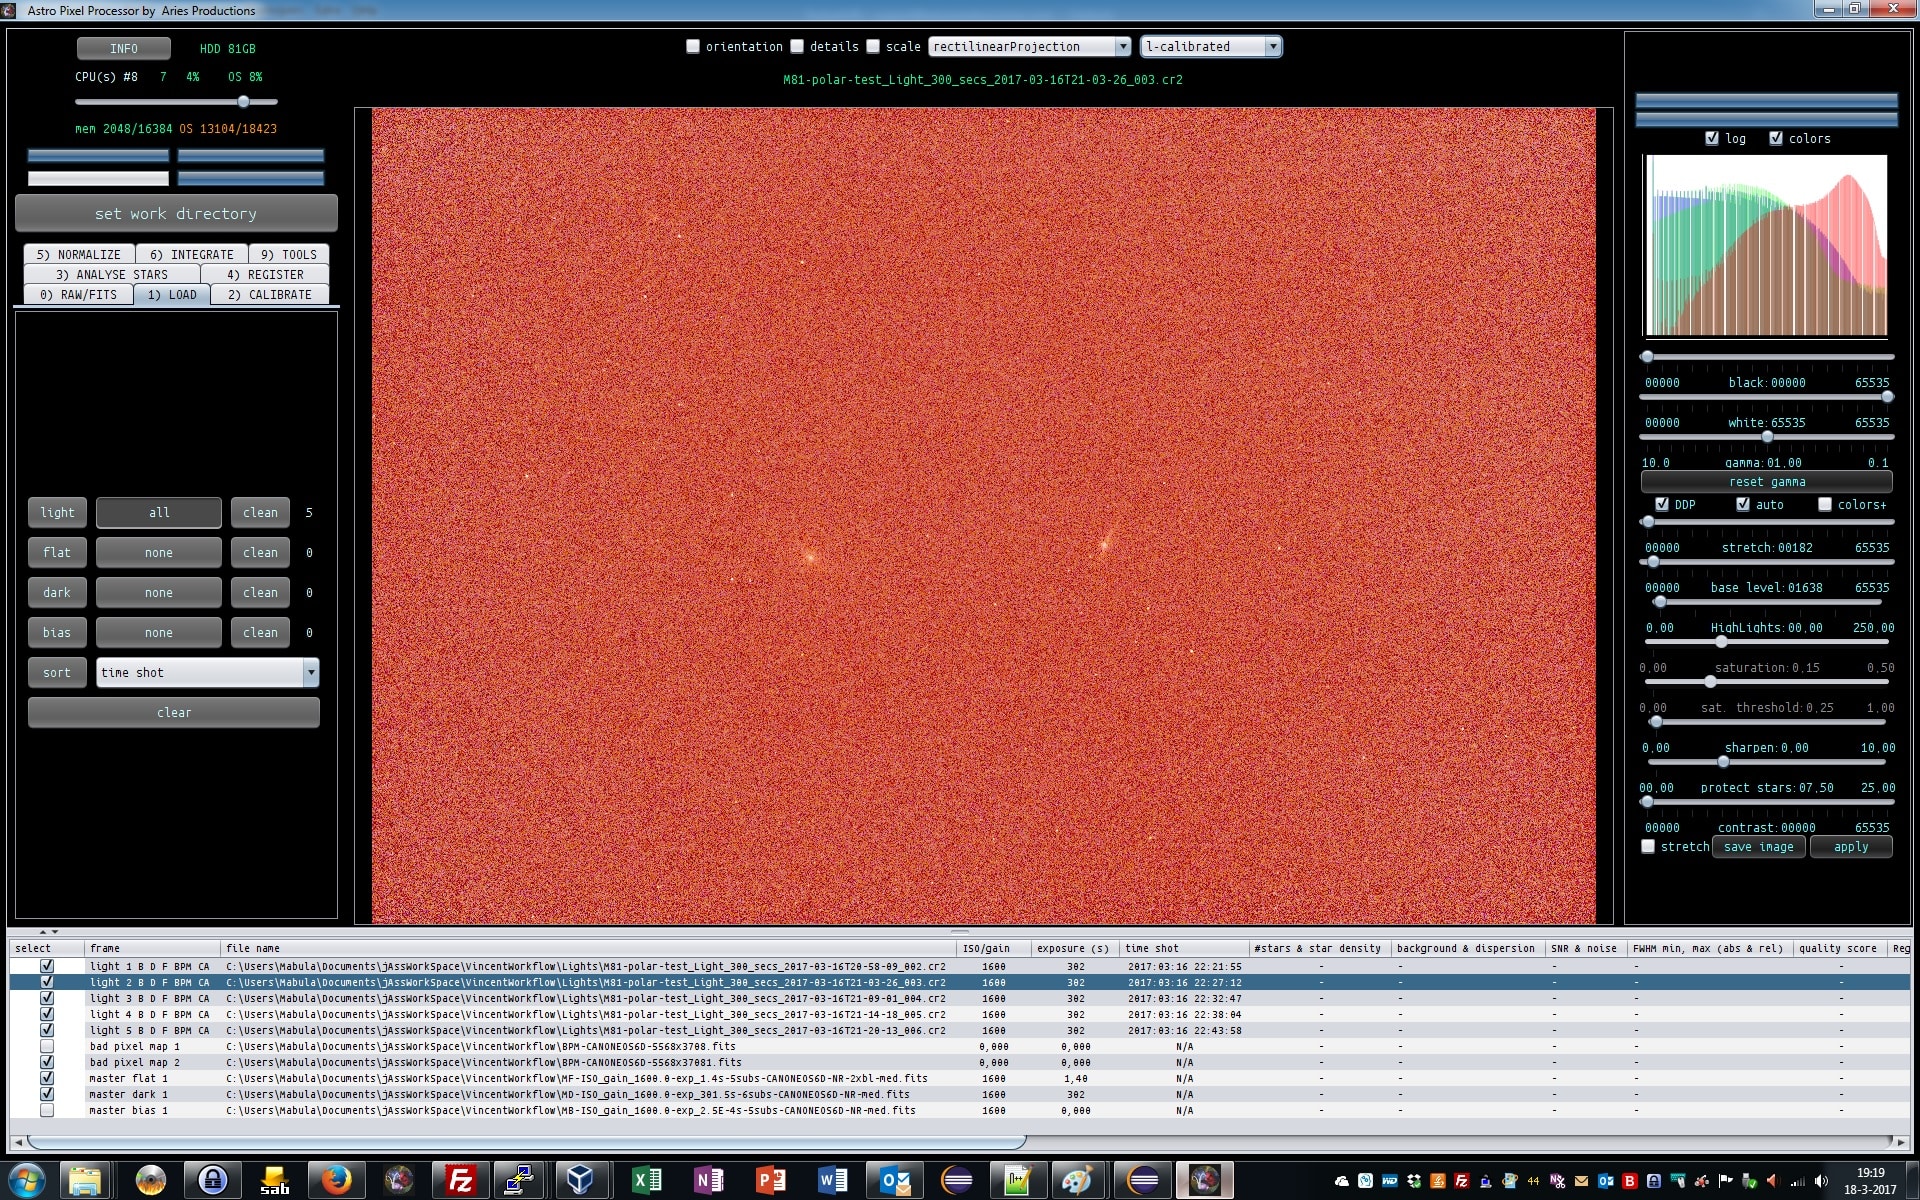
Haverkamp replied to the topic Data calibration workflow and processing in APP in the forum Methoden en Technieken
With APP we can now visually check the effect of the master calibration files on the light frame.
At the top of our application we have a dropdown box which is set at linear by default. This means: show the linear data ;-)
We can select now L-calibrated, this means: show the linear calirbated data. So you don't need to actually apply the calirbation. APP can just do the calibration internally in the image loaders, to show you the calibrated data without actually applying or saving the calibrated data.
Lets put them together, first the light frame, and secondly, the calibrated light frameSingleLightSingleLightCalibrated