

@musquetier
active 2 months, 2 weeks agoForum Replies Created
-
AuthorPosts
-
MusquetierParticipant
Hierbij de laatste installatie instructies voor de AllSky software voor de HQ camera (dit keer in het Engels):
Prerequisite RPi 3 or 4 with 16 GB (or greater) memory card and the HQ camera (aka camera V3).
Setup SD card with the Buster NOOB build
Goto: https://www.raspberr…ownloads/noobs/
Choose: NOOBS Lite Network install only and download the zip file.
Copy the content of the ZIP file (so unzipped) onto the SD card.
Put SD card in Raspberry Pi and fire it up…
When starting with Command Line Interface (CLI):
Log in for the first time (pi/raspberry)
Change password to your liking with:
passwd
Configure the Raspberry Pi:
sudo raspi-config
Switch on 5 Interfacing Options->P1 Camera
Optional switch on 5 Interfacing Options->P2 SSH (for ssh access, e.g. with Putty from Windows machine)
Set 7 Advanced Options->Memory Split to 256 MB
Close raspi-config and choose to reboot.
When starting in graphical user interface (GUI):
Answer the localization questions in the dialogues to your liking and change your password.
Start Preferences -> Raspberry Pi Configuration (via the raspberry icon at the left top):
tab System:
– fill in the desired hostname
– select if you want to boot with the graphical (GUI) or command line interface (CLI)tab Interfaces:
– Switch the camera on
– Optional switch SSH on (for ssh access, e.g. with Putty from Windows machine)tab Performance:
– set GPU memory on 256 MBExit the raspi-config application and choose to reboot when the option is presented.
Continue here regardless if you using the GUI or the command line interface
After booting using the GUI option open terminal window (not needed for command line interface):
Update and upgrade the Raspberry Pi:
sudo rpi-update
(answer with y each time y/n is presented)
reboot with:
sudo shutdown -r 0
When needed open terminal window after the reboot. Continue to ensure the Raspberry Pi is fully up to date with:
sudo apt update -y
sudo apt full-upgrade -yEnsure in the future your Raspberry Pi automatically updates all packages:
sudo apt-get install unattended-upgrades -y
Install AllSky HQ camera version:
We make sure git software is installed to download the software from Github (this step might not be needed, I believe git is already in the latest RPi build).
cd ~
sudo apt-get install gitNow we retrieve the latest AllSky software (with HQ camera support):
<span style=”text-decoration: underline;”>git clone </span><span style=”text-decoration: underline;”>https://github.com/RobboRob/allsky.git</span>
Install the Allsky software:
cd ~/allsky
sudo ./install_RPiHQ.sh(Ignore the 2 compile warnings when compiling sunwait.cpp).
Answer y on the question to reboot and open a terminal windows again after the reboot is finished.
Manual starting image capturing can be started via (but it is also possible to automatically start image capturing after a reboot of the Raspberry Pi). During day time the camera should start to capture images which are stored in ~/allsky/image.jpg and are overwritten each time a new image is taken, during the night they are stored in ~/allsky/images/[date]/.
cd ~/allsky
./allsky_RPiHQ.shThe web GUI can be installed via:
cd ~/allsky
sudo gui/install_RPiHQ.shTest the GUI software using your favorite browser via http://[Raspberry Pi IP address]. Default username and password are: admin / secret. Your Raspberry Pi IP address can be obtained via:
hostname -I
Check and change the default settings in the ~/allsky/config.sh file and, when using the Allsky web GUI via the camera settings page, or if you choose to only use the command line interface option check and alter the settings.json file in the ~/allsky directory.
You should be good to go now!!!
More instructions for using the AllSky software can be found at GitHub page https://github.com/RobboRob/allsky; scroll down on this page for the original instruction of the ZWO version of this software…
Functionality not yet implemented for the Raspberry Pi HQ camera:
– dark frame correction
– text annotationsMusquetierParticipantDit keer een beetje beter gefocust, wat langer belicht (60 sec), een beetje met de white balance gespeeld en de analoge versterking op 4 gezet:
Kwaliteit van het origineel is wel wat beter dan wat YouTube ervan maakt. Zet hem iig op 1080p als je het filmpje afspeelt…
MusquetierParticipantDe aangepaste software voor AllSky die met de HQ camera werkt is te vinden via: https://github.com/RobboRob/allsky.
Als je HQ camera al werkt (testen via raspistill -v -o test.jpg) dan vervolgens de software downloaden via:
cd ~
sudo apt-get install git make
git clone –recursive https://github.com/RobboRob/allsky.git
Voordat je het install script aftrapt, en je installeert op een Pi 2, dan is deze mogelijk niet compatible met de huidige armv7 architecture. Draai
cat /proc/cpuinfoom je processor model te achterhalen. Als deze geen ARMv7 aangeeft moet je de eerste regel van de Makefile veranderen inplatform = armv6.cd allsky
sudo ./install_RPiHQ.sh
Het verzamelen van fotos kan je handmatig starten via (maar je kan hem ook automatisch laten opstarten na het herstarten van de Raspberry Pi):
./allsky_RPiHQ.sh
Je kan er voor kiezen de GUI te installeren via (deze is nog niet helemaal aangepast aan de HQ camera maar werkt wel):
sudo gui/install.sh
cd /etc/raspap
sudo mv camera_options.json camera_options.json.org
sudo wget “https://www.musquetier.nl/downloads/camera_options.json”
sudo chown www-data:www-data camera_options.json
sudo chmod 644 camera_options.json
Dan is de software benaderen met je browser via http://[IP adres]
Meer instructies over de AllSky software kan je vinden op de github pagina, als je naar beneden scrollt…
MusquetierParticipant(langere sluitertijd, hogere gain, minder compressie).
Precies! Ik ben erg benieuwd. @musquetier Hoe heb je de gain instelling geïmplementeerd, want dit zal in het geval van de Pi cam een ISO waarde zijn?
Je kunt een gain waarde instellen 1 – 16 die correspondeert met de analog gain setting van de RPi HQ camera sensor. ISO gebruik ik niet (is eigenlijk een soort richtgetal waar de digital gain van wordt afgeleid).
MusquetierParticipantMisschien moet ik wat langer belichten, dit was ook maar een eerste probeersel….
MusquetierParticipantTime lapse van afgelopen nacht:
MusquetierParticipantHeb je trouwens al een GitHub fork gemaakt?
Ik ben nog aan het uitzoeken hoe je met GitHub om moet gaan (is voor mij niet helemaal duidelijk). Ik heb de auteur van de software al gemaild om te vragen of het goed is dat ik zijn software hiervoor uitbreid maar ik krijg geen antwoord van hem.
groet,
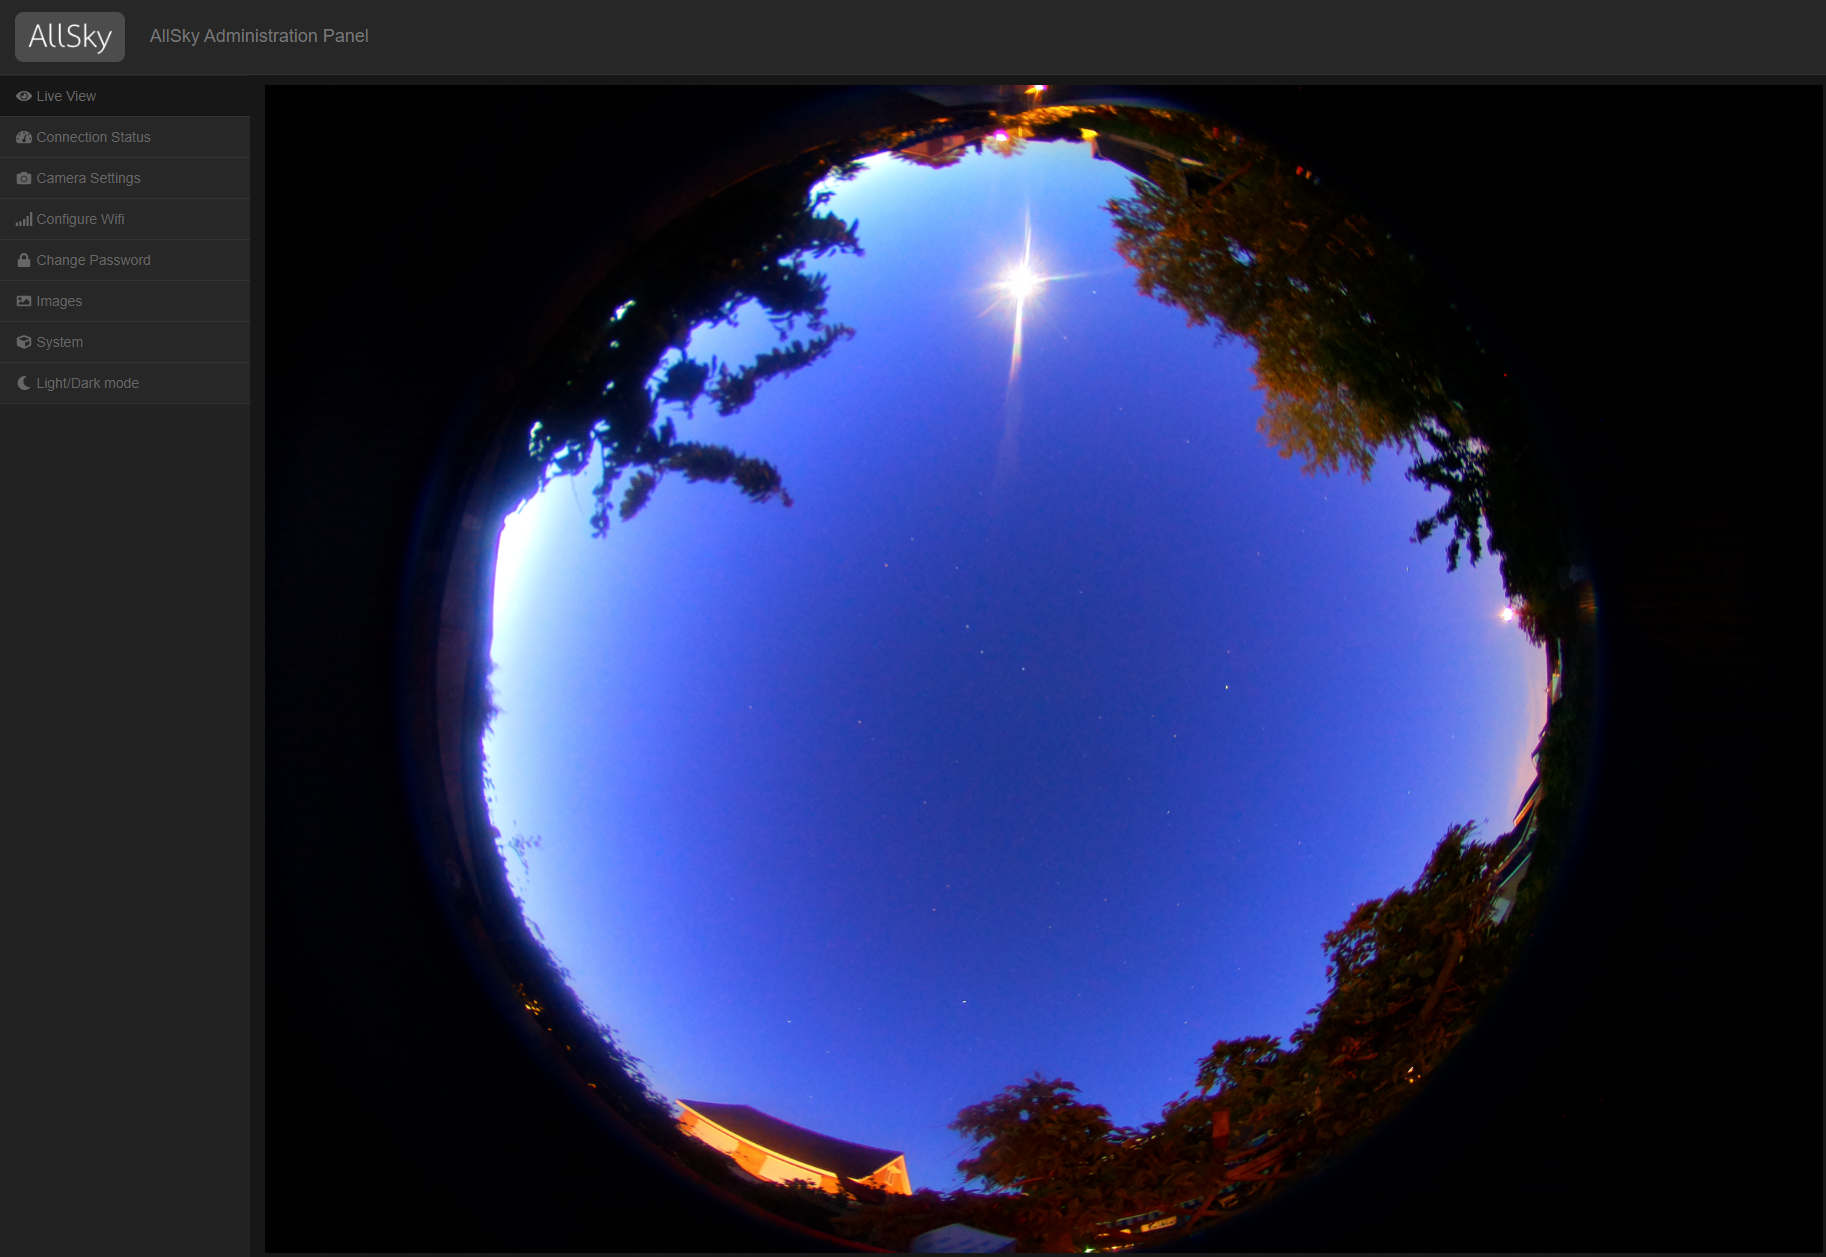
RobMusquetierParticipantEerste testjes met AllSky in de nacht:
 MusquetierParticipant
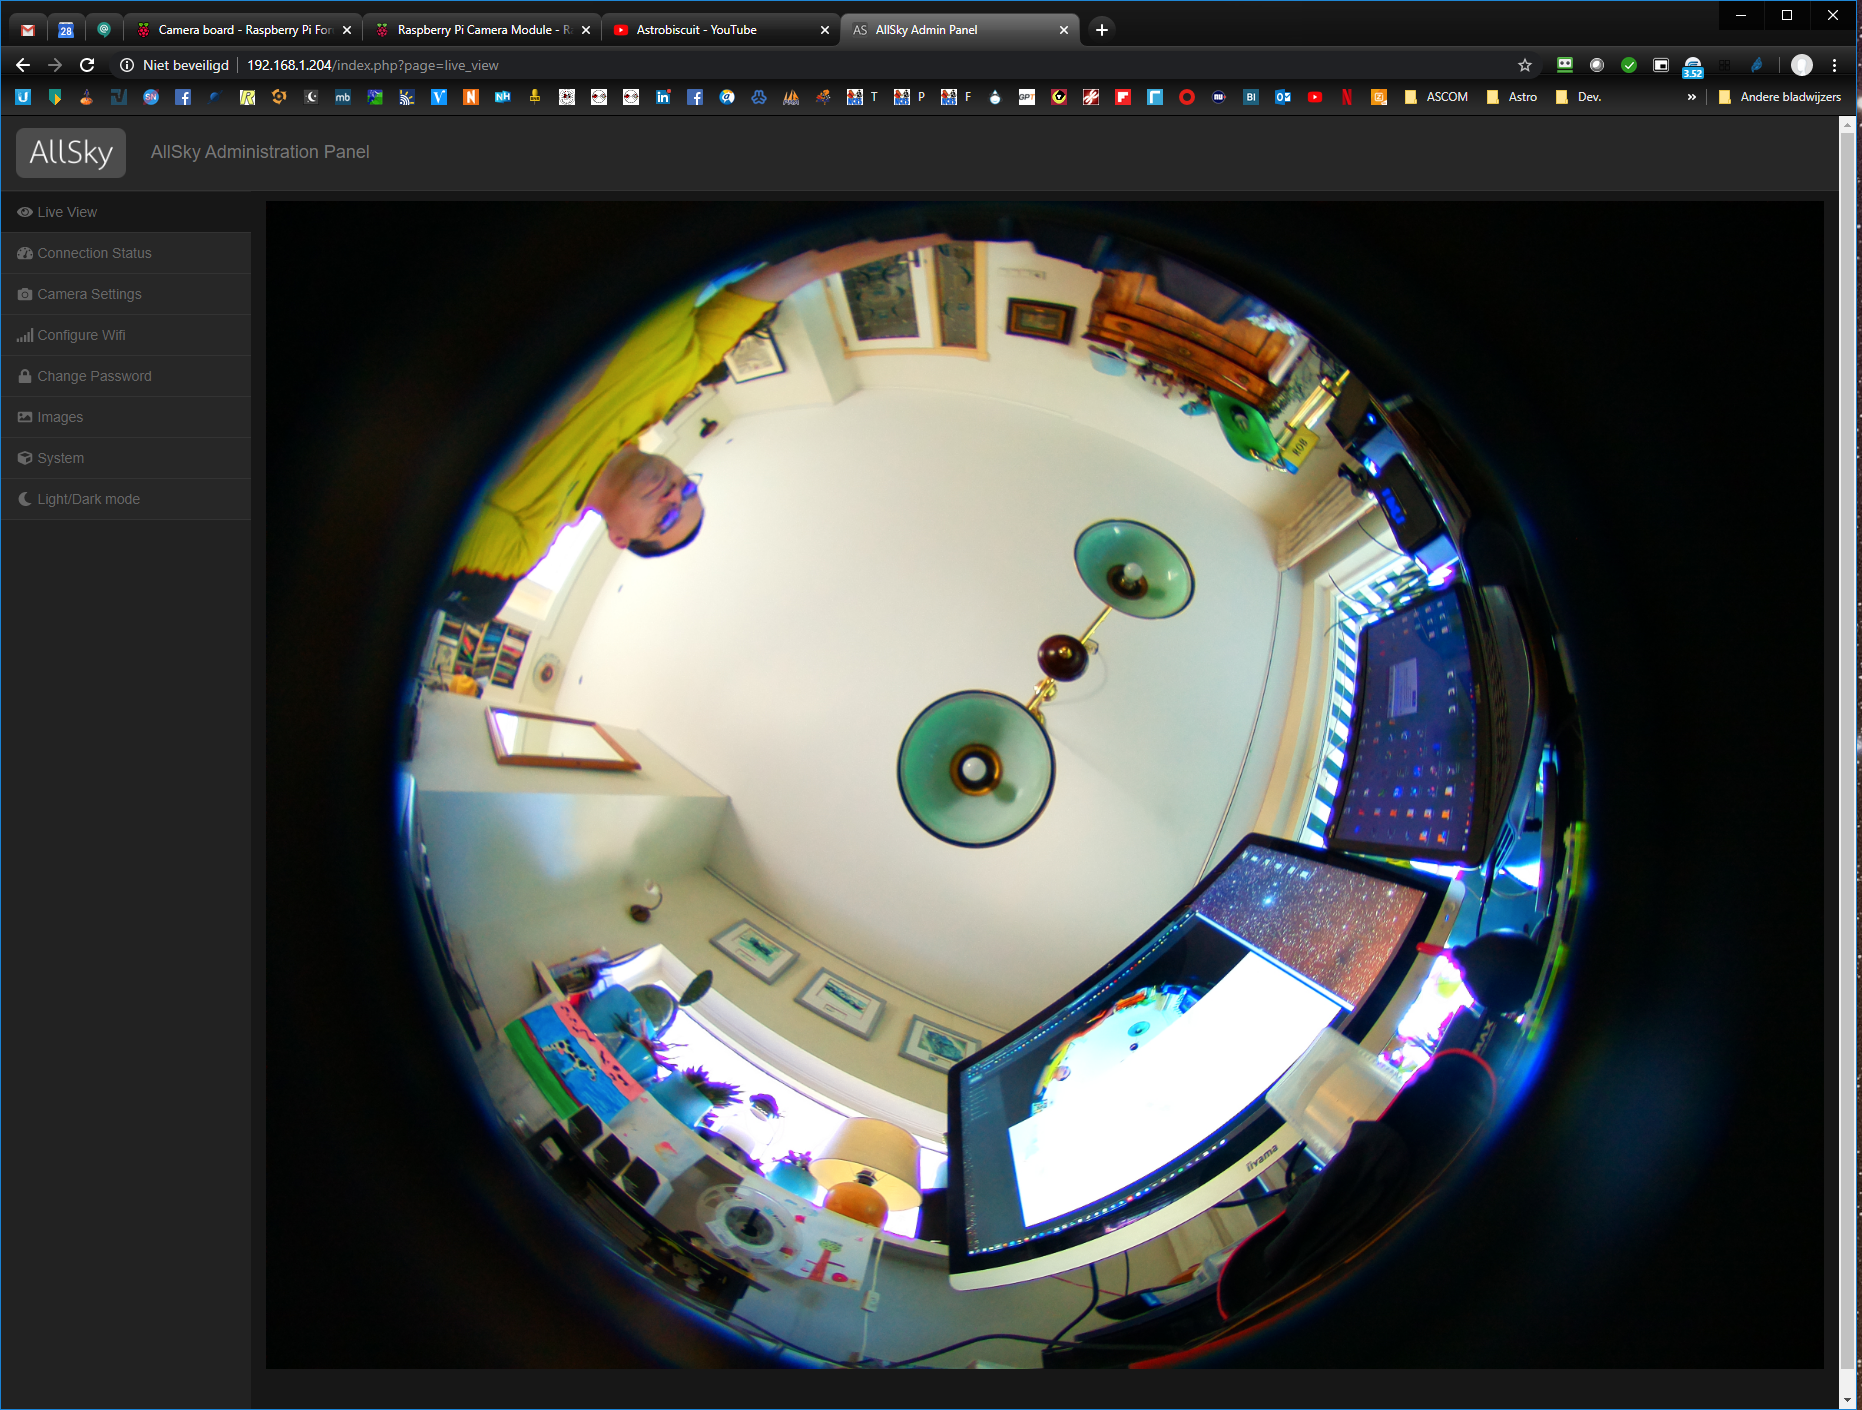
Ondertussen ben ik de AllSky software geschikt aan het maken om ook met de nieuwe HQ camera om te kunnen gaan. Dat is toch maar mooi een 6x zo goedkope oplossing dan de aanbevolen ZWO camera…
 MusquetierParticipant
Interessante software gebruk je, zeker icm die AI module! Ik wil wel eens proberen of ik beide ook met die nieuwe RPi HQ camera aan het werk kan krijgen… Ik krijg vandaag een tweede camera sensor binnen en ik heb er een leuk lensje (Arecont Vision CS-Mount 1.55mm Fixed Focal Megapixel Lens) bij besteld om hiermee een AllSkyCam mee te maken…
Wat is die sensor in jouw foto’s die er aan één van de twee kanten eruit steekt en direct op de GPIO header zit?
MusquetierParticipantNog een leuk filmpje geschoten met deze sensor (niet door mij):
https://www.youtube.com/watch?v=_woywI3Ikbc
MusquetierParticipantOntzettend leuk projectje Rob. Heb je al veel terugkoppeling uit de communit(y)(ies)?
dat valt eerlijk gezegd nog wat tegen…
MusquetierParticipantIk heb gisteren een nieuwe versie van de ASCOM driver v1.2.1a beschikbaar gemaakt. Via de link in de eerste post van dit draadje is deze weer op te halen. Samen met de nieuwe versie van raspistill (het commando op de raspberry Pi) werkt alles nu veel beter. Vergeet dus geen sudo rpi-update, sudo apt-get update en sudo apt-get upgrade uit te voeren voordat je aan de slag gaat (lees ook de bij de driver bijgesloten readme.txt file en zorg dat je in deze file bijgesloten versie van het php script altijd gebruikt bij het installeren van een nieuwe versie van de ASCOM driver!!!)
MusquetierParticipantik ben nu de BIAS subs aan het schieten (op 100, 200, 400 en 800 iso). vanavond of vannacht wellicht de DARKs en/of FLATSs…
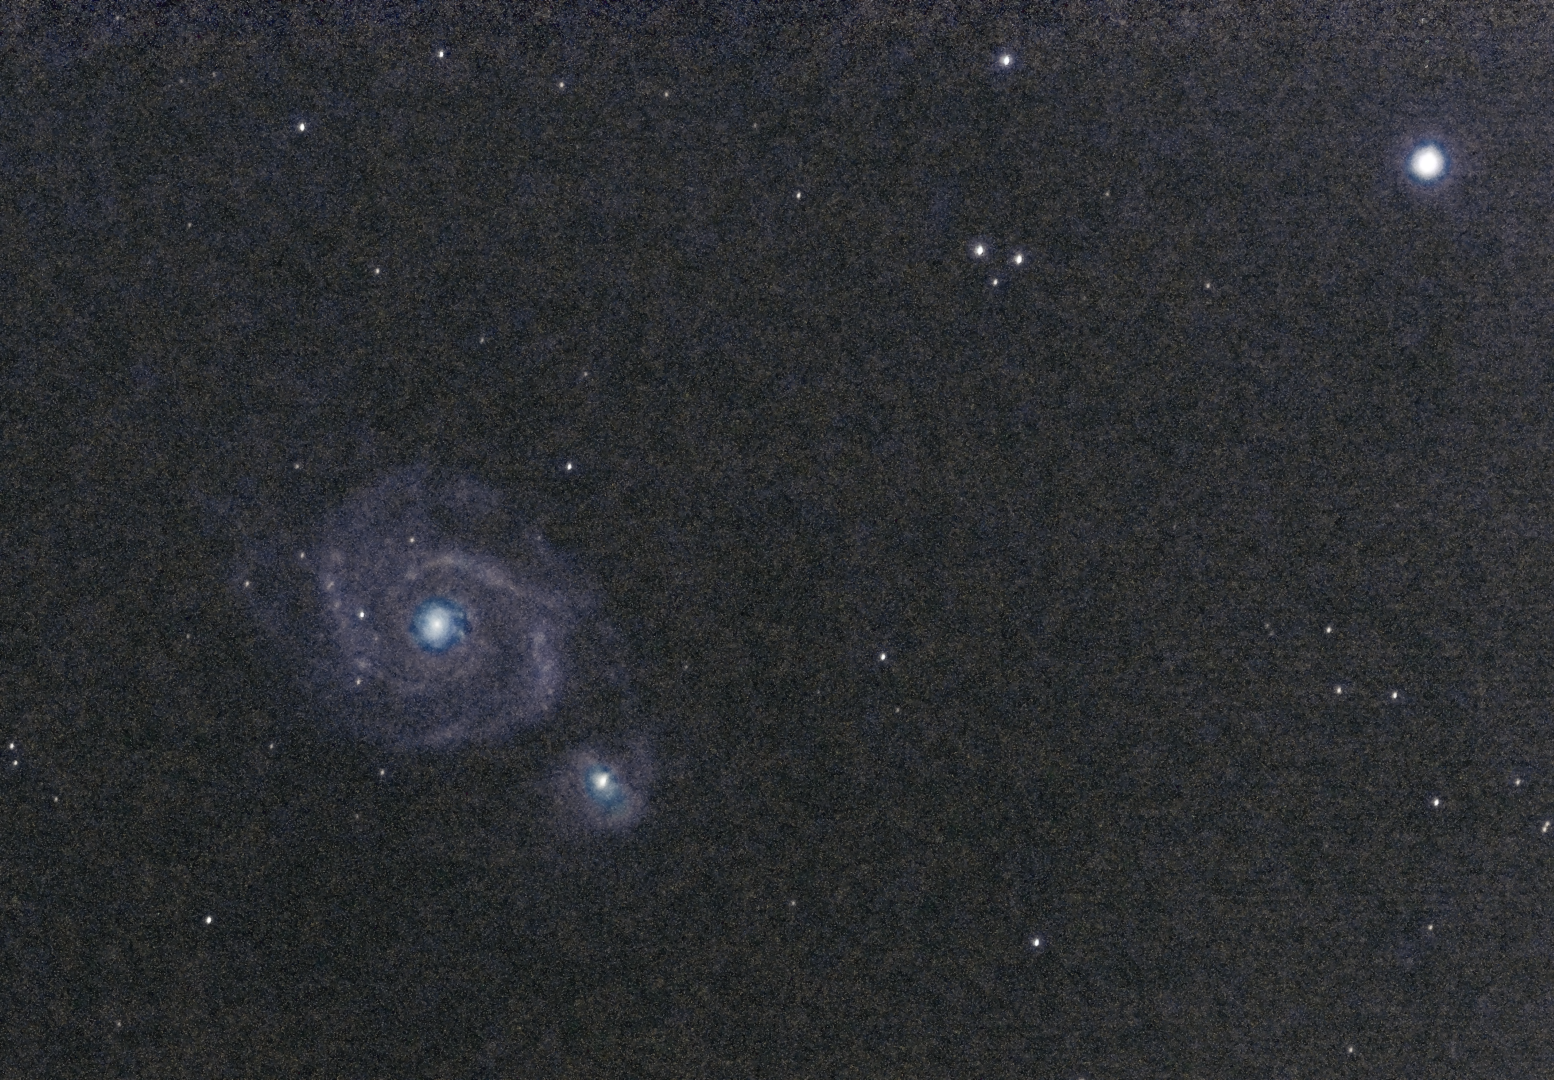
MusquetierParticipantTweede resultaat in het donker, geschoten met de TS 80 / 480 mm APO, de RPi camera op de CGEM mount. 9 unguided subs van 200 sec. met ISO 400/. Gestapeld in APP en snel nabewerkt in PixInsight:
-
AuthorPosts