

@buzzmeister
active 5 years, 12 months agoForum Replies Created
-
AuthorPosts
-
BusParticipant
De achtergrond is prima zo, vooral de komeet erg erg fraai weergegeven zo, en daar ging het om.
Dank voor je compliment Kees….dat is eigenlijk wel het mooiste wat je kunt krijgen na een geslaagde opname sessie. ;-)
Aldoende leert men.
BusParticipantEen hele mooie deze hoor. Daar kan ik een puntje aan zuigen!
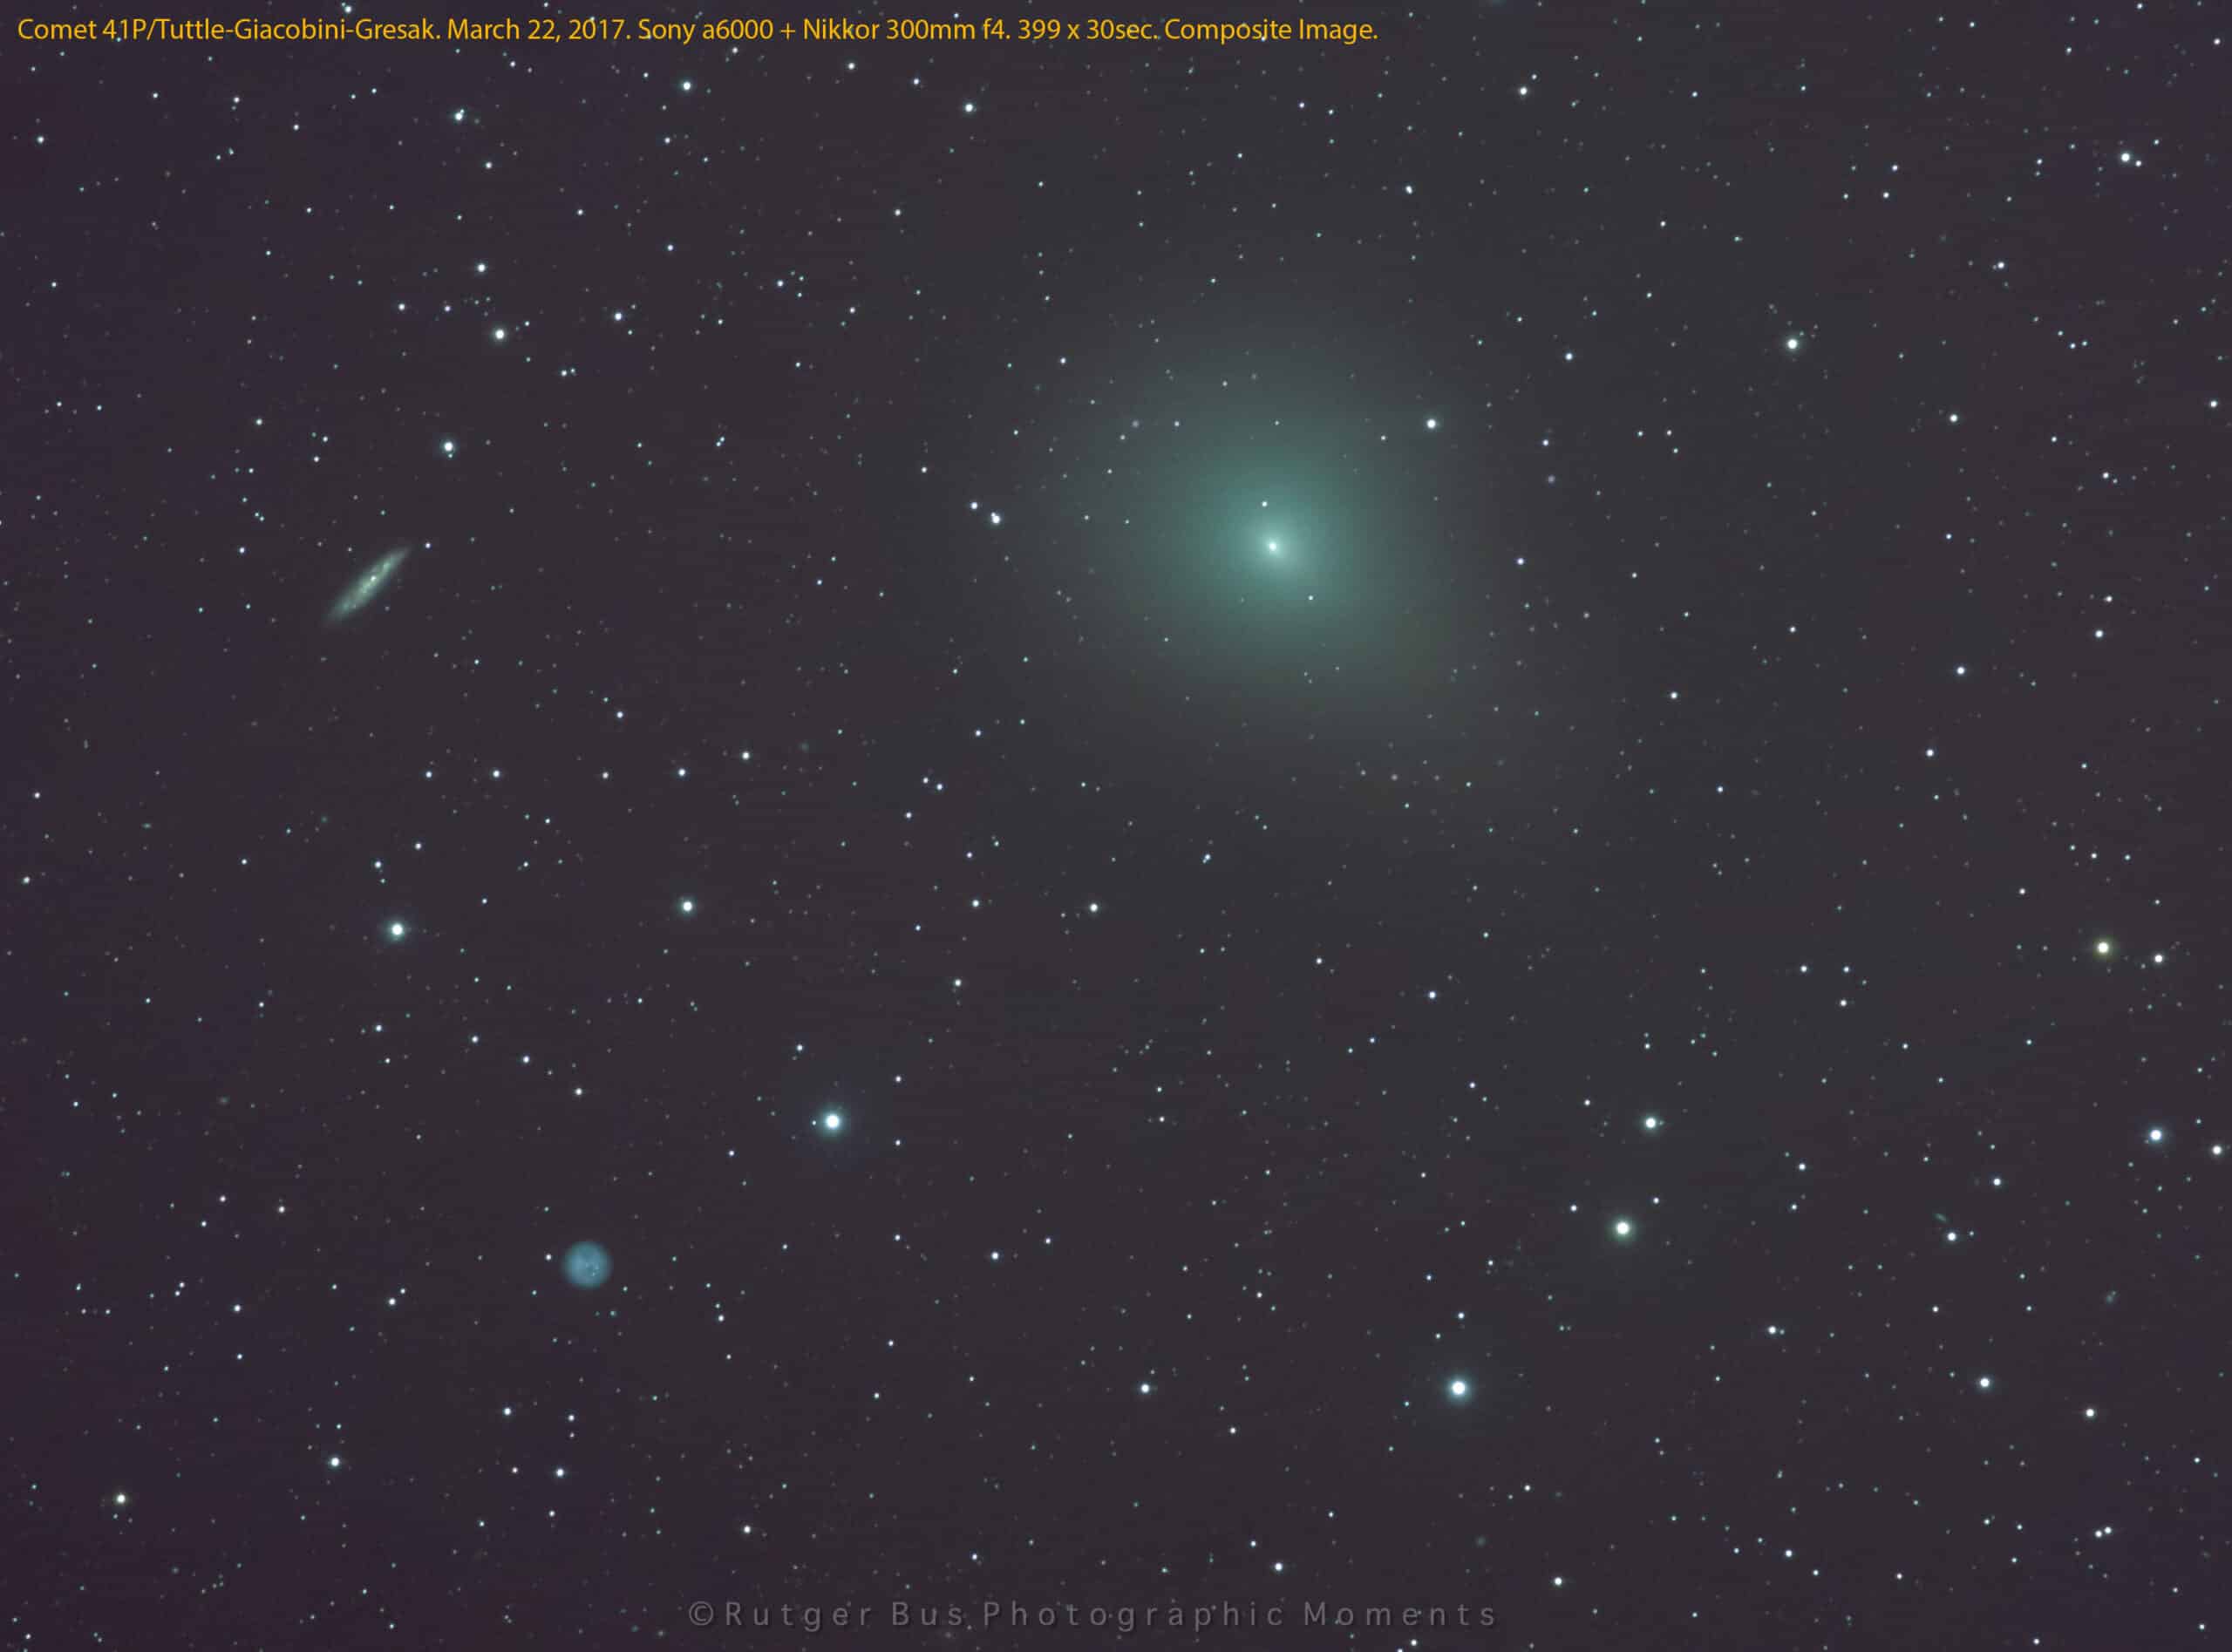
BusParticipantMijn “Final-cut” van de samenstand op 22 Maart!. Misschien moet de achtergrond nog iets donkerder, maar ik had het idee dat er dan wat achtergrondstelsels verdwenen, of in ieder geval minder zichtbaar werden.
Desondanks toch tevreden met het resultaat. Sta toch enigszins versteld over de kwaliteit, en hoe diep een relatief goedkope telelens met een APS-c camera kan komen.
In ieder geval weer een goede leerschool voor de volgende samenstand op 14/15/16/17 April (Komeet 41P/TGK + C/2015 V2 Johnson)….al zal dat een meer widefield worden met de 135mm (stitched two-panel).
EDIT: Ik zie dat ook hier de kwaliteit van de foto enigzins van mindere kwaliteit is dan op mijn eigen PC….Mogelijkerwijs doordat ik de foto heb gekopieerd uit mijn post op DPreview (https://www.dpreview.com/forums/thread/4136166)
EDIT Marc: ik heb de foto opnieuw geupload voor je (hoge kwaliteit)
 March 29, 2017 at 08:16 in reply to: Het inregelen van QHY16200 CCD camera en Esprit 80 telescoop combinatie #13416BusParticipant
Je grasveld ligt er ook mooi groen bij Kees ;-)….prachtig gezicht zo!
BusParticipantangezien de poolzoeker niet verlicht is is dit wel een beetje een gepruts omdat je met één hand van bovenaf een rood lampje in de poolzoeker moet schijnen en dan heb je nog maar één hand over om de fijnafstelling te doen
Monteer een rood ledje?
Een goed idee, maar het enige rode ledje die ik momentel kan vinden is niet dimbaar en overstraalt dus alle sterren in het beeld van de poolzoeker. Iemand suggesties????
Trouwens staat mijn Komeet-foto ook weer op de site van Seiichi Yoshida’s.
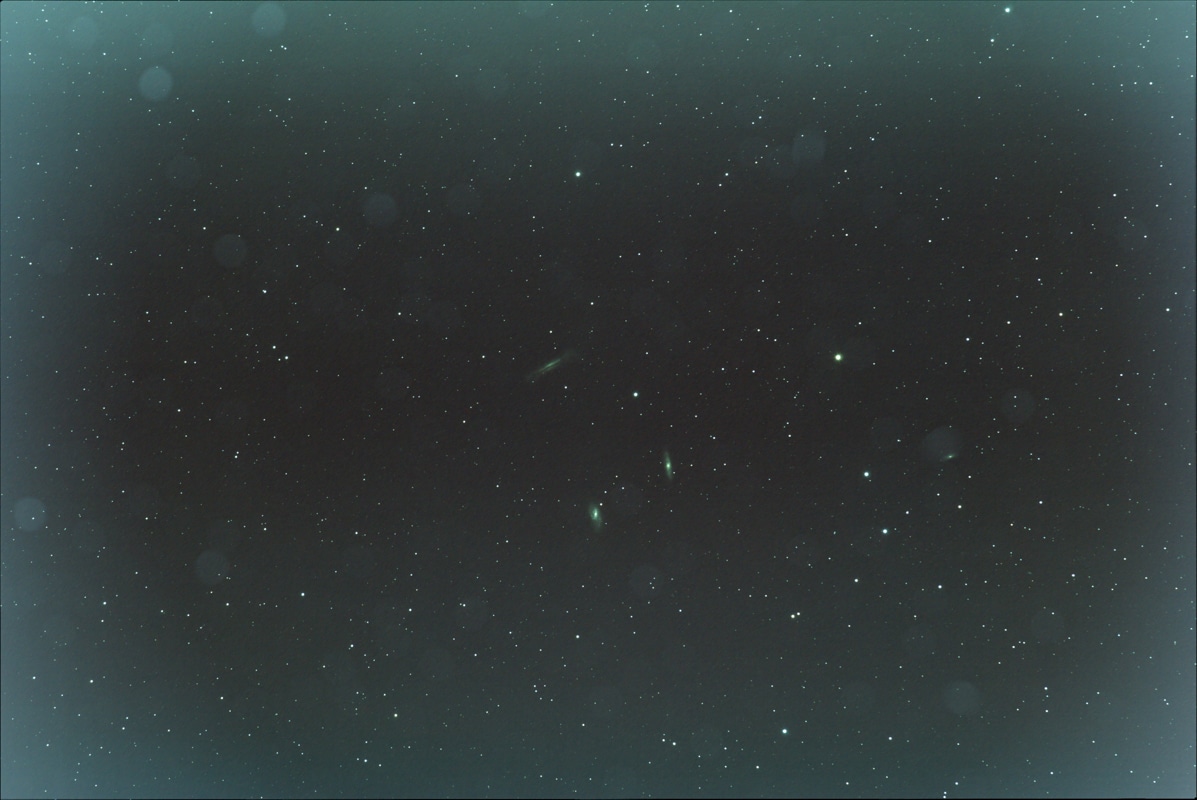
BusParticipantDit is overigens de ruwe stack….beetje helderheid en contrast omhoog….OEPS….heeft iemand misschien een stofzuiger te leen??? Tijd voor de grote voorjaarsschoonmaak!
 BusParticipant
Vind het best wel een prestatie gezien het feit dat je gebruik maakt van de SA. Is de opname vanuit ons landje gemaakt?. Hoe heb je de SA op het onderwerp gericht aannemende dat je door de camera moest “kijken”?. Neem aan dat je ook guiding gebruikt hebt in ra? Kun je wat meer detail geven mbt apparatuur op SA-montering? MOOI RESULTAAT !
Deze opnames zijn gemaakt vanuit mijn achtertuin in het dorp Roden, net onder Groningen! Een zogenaamde “yellow zone”
Het was in eerste instantie wel de bedoeling om te guiden, maar de guidecam kon geen volgster vinden. Vandaar dat ik ben overgestapt op een belichting van 30sec. op ISO800 (het was de bedoeling om met guiding op ISO 400 schieten met 1minuut subs)
Voor wat betreft de uitlijning van de SA is het gewoon een kwestie van de boel goed balanceren en vervolgens de poolster in de juiste positie op de ring van de poolzoeker zetten. Aangezien de poolzoeker niet verlicht is is dit wel een beetje een gepruts omdat je met één hand van bovenaf een rood lampje in de poolzoeker moet schijnen en dan heb je nog maar één hand over om de fijnafstelling te doen…niet ideaal en ik moet zeggen dat ik er deze keer ook iets meer tijd in heb gestoken dan normaal. (ongeveer 20 minuten schat ik)
Het opzoeken van het onderwerp is vrij makkelijk als je weet waar je moet zijn. Gewoon een kwestie van “point and shoot” doordat het beeldveld nog vrij groot is zit je vaak bij een eerste richtpoging al wel in de buurt. Gelukkig heeft de Sony A6000 een liveview scherm waardoor je de meest heldere sterren als referentie kunt gebruiken…daarna kan je nog wat aan de fijnafstelling van de compositie werken, maar meestal gebruik ik toch niet het volledige beeldveld en maak vaak een uitsnede van het complete beeld. (soms doe ik dit zelfs al in DSS zodat het stacken wat sneller gaat en er minder geheugen nodig is)
BusParticipantNog wat aanvullende data voor wat betreft de opname-instellingen en gebruikte apparatuur:
Montering: Skywatcher Star Adventurer
Camera: Sony A6000
Lens: Nikkor 300mm ED AF-s f/4, stopped down to f5.6
ISO: 800
Shutterspeed: 30 sec.
Subs: 399
BusParticipantIk heb vanochtend de flats nog geschoten Kees, dus die moet ik vanavond maar eens loslaten op de ruwe tiff bestanden en kijken wat voor resultaat dat geeft.
Ik heb toevallig net op DpReview een uitleg gedaan over hoe ik de afbeeldingen heb bewerkt, dus even een copy-paste van deze uitleg hieronder:
First of all, I used DSS with its standard settings, so all settings were used unchanged and left to the default settings of DSS (as I don’t fully understand what the settings will do to my final image ;-))
1. Import the RAW files to DSS
2. Calculate stars so about 20-40 stars are detected.
3. Calibrate frames and stack 100% using the “normal stack mode (this will provide the starstack with a smear of the comet through the frame like in the picture below.
View: original size
4. Use the same calibrate images you used above to assign the core of the comet in the first, last and best image from the sequence. (You can toggle and sort images by time and score just by clicking in the tabs above the imported files)
5.Once you set the comets core in those frames you can stack the images, this time using the comet stack mode set to “Stack on Comet” and use 100% of the images. This will provide you with the sharp comet image.
View: original size
6. Save both comet and star stack as 32bit tif files.
7. Import into Photoshop.
8. Use “levels” to stretch both images to your liking (pull down the midtones slider underneath the peak, and pull the blackpoint just in front of the peak, aply and repeat several times so you will see the peak broadening. mine took about 4-5 iterations to get the result I wanted)
9. Next, clone out the comet in the “Starstack” using the clone-tool.
10. Open the “Comet stack” and copy the content by clicking ctrlA, CtrlC and past the copied content into the “Star-stack”. It should become vissable as a layer in your “Stars-stack”.
11. Then, blend both images together with Photoshop using layers. Set the top layer (The “Comet stack”) to an opacity of 60% so you can see where you have to put the comet and drag it in the right position.
12. Then, apply a mask to the “Comet stack” layer and just brush away what you don’t like (Black reveals, white conceals). You can apply a smoother transition by giving the mask-layer a mild gausian blur by selecting the mask and aply “Filter-blur-gausianblur” menu.
13. Once you are satisfied, you can put the “Comet stack” layer back to 100% opacity and make one layer of your composite and aply some further fine-tuning if you want.
View: original size
Hope this helped you a bit!BusParticipantHier is mijn poging van een avond eerder. Ook bij mij laat de foto te wensen over…ik moet toch ook maar flats gaan schieten in het vervolg, of mijn sensor heel goed schoonmaken.
De losse Komeet-stack laat wel een duidelijke hint van een staart zien richting “5uur” om het zo maar even aan te duiden. Ik heb ook maar even de Star-stack toegevoegd. alleen de levels en curves gebruikt om de foto te stretchen en bijgesneden om de lelijke hoeken eraf te krijgen.
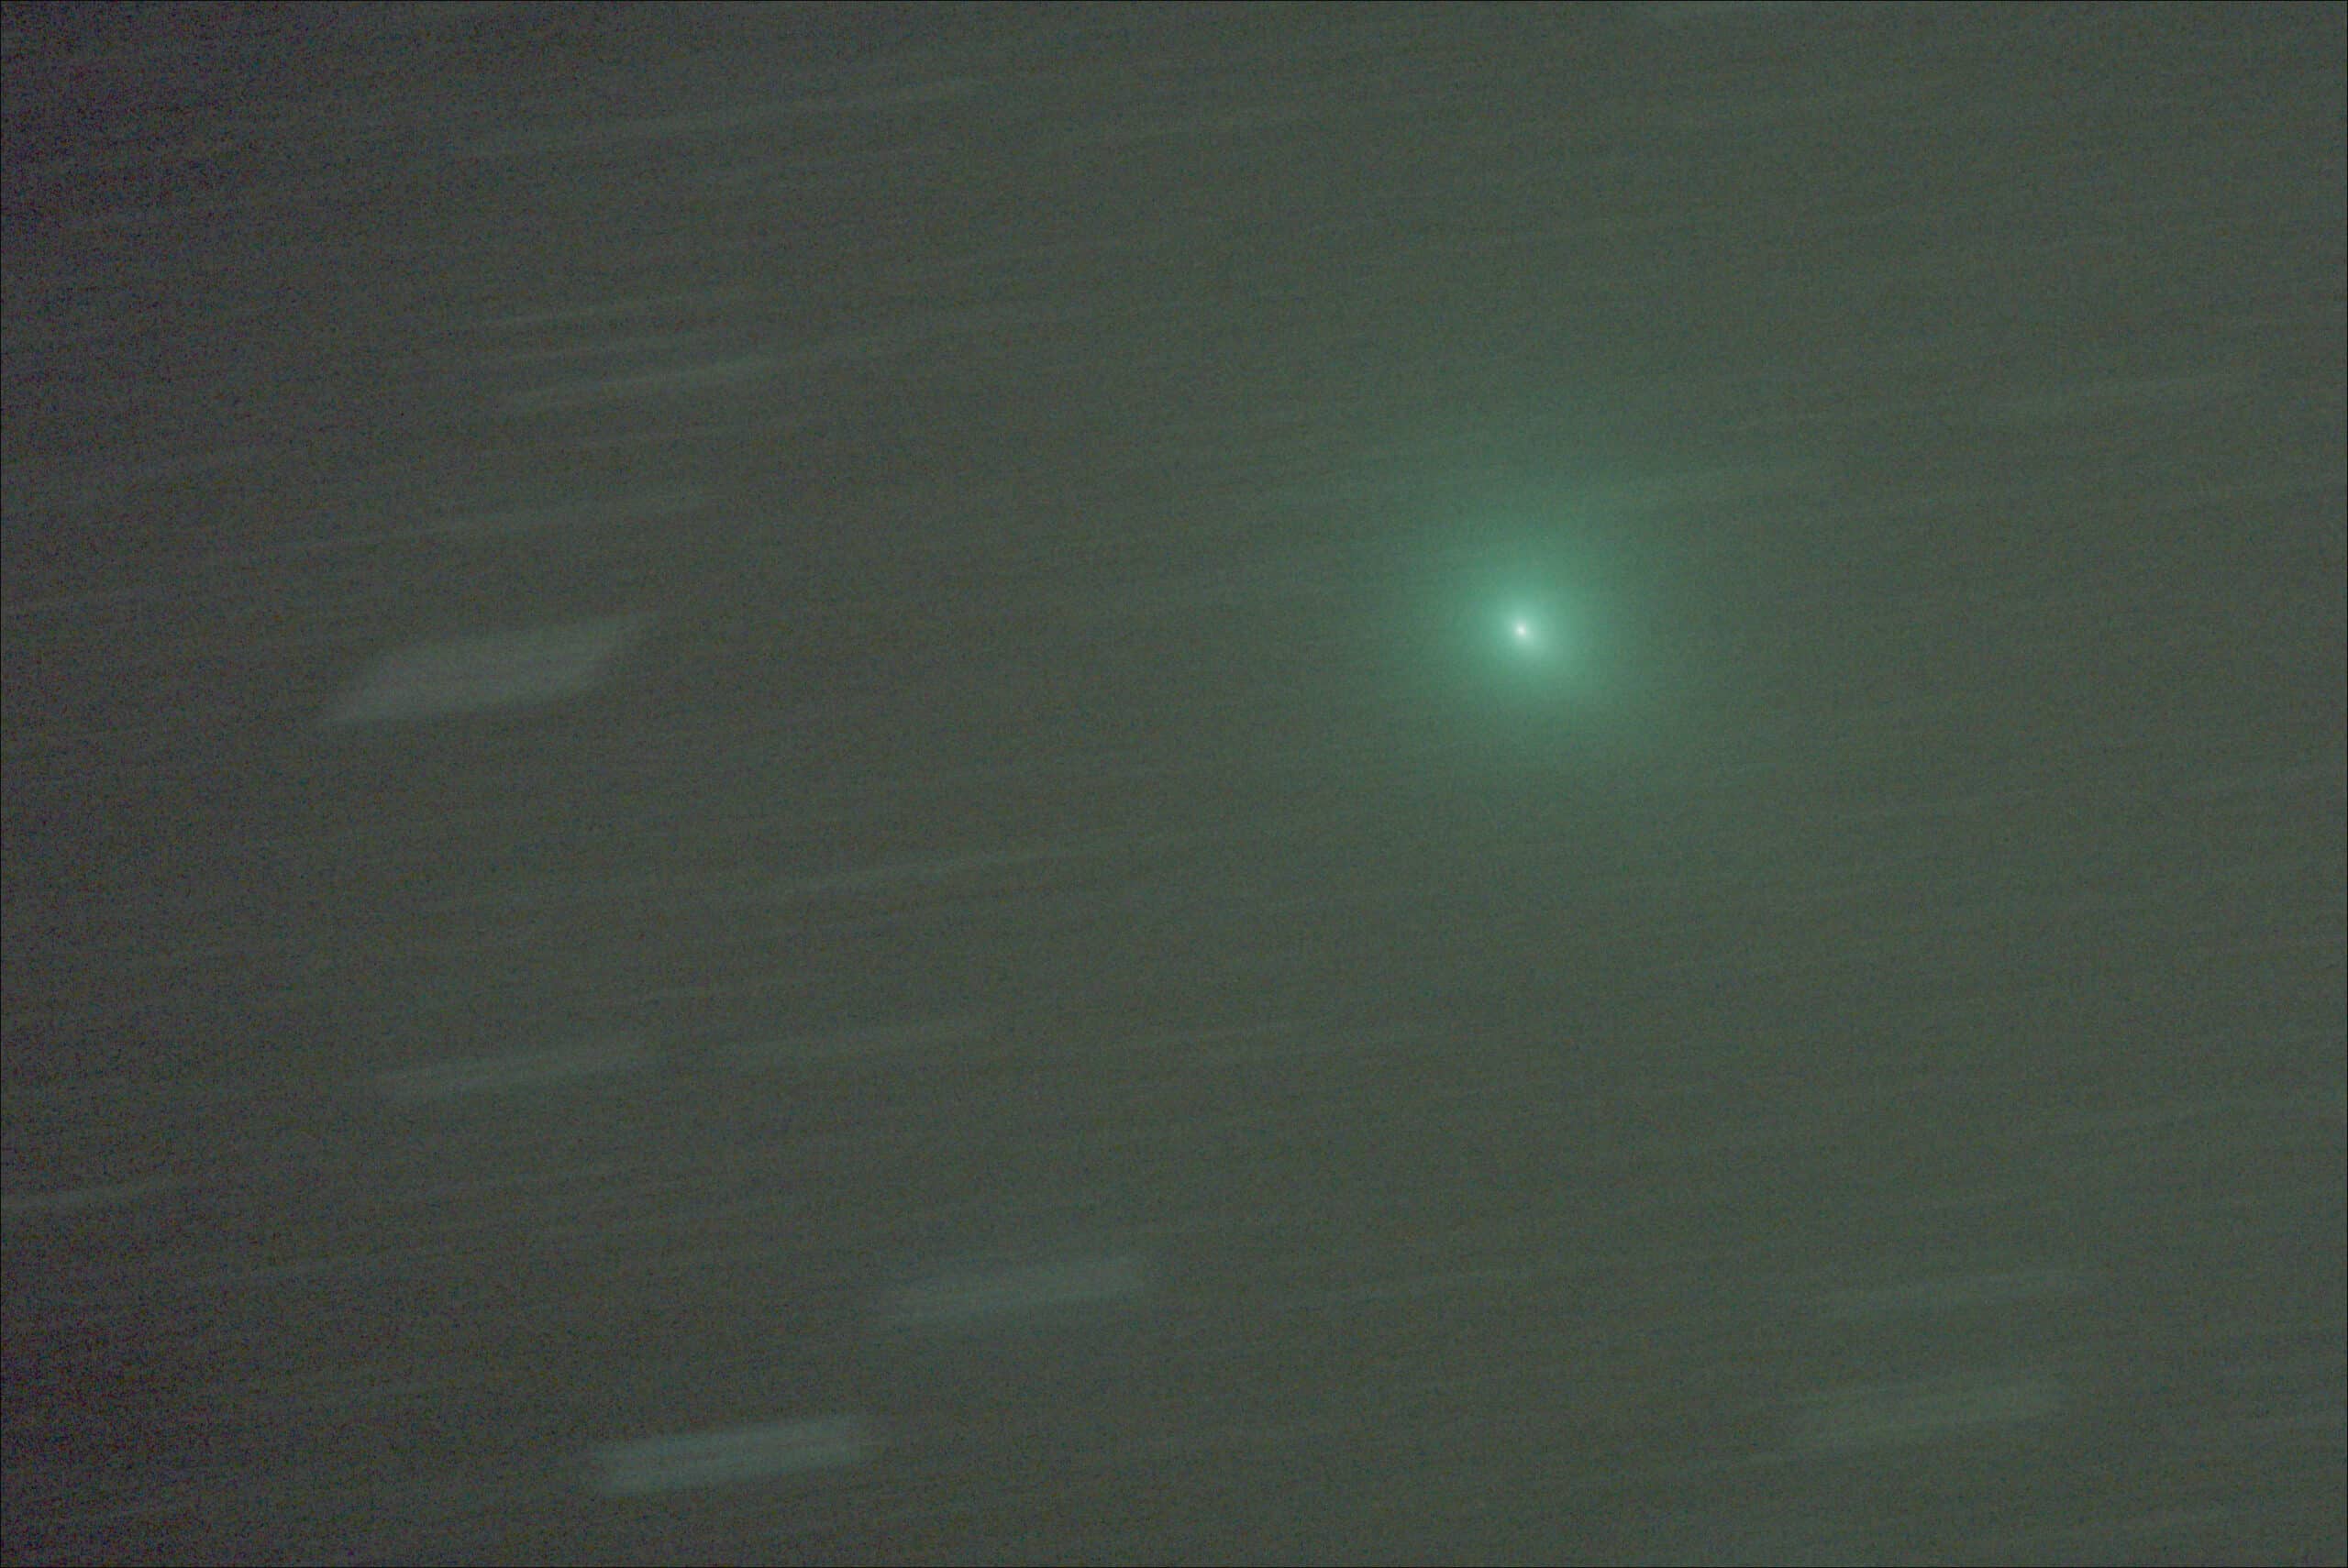
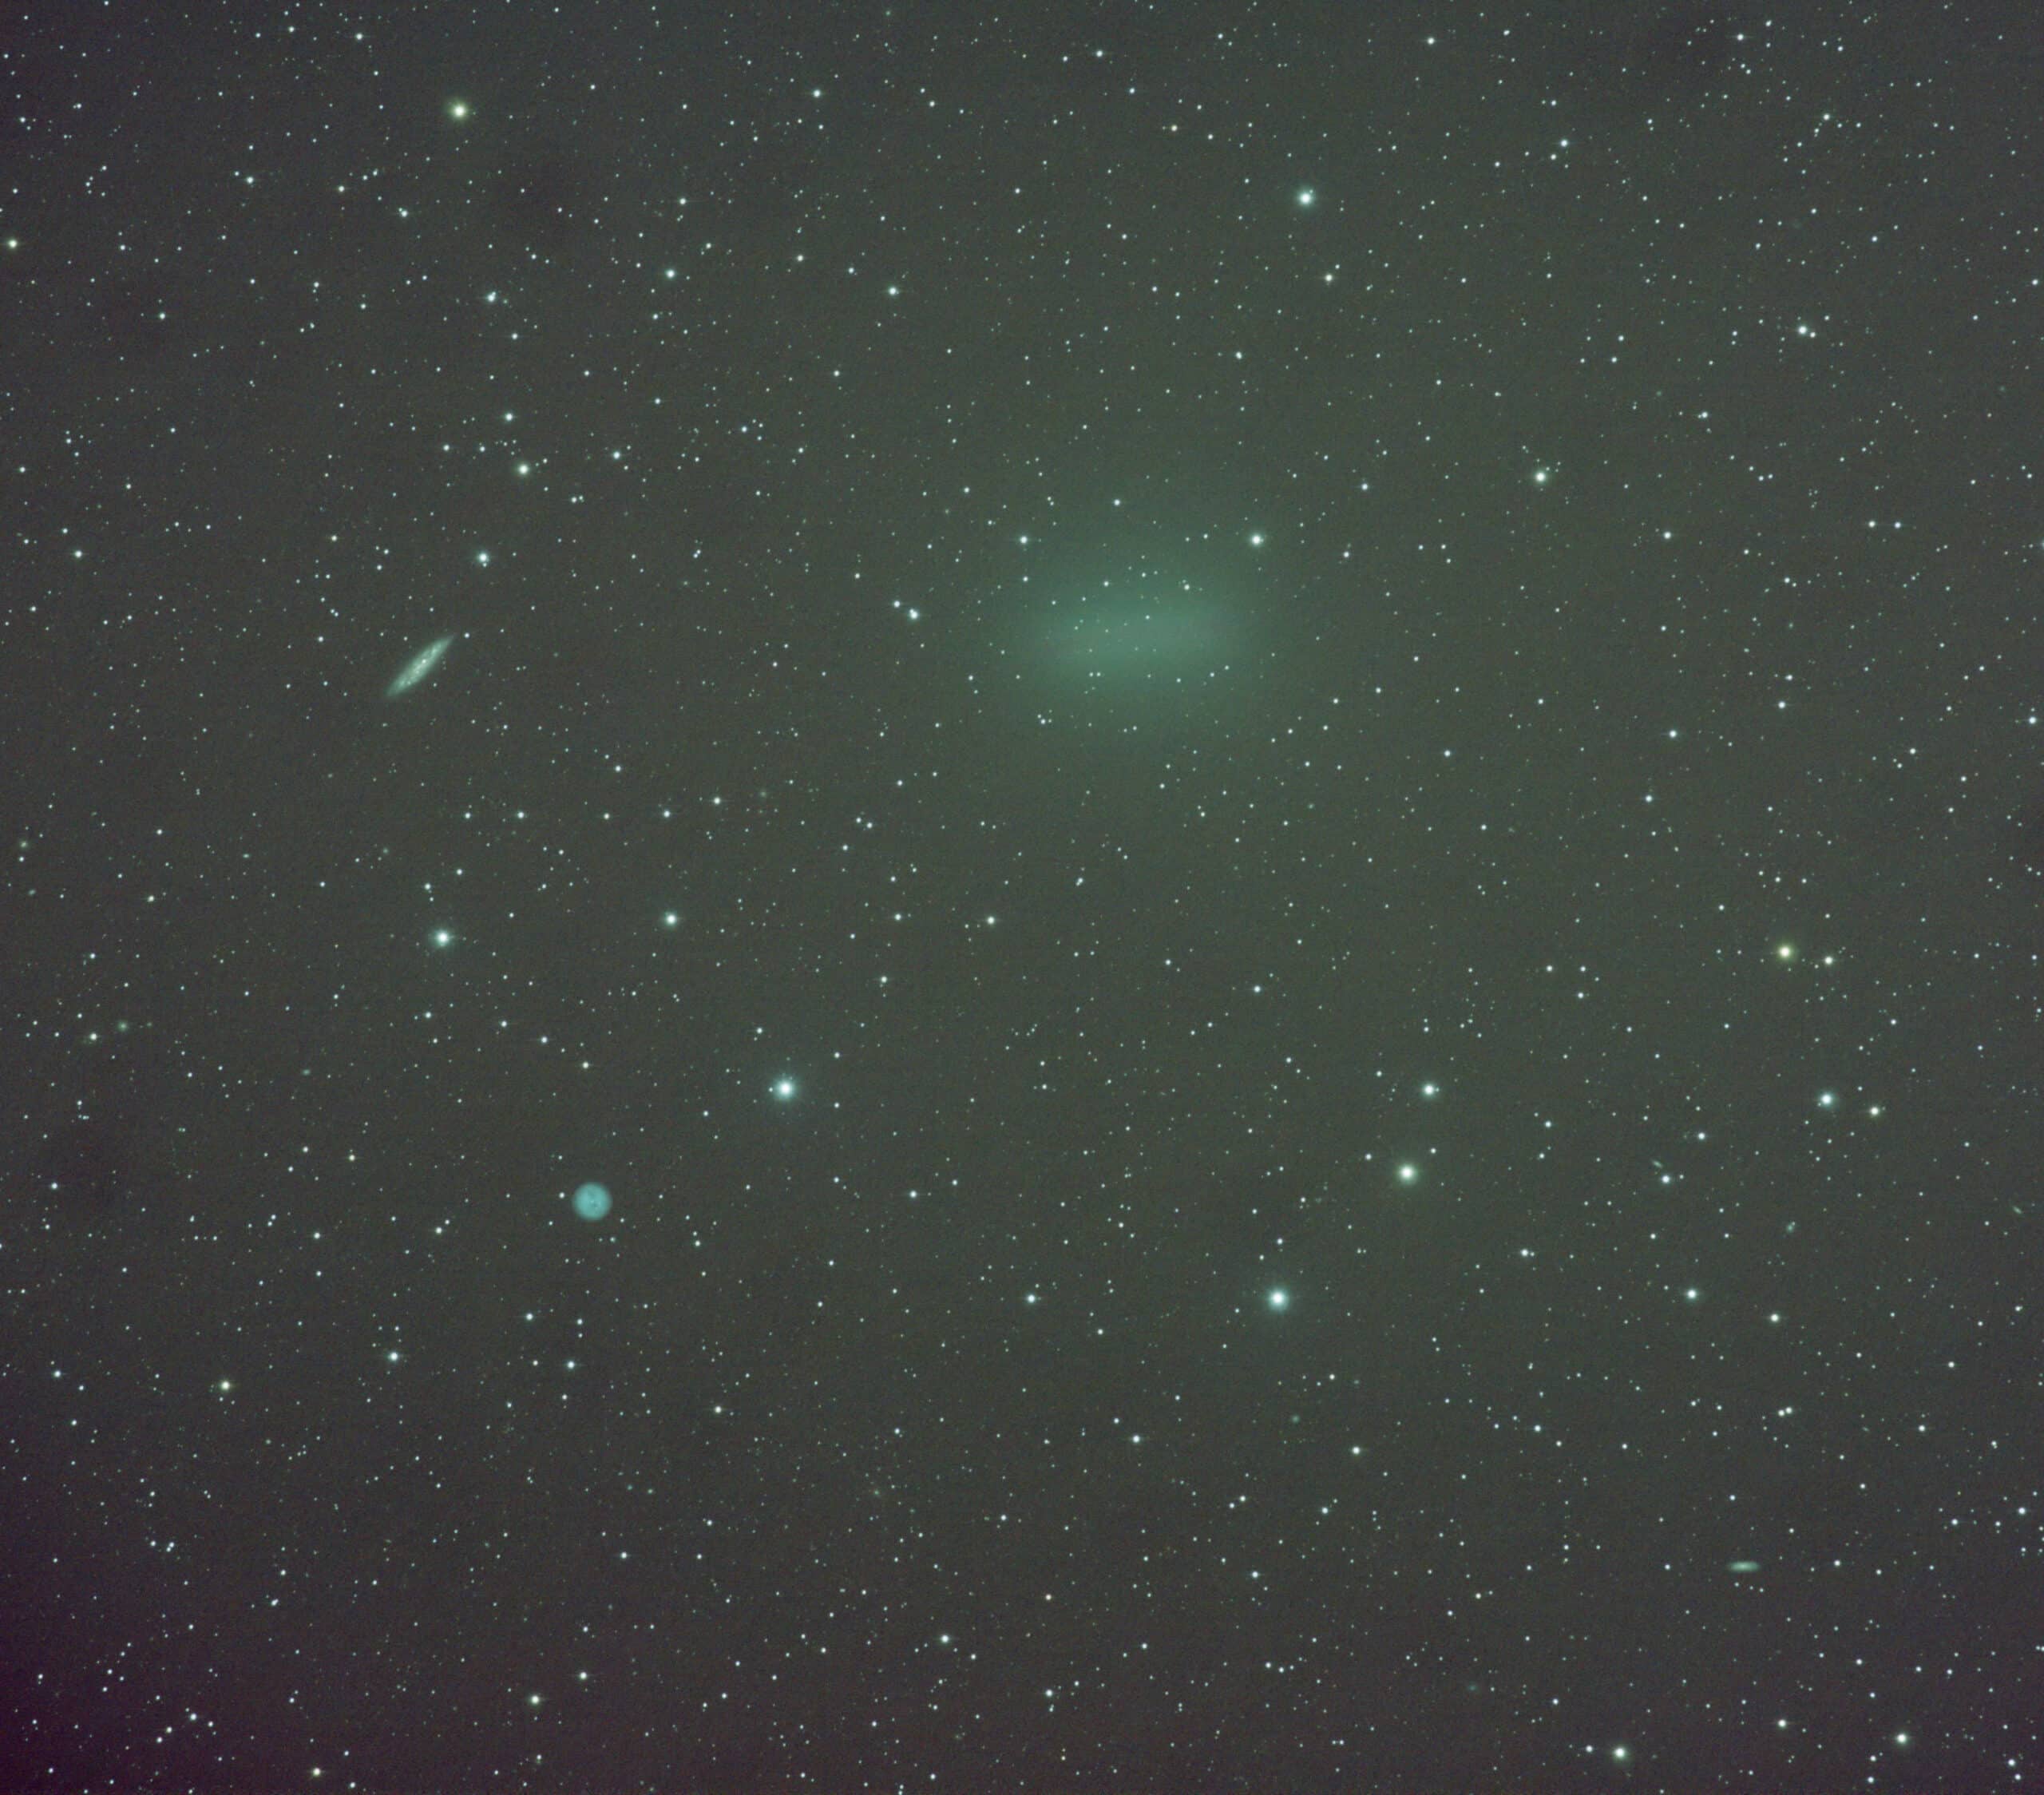 BusParticipant
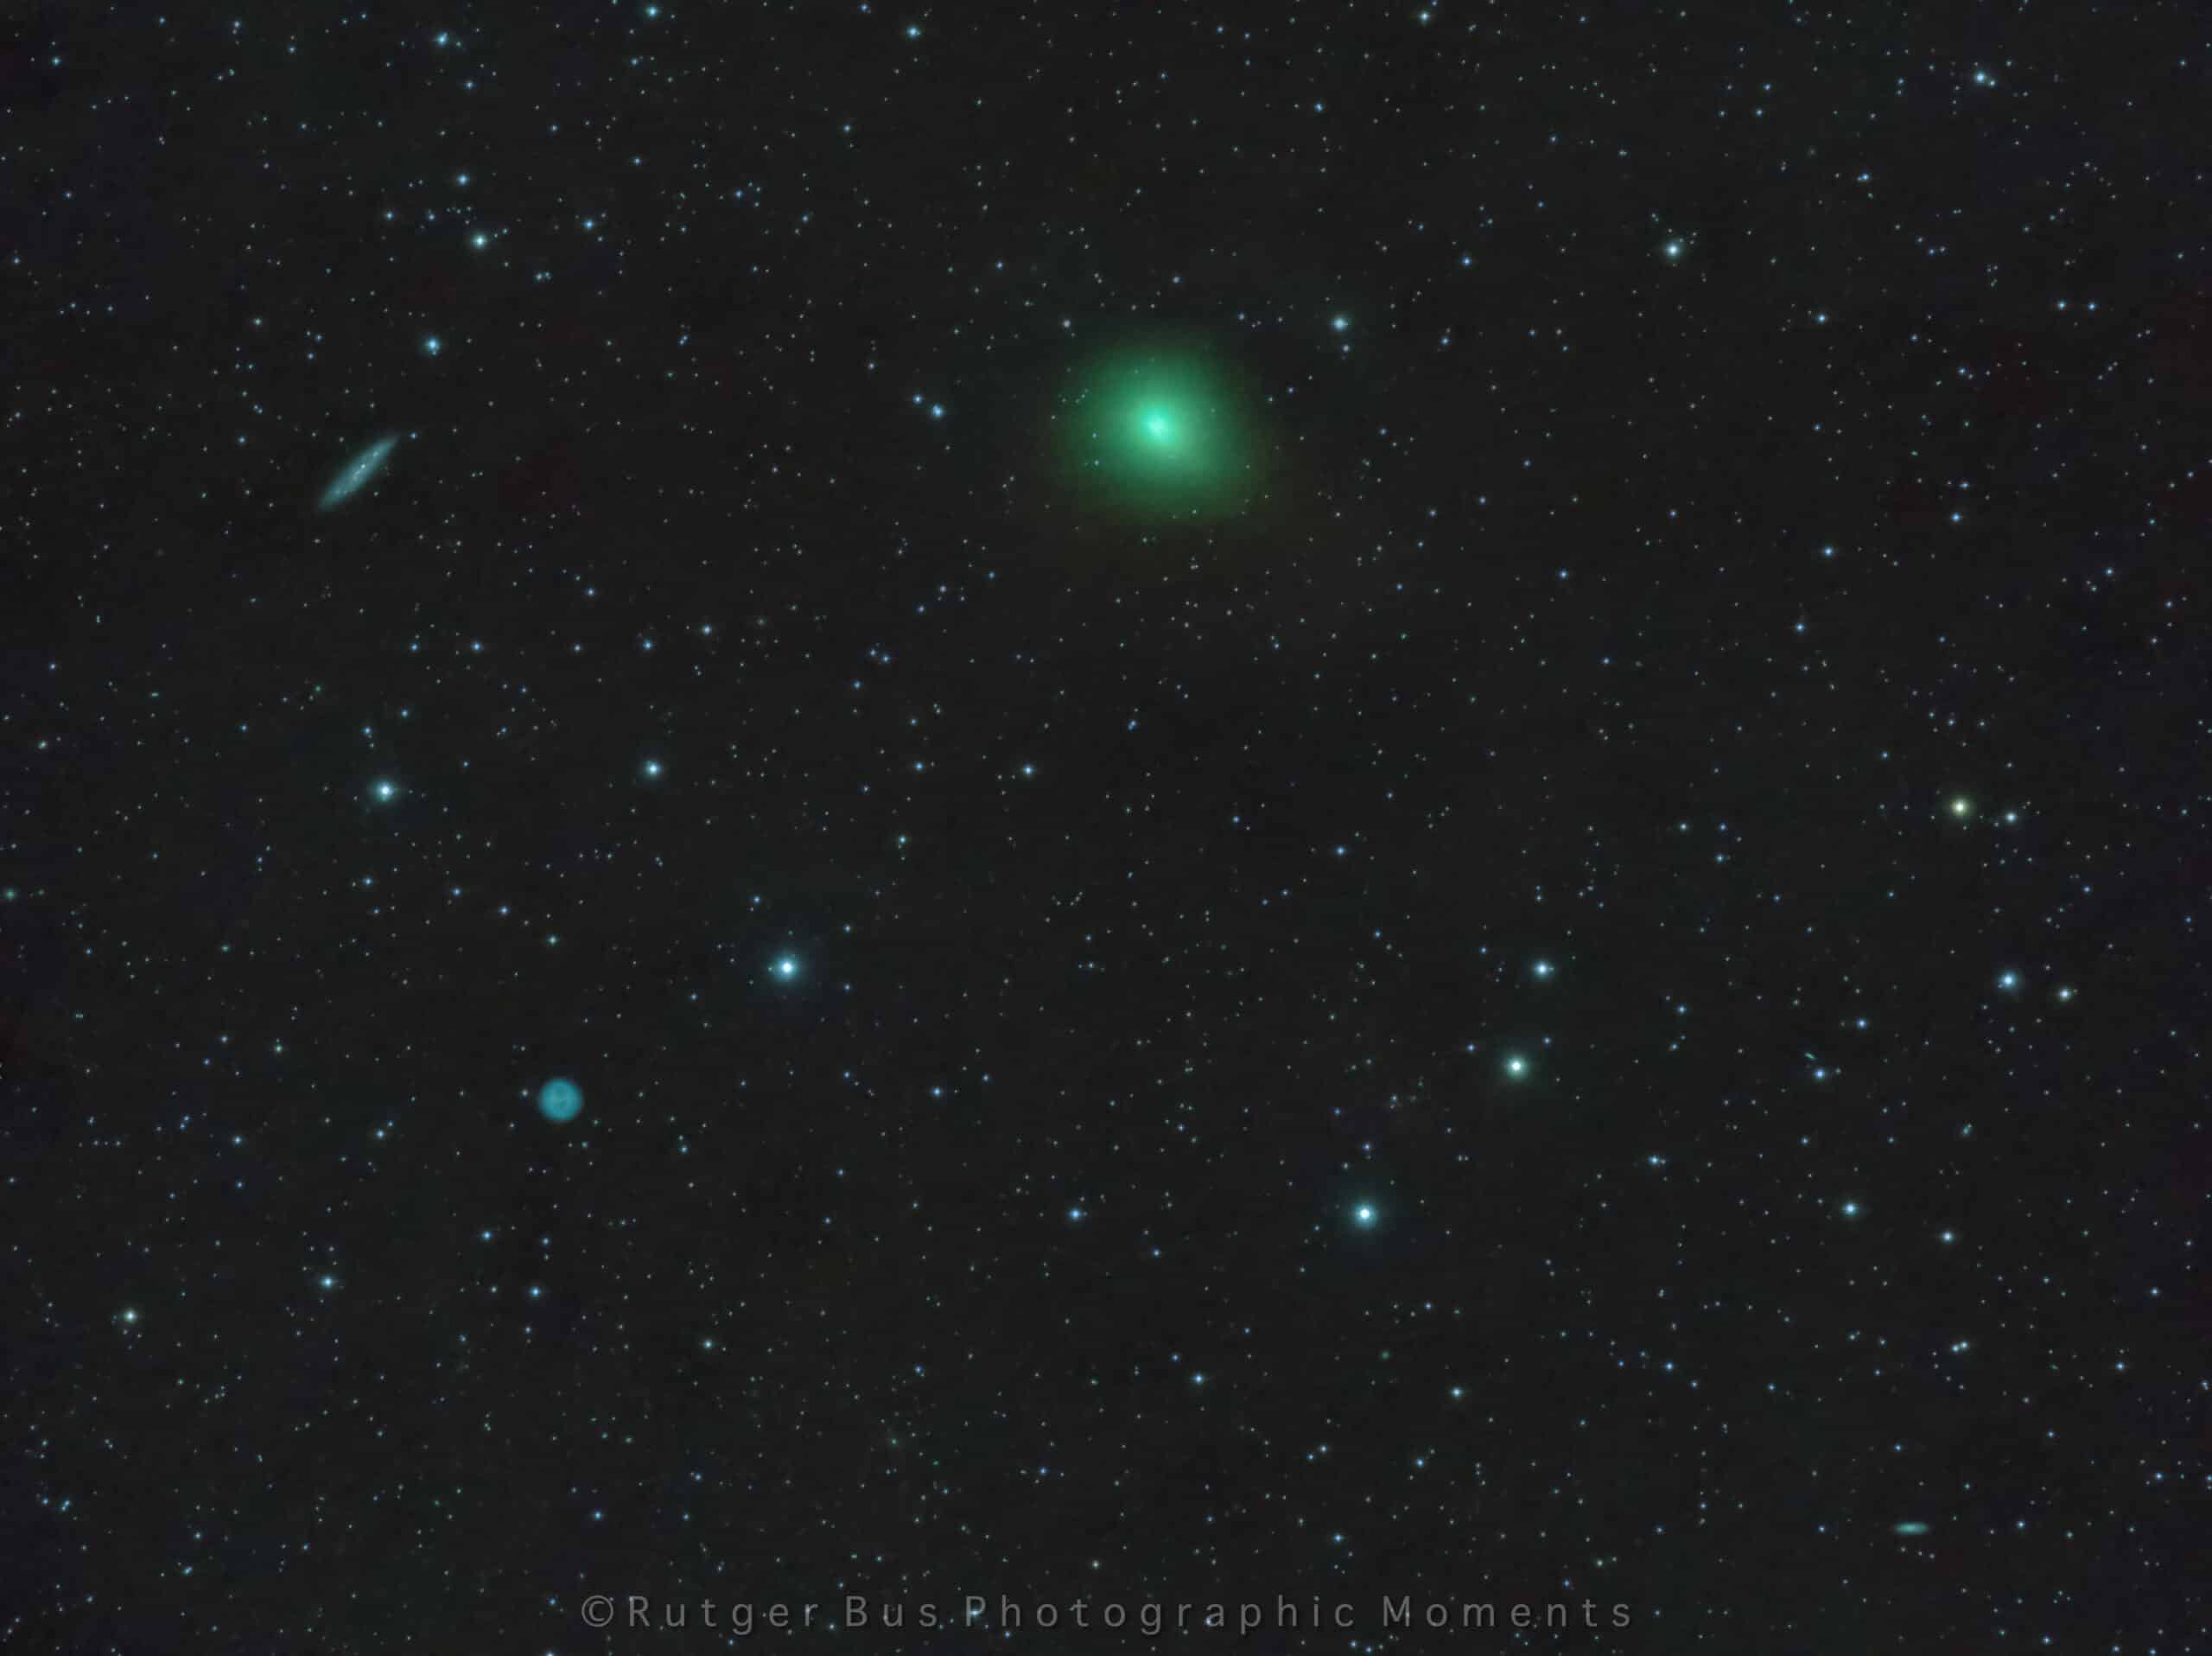
Ik gebruik ook Photoshop en dan maskers en lagen! om de Komeet in de Star-stack te klonen
BusParticipantEen verslag van mijn poging om de samenstand van de Komeet 41P/T-G-K met M108 en de uil nevel (Nog geen foto, daar wordt hard aan gewerkt :-))
Sometimes you are just lucky
Yesterday it was such a day. The weather had been clouded and moist for more than a week or so. If there was a little window to shoot between the clouds, the moon was interfering quit a lot.
But yesterday, all pieces of the puzzle fitted nicely together. We had a low-pressure area with a constant rain sweeping over the Netherlands the day before yesterday producing about 15mm of rain during the day and wind gusts up to 80km/h.
Luckily it passed by and left behind nice cloudless and clean air. Winds settled and there was no moon until 3am. And above all, it happened on the evening that the conjunction of Comet 41P/Tuttle-Giacobini-Kresak occurred…..OOoooh Boy I was so happy.
I put up the Star Adventurer equipped with the SonyA6000+Nikon300mmf4 combo and as a counter weight I put the 50mm mini guide-scope with the LVI-Smartguider2.
The conjunction happened right overhead at the moment I wanted to shoot it (23:40pm), so it was a bit though to get a good composition lying on my back on the cold terras trying not to kick the tripod legs so I could start over the alignment again.
After a while I managed to get good alignment and wanted to start the guiding. However, the guide-scope didn’t want to lock on a star…I tried several different stars, but each and every time I got the message from the LVI that a good guidestar couldn’t be found.
Not trying to waste any more precious time, I decided to push ISO to 800 instead of 400 and go for 30sec subs unguided instead of the 60sec guided I was planning to shoot. It turned out that the single sub of 30sec showed nice round stars, but a little purple fringing around brighter stars. Therefore, I just closed diaphragm 1 stop to f5.6 and stars looked perfect.
Then, I started my sequence of collecting data, which was 3h19min. in totall (399 subs of 30sec) Currently I’m running the “Star-stack” on my PC and will blend this stack with a “Comet-stack” using PSCC.
So currently I do not have an image to show to you yet, but I’m working on it
Keep you posted, and I invite you to post your conjunction images here as well off course.
March 22, 2017 at 08:50 in reply to: Komeet 41P-etc als test na ASCOM en SGP update bij volle maan #13137BusParticipantHet lijkt erop alsof de Komeet enigszins een hint van een staart heeft op de 4-uur positie!
BusParticipantDie spikes is een probeersel en heb ik toegevoegd met het programma startools voor photoshop Kees.
Ik ben eigenlijk niet zo van spikes maar zo nu en dan probeer je eens wat nieuws.
BusParticipantNu een afbeelding van een composiet van zowel Komeet als Sterren stack….Ben nog niet helemaal tevreden over het resultaat maar aldoende leert men.
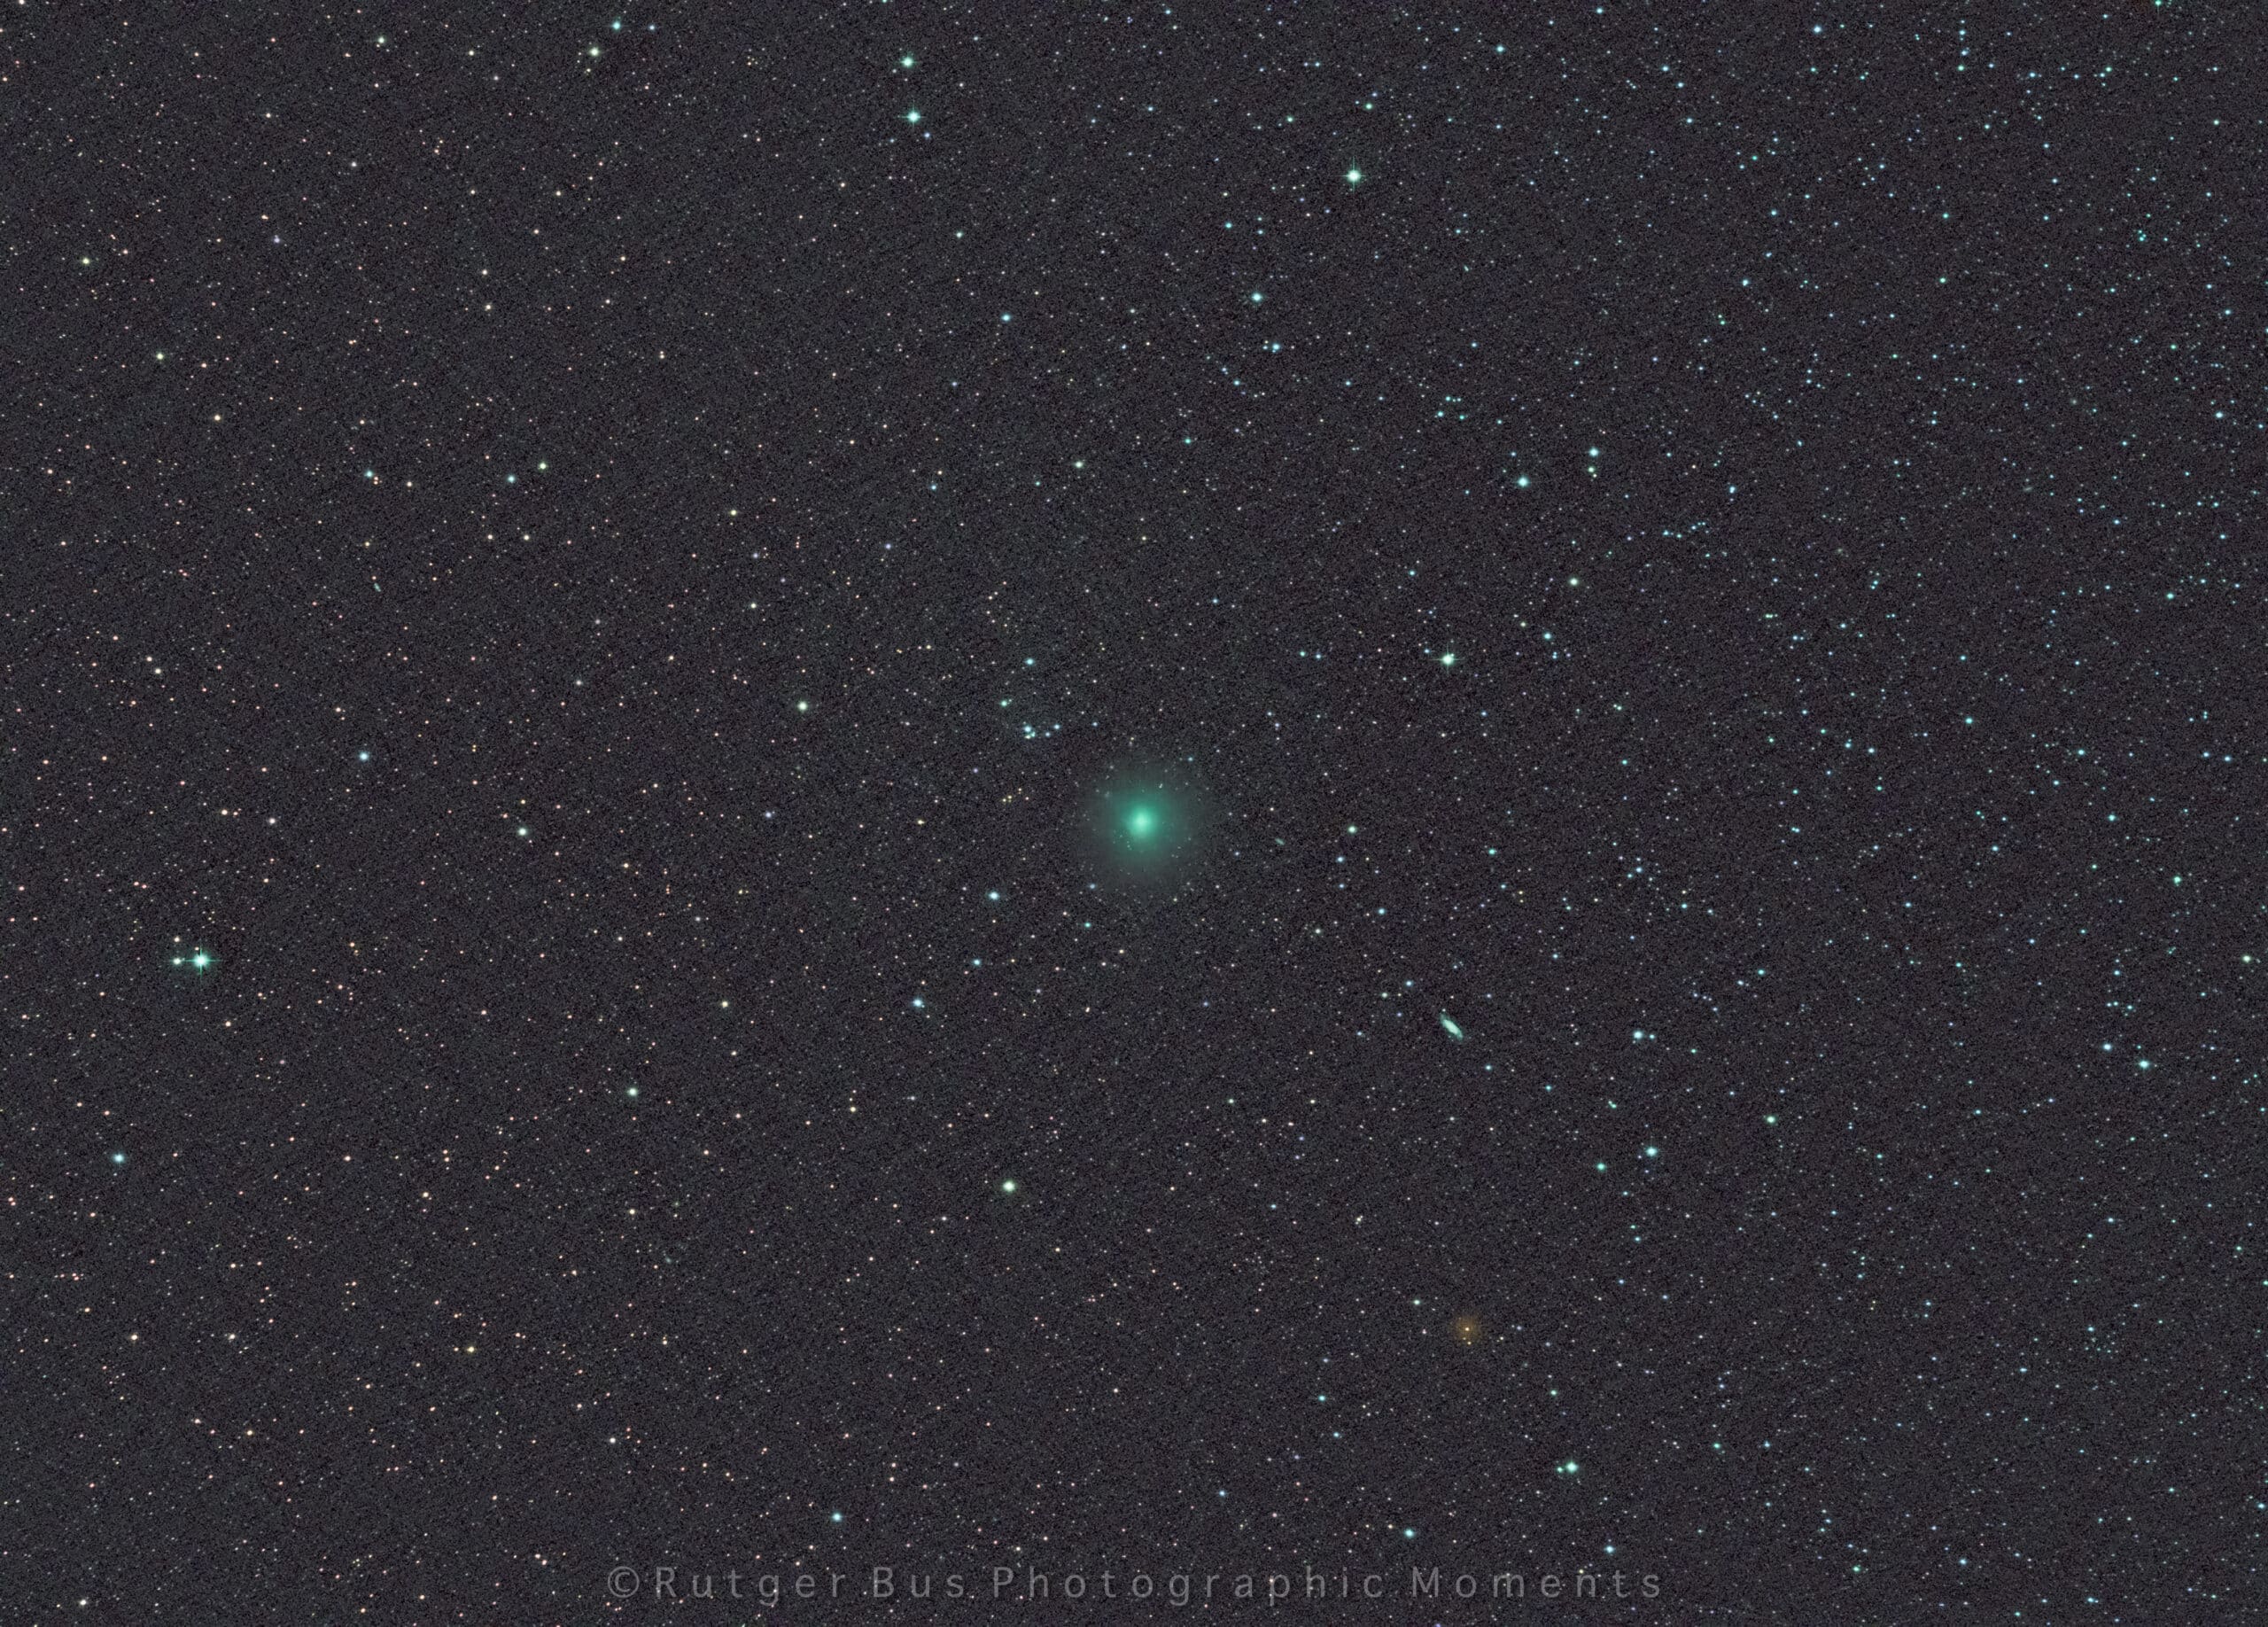
-
AuthorPosts


